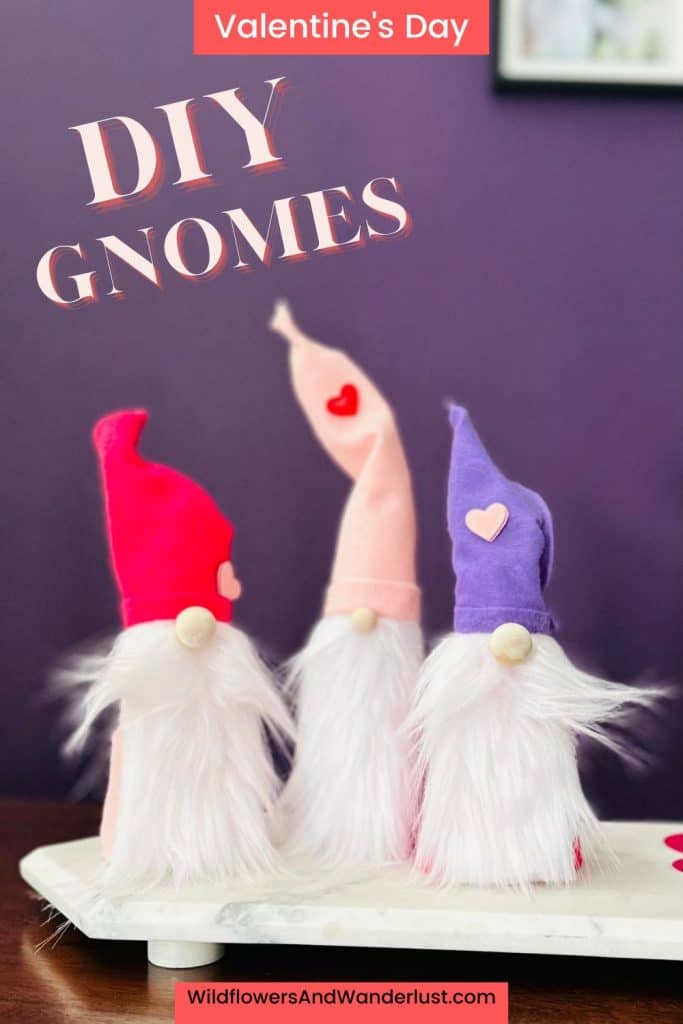
Simple DIY Valentine Gnomes to Brighten Your Home
This is an easy DIY project to make for Valentine’s Day this year. Valentine Gnomes are perfect to decorate all around the home with and we love the bright colors for Valentines Day!
Create These DIY Valentine’s Day Gnomes on Your Lunch Hour
We were really surprised at how quickly this project came together when we sat down to make these little gnomes this past weekend.
Gnomes have been really popular the last few season and we don’t see that going away anytime soon so we decided to put together an easy craft and make a centerpiece for the dining table.
We picked up a few supplies from the Dollar Store and were ready to go. If you can’t find what you need there you’ll be able to find it at the craft store or online but you may also already have some of it on hand!
~This post may contain affiliate links. If you click one and make a purchase, I may receive a commission at no additional cost to you. This helps us fund creating great content for you! For more information see our disclosure ~
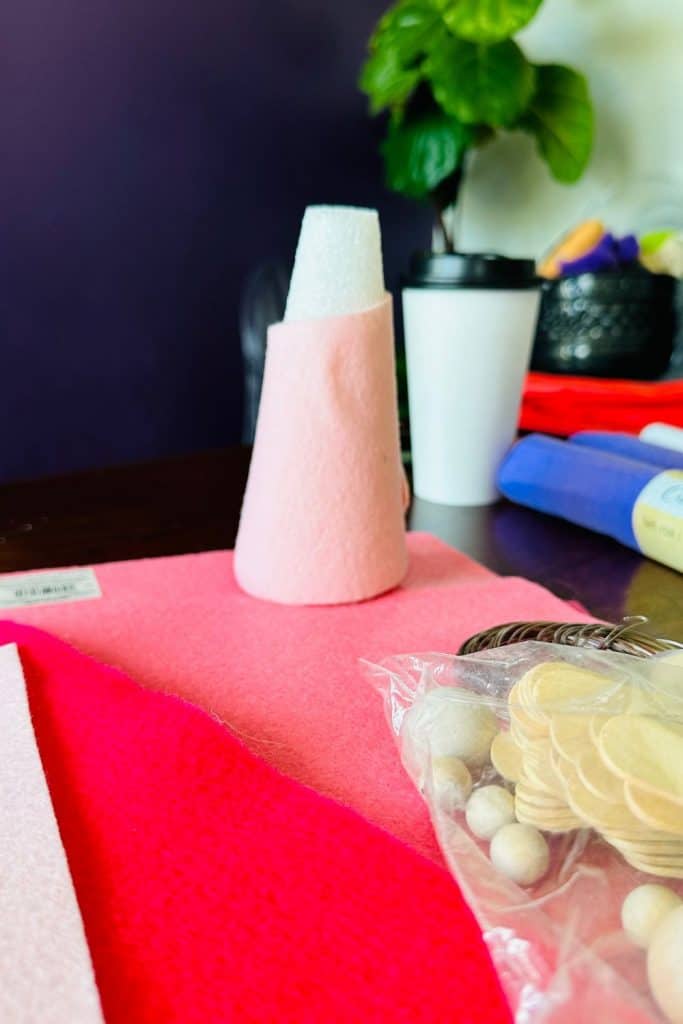
Supplies for Valentine Gnomes
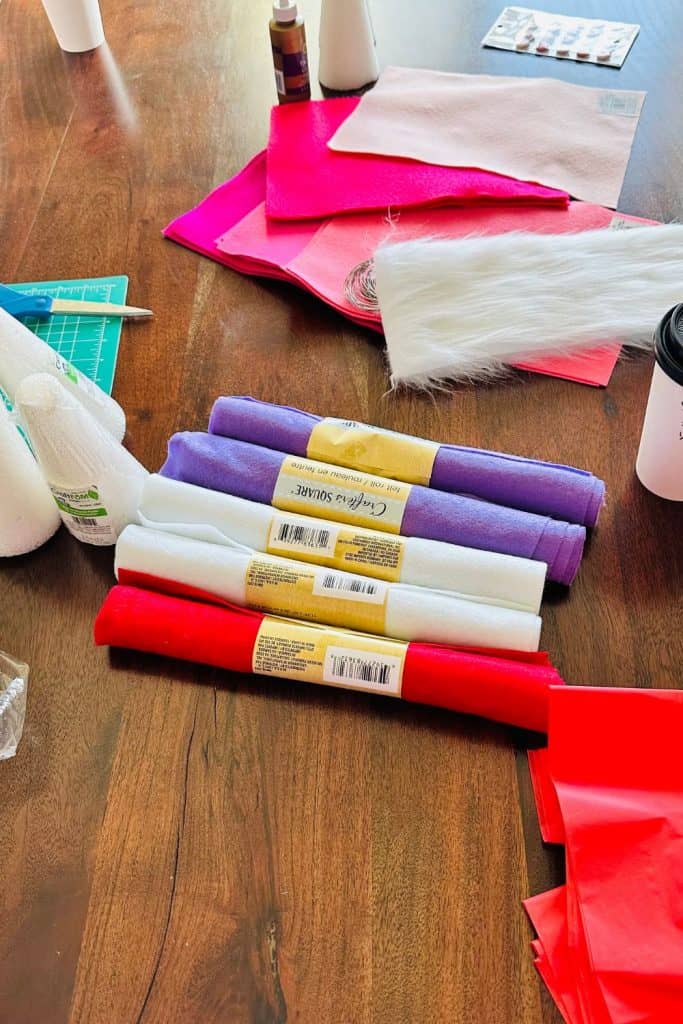
The rolls of felt are from the Dollar Store and the squares of felt are from the craft store. The price was pretty comparable, we just know that sometimes you can’t find all the supplies at the Dollar Store.
The most expensive material was the fur but we got a sheet of it for less than $4 and it was plenty for making our whole project and having a lot left over.
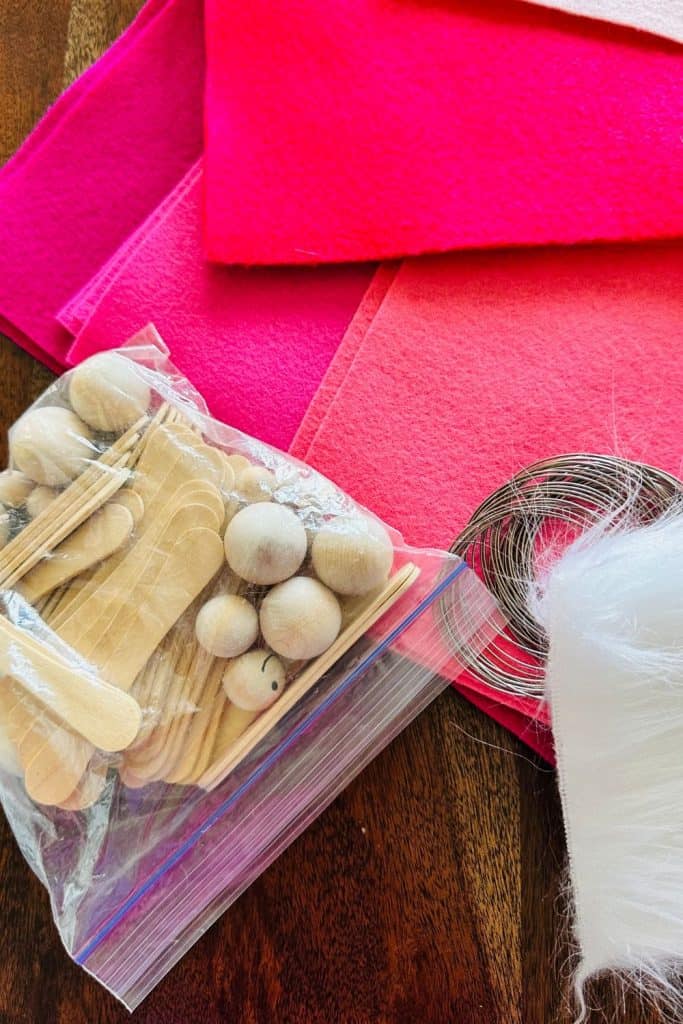
Supplies
- Colored Felt – we chose several shades of pink and some purple
- Styrofoam Cones – you can usually find these at the Dollar Store
- Craft Fur – we used white
- Wooden Balls (for the noses)
- Floral Wire – or other wire to shape the hats
- Heart Stickers
- Scissors
- Hot Glue
How to Make a Styrofoam Cone Valentine Gnomes
Since some of our felt was in squares we just cut it in half diagonally and used a triangle for the body of the gnome.
All you have to do is wrap the piece of felt around the cone and glue it onto the styrofoam.
We tried craft glue at first but it just didn’t have the sticking power of the glue gun so you definitely want to use hot glue.
You can trim the felt once you’ve got it glued around the cone so just be sure that you pull it tightly while you’re gluing it.
Felt will stretch a bit when you’re working with it so it’s easy to move around. And once you’ve got a good seam you can trim around the bottom of your cone.
Don’t worry about the seam – you can use the fur to cover it up!
The fur actually covers quite a lot of this so you’ll mainly see the color from the back.
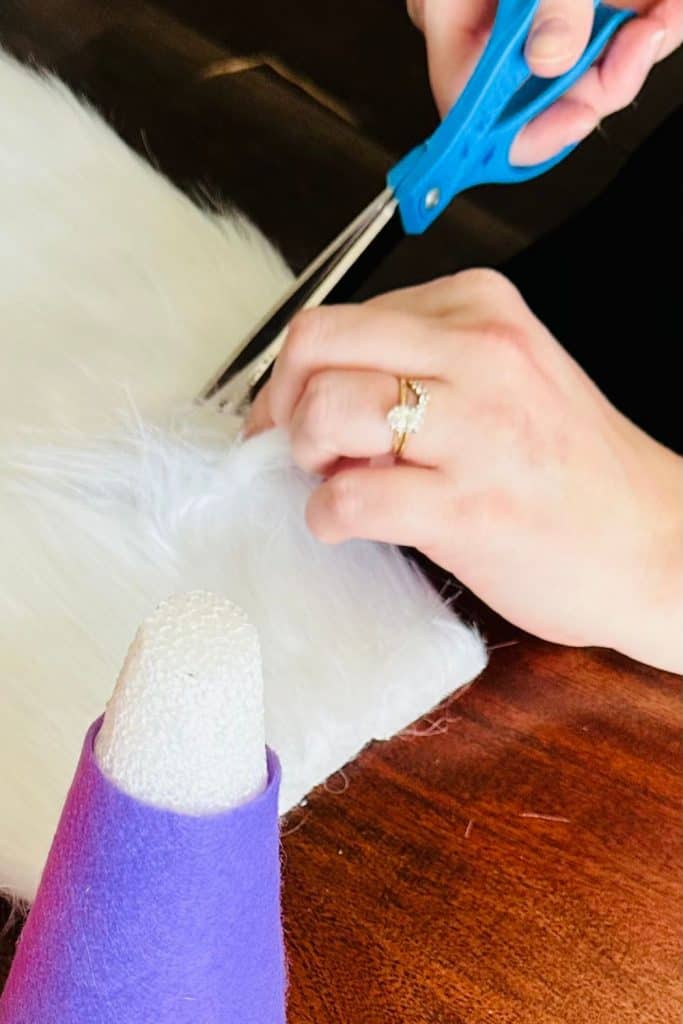
Adding a Beard to Your Gnomes
We didn’t use a template for the beard, we just cut a small square out of the fur and then rounded the bottom edges.
We made it as long as the palm of our hands and about as wide as 3 fingers. That’s probably roughly 2″ by 4 1/2″ or so. Not an exact measurement and each of the gnomes is different.
Be sure to separate the fur at the fabric level so that you don’t cut if off squarely. You want the fur to fall naturally below the line of the fabric holding it together.
Making the Valentine Gnomes Hats
You should add your beard before you add your hat but it may be easier to form the hat first, then add the fur, then secure the hat.
The hat can cover the top edge of the fur.
Whichever seems easier to you is the way to do it! There’s not a right or wrong way!
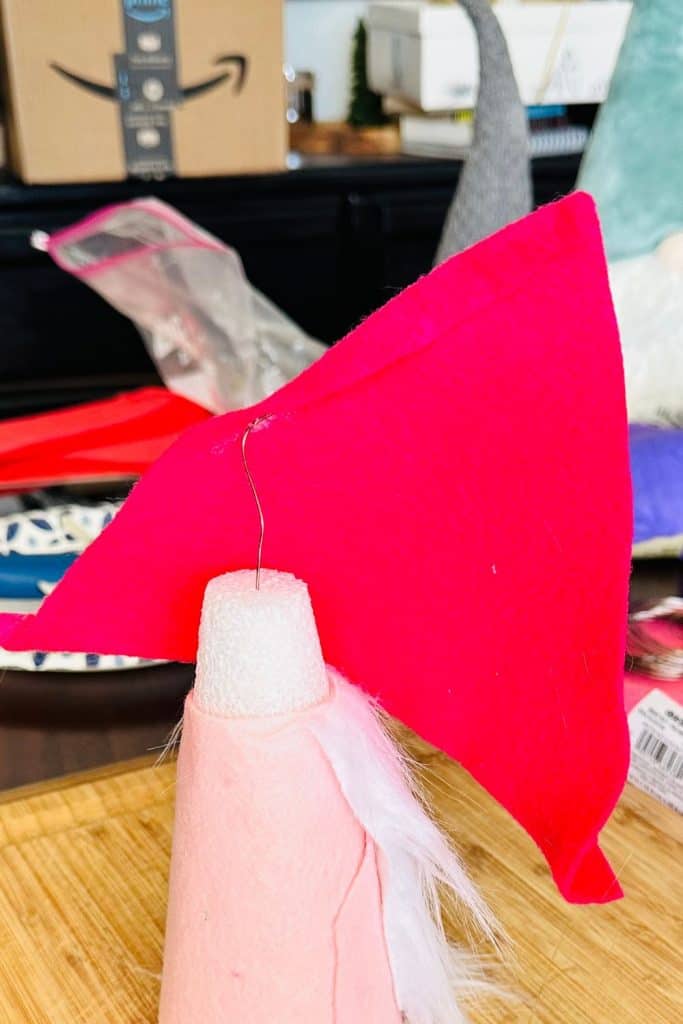
After experimenting a little bit we found that cutting a piece of wire and poking it into the styrofoam seemed to be the easiest way to form the hat.
If you used the square felt, you can easily use the other side of your cut to create your hat.

Next you glue the felt together.
This part is another one that doesn’t have a particular way to make it the easiest.
You can glue your felt onto the wire, then poke it into the styrofoam, or poke the wire in and then glue. Either way be sure to have a dowel or toothpick handy to move the glue around so that you don’t burn yourself.
Ask us how we know.
We rolled the bottom of the felt up a little bit, then glued around the styrofoam cone, then twisted the felt around and around to the end of the wire.
Another option is to glue the wire directly to the felt. Make a line of glue at the seam, place your wire and then fold it over so that the wire is in its own little pocket!
Just be sure that you create your seam on the back of your gnome!
Once you’ve glued you can move the wire around to change how the hat sits!
We brought out a few gnome friends (in the background) so we could compare!
Finishing Up Your Valentine Gnomes
Now all you have left is the nose!
So easy, just glue a wooden ball right where the hat meets the fur and you’re done!
We were using an assortment of wooden pieces that were leftover from a previous project so all of our gnomes don’t have the same size of nose.
Anywhere from 2mm up to 1/2″ are perfect. We prefer the 1/2″ size but some people thing that bigger noses are funny on the gnomes and some people don’t like them. Again, it’s your preference or even what you’ve got on hand!
You can also brush the fur around to create more of a mustache effect as well.
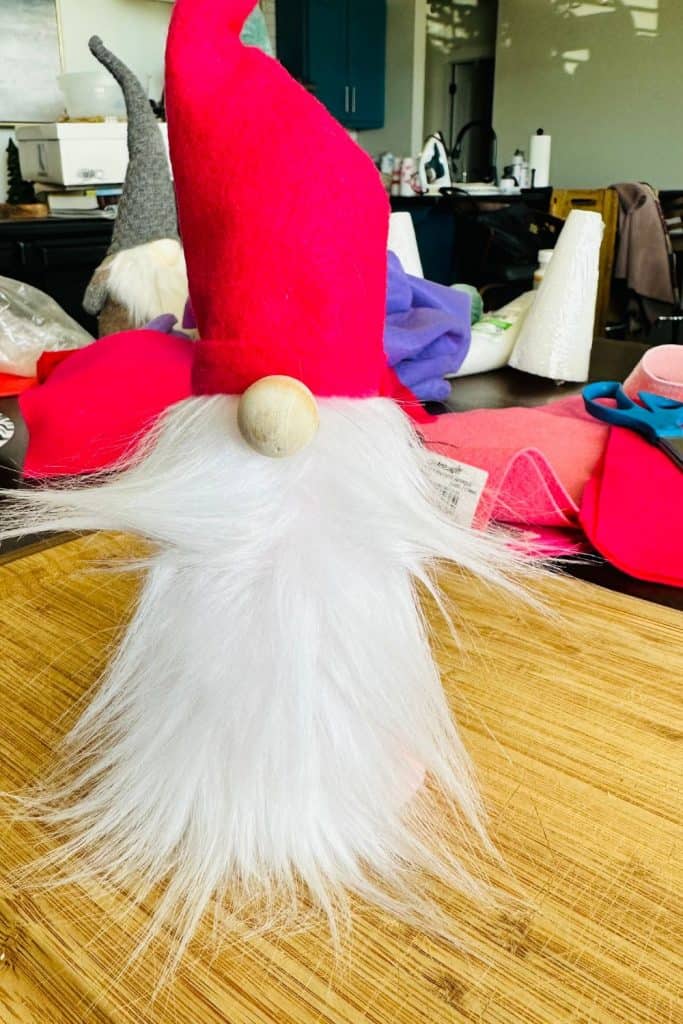
We also added some heart shaped stickers to their hats when we finished. If you don’t have any stickers you could easily cut a heart out from the felt and just use a dot of glue to stick it on!
Then you just have to find the perfect place to display your Valentine Gnomes!
So how was that for a lunch hour project? We think that these DIY Valentine Gnomes are a quick and easy project that you could easily make with a group!
Did we explain it well enough? Let us know in the comments below and you might also check out:
Follow us on Pinterest and on Instagram for lot’s more ideas and inspiration!