Easy DIY Baking Soda Ornaments We Tried to Make
We attempted to make baking soda ornaments and this is the story of what we did wrong and what we were attempting to do. Follow our tips to have the best success when you make Baking Soda Ornaments!
I might be inclined to call this a Pinterest fail but it actually turned into a great project.
It wasn’t the project that I set out to do but I’m happy with the results.
I’m not sure that you can call these baking soda ornaments, since they aren’t exactly ready to hang on my tree, but I figured out a way to use them.
Initially I had planned to make white clay ornaments out of salt dough. I looked for recipes ranging from salt dough to painted dough. Of course any shortcut to white ornaments was the one I was going to choose.
When I found an easy recipe for baking soda and cornstarch I figured I’d give it a try.
Turns out the recipe I found was missing a step.
So let me tell you how I made the recipe and then I’ll give you the corrected recipe that I haven’t tried yet.
But you know it’s on the list to make asap – it just means I need to run to the grocery store for more supplies.
~This post may contain affiliate links. If you click one and make a purchase, I may receive a commission at no additional cost to you. This helps us fund creating great content for you! For more information see our disclosure ~
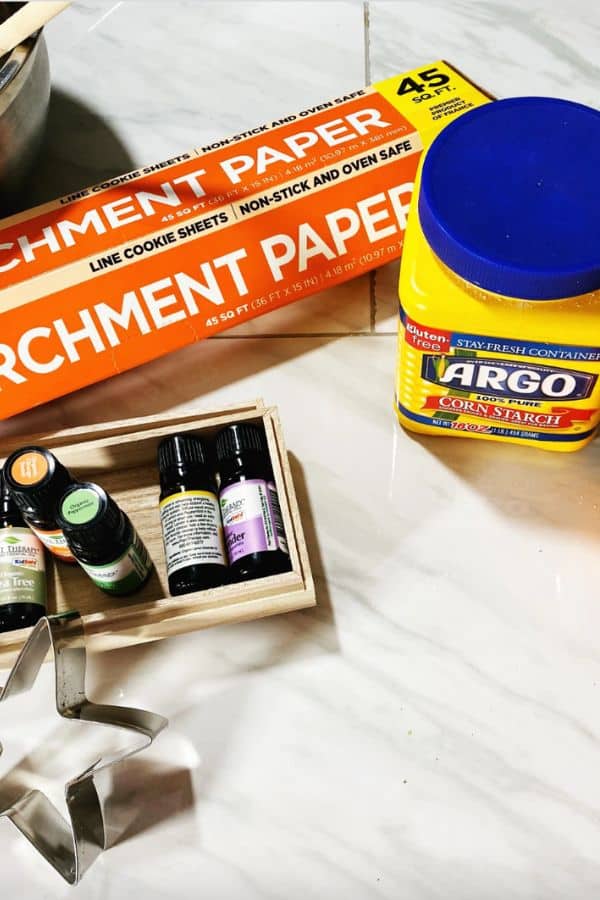
Supplies for Baking Soda Ornaments
Fortunately the step that I missed was in cooking the dough so the ingredients are perfect. I’m just out of baking soda now so I’ve got to pick some up before I can try making the recipe the correct way.
Here’s what you’ll need to make the dough:
- 1 cup of baking soda
- 1/2 cup of cornstarch
- 3/4 cup water
- Orange and cinnamon essential oils
- Saucepan and spoon
- Parchment paper
- Rolling Pin
- Cookie cutters (or a mold if you’re not cooking)
How to Make the Baking Soda Ornaments
Start by mixing your baking soda and cornstarch together, then add the water.
Take your time with this step!
You want to mix in the water a little at a time so that it doesn’t get too clumpy. If you pour it in too fast you’ll spend a lot more time stirring.
Add in your essential oil.
I recommend 20 drops total and I did 10 of each scent. If you’re using other scents you’ll have to do the math to figure out your ratio, which is basically how strong you want each scent to be.
The scent will be pretty strong but it smells amazing once the ornaments have hardened.
The Correct Directions
Cook your mixture on the stove on medium high until it resembles mashed potatoes. This should take around 4-5 minutes and it will bubble before it starts thickening.
Once your dough is nice and thick turn it out onto your parchment paper and let it cool down so you can work with it.
Once it’s had a chance to cool you want to roll it out, cut it and let them dry overnight.
Easy, peasy right?
If You miss that last step…..
The recipe that I followed didn’t say to cook the dough. Just to mix the ingredients together until they thicken.
So I got this weird slime like mixture. It would appear to harden and if you picked it up it would immediately turn into slime. I think it would be a fun sensory experiment for kids to try, but that depends on how much mess you want in your kitchen.
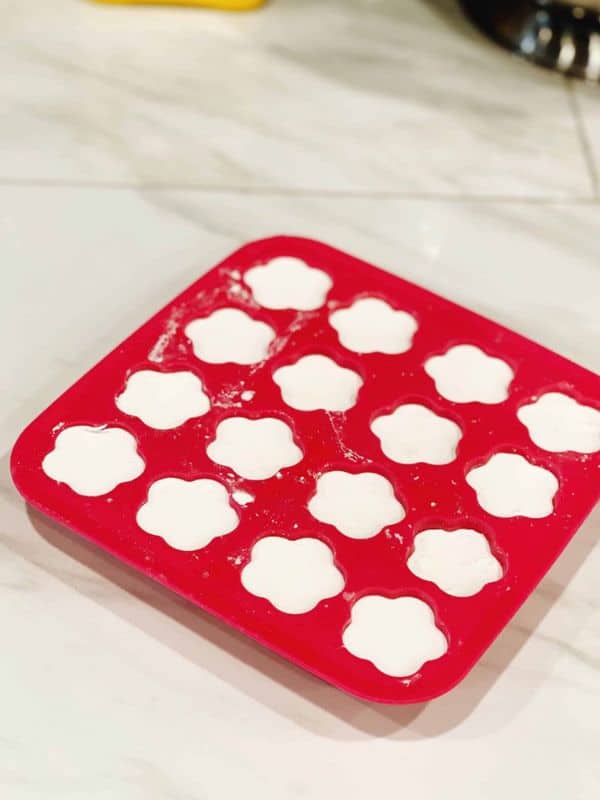
It smelled good and I wondered how it would look when (and if) it dried so I poured it into a silicone mold. At this point I didn’t have anything to lose since I’d already mixed up the dough.
If you’ve got soap or candy molds they would work great. We’ve used these molds for ice cubes, candy and bath fizzies.
I let them stand on the counter overnight and just popped them out of the mold this morning.
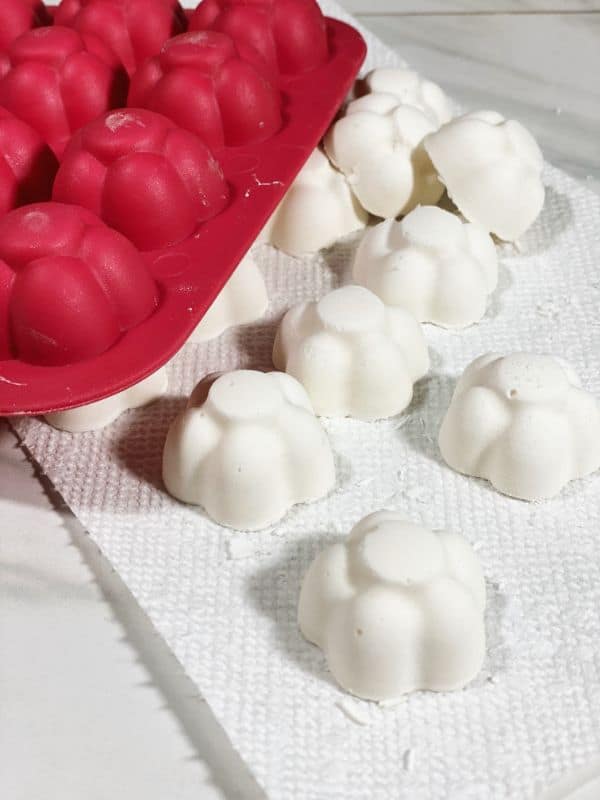
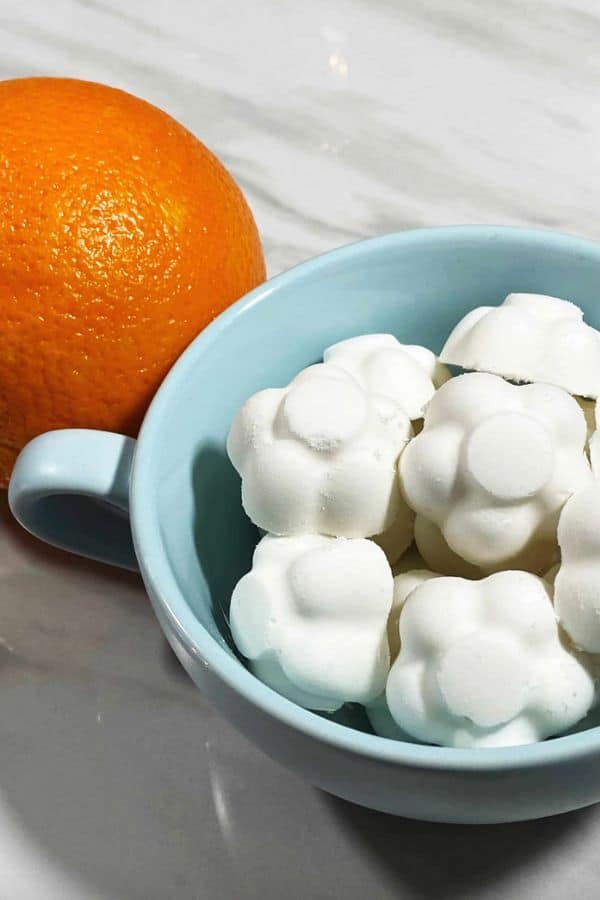
The texture of them is smooth and pretty. I’m unsure of how they’ll hold up at this point but they smell amazing. For now I’m going to use them as a deodorizer in a closet and I’m putting a few in a jewelry bag in a drawer to see how they work there too.
So you can call that a fail, or you can call it a new recipe.
Take out a step and get a different product altogether. Really no surprise, just not what I expected!
You can call them baking soda ornaments or your can call them scented flowers(?), whatever makes you happy.
I think if I had some better molds I could have still made ornaments out of this dough, but this mold is certainly too thick for that.
So here are two ways to make baking soda ornaments. And of course I’ll update when I make a batch following the correct recipe.
Follow us on Pinterest and on Instagram for lot’s more ideas and inspiration!
In the meantime, there are lots of other holiday posts. If you need some inspiration be sure to check out:
How to Make Dried Oranges for a Garland or Ornaments
Easy Dip Dye Tassel Ornaments
And our favorite Holiday Cocktails!