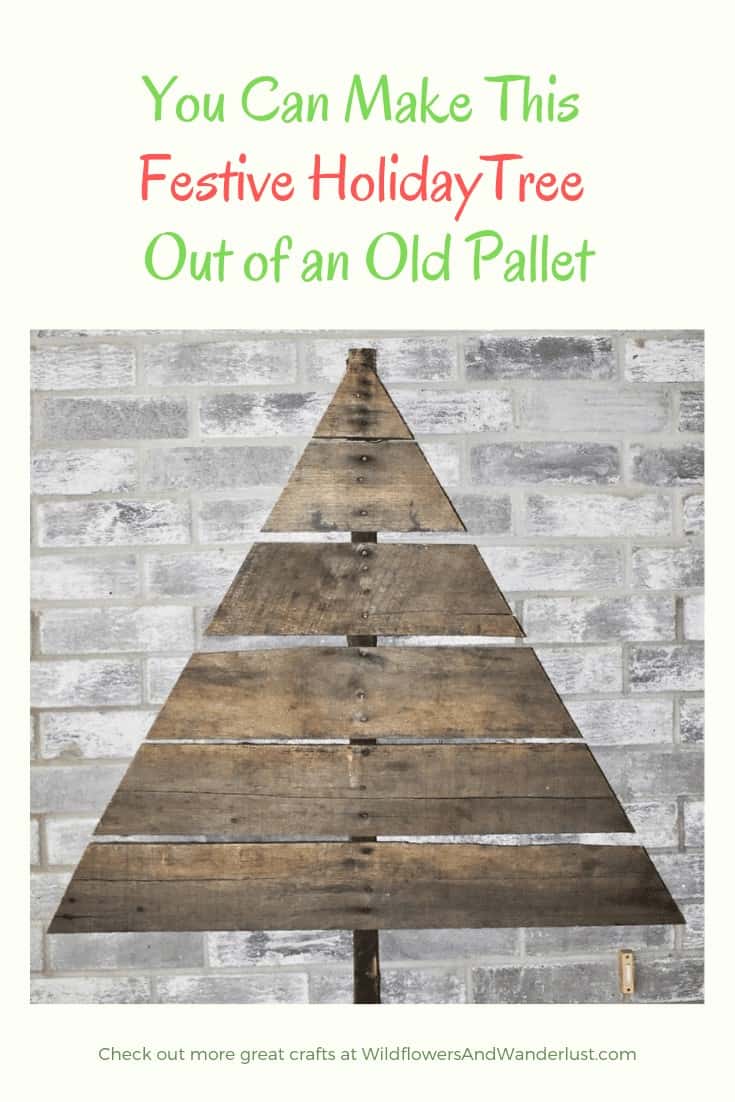
How to Easily Make a Christmas Pallet Tree
If you’ve received anything on a pallet and are looking for a way to recycle it try out Christmas pallet tree! If you need a pallet check with your local hardware store and see if they’ve got any to give away.
Easy Christmas Pallet Tree Design
We are always a fan of repurposing anything that’s lying around and reclaimed wood is high on our list. There’s no comparing wood that’s had a bit of life for some projects.
You won’t believe how easy it is to make this Christmas pallet tree.
We sometimes receive deliveries on pallet’s so we generally have one waiting to be reused or moved on, but they are readily available at many big box stores.
You shouldn’t need to purchase one, just check with the staff and ask if you can help yourself to one.
You’ll also want to be sure that you like the spacing of the boards since all pallets are built differently. One of our pallets had boards with really wide spacing so it wasn’t a great fit for this project.
Note that some of these pallets can be really heavy so you may need a helper for lifting purposes!
~This post may contain affiliate links. If you click one and make a purchase, I may receive a commission at no additional cost to you. This helps us fund creating great content for you! For more information click here ~
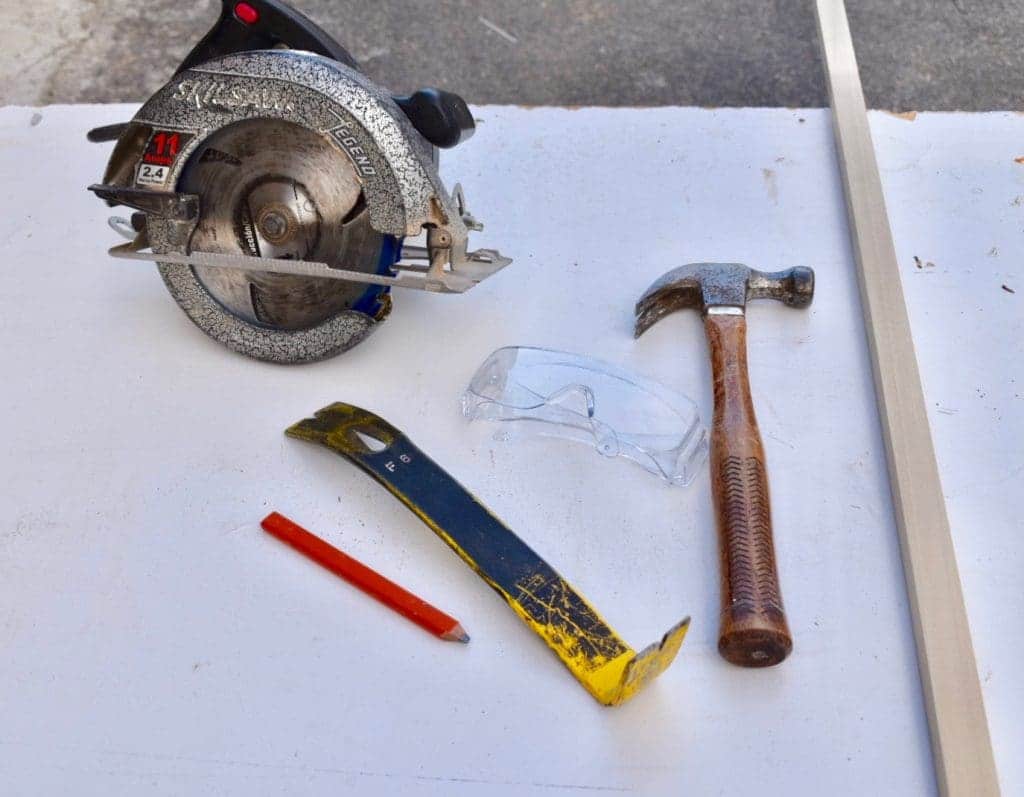
Tools for A Christmas Pallet Tree
The tools you need for this job are:
Your Wooden Pallet
- Gloves
- Protective Eyewear (always protect your eyes!)
- Prybar
- Hammer
- Saw (we used a circular saw)
- Gloves
You may want a straight edge to help lay out your design and a pencil for marking it.
Steps to Making a Christmas Pallet Tree
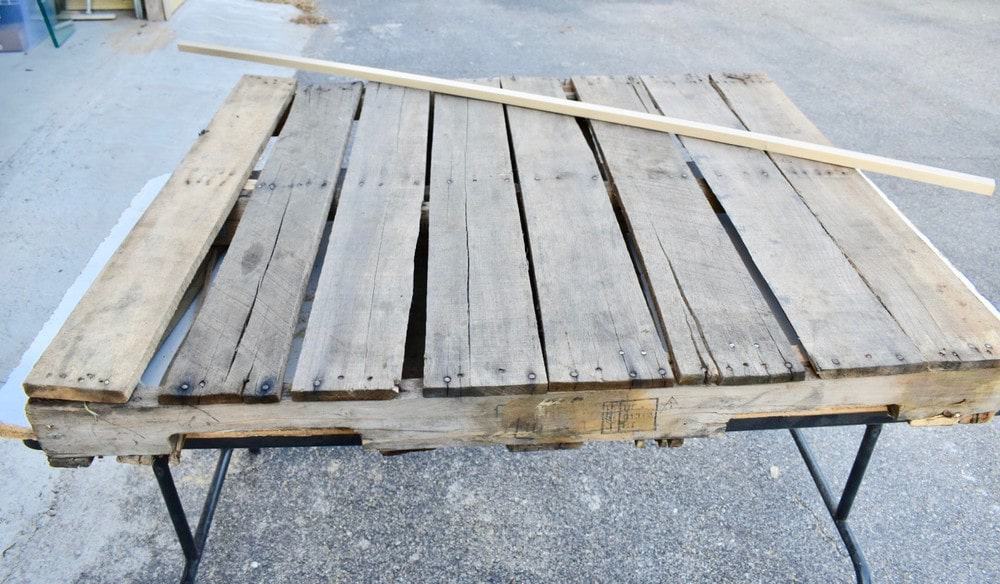
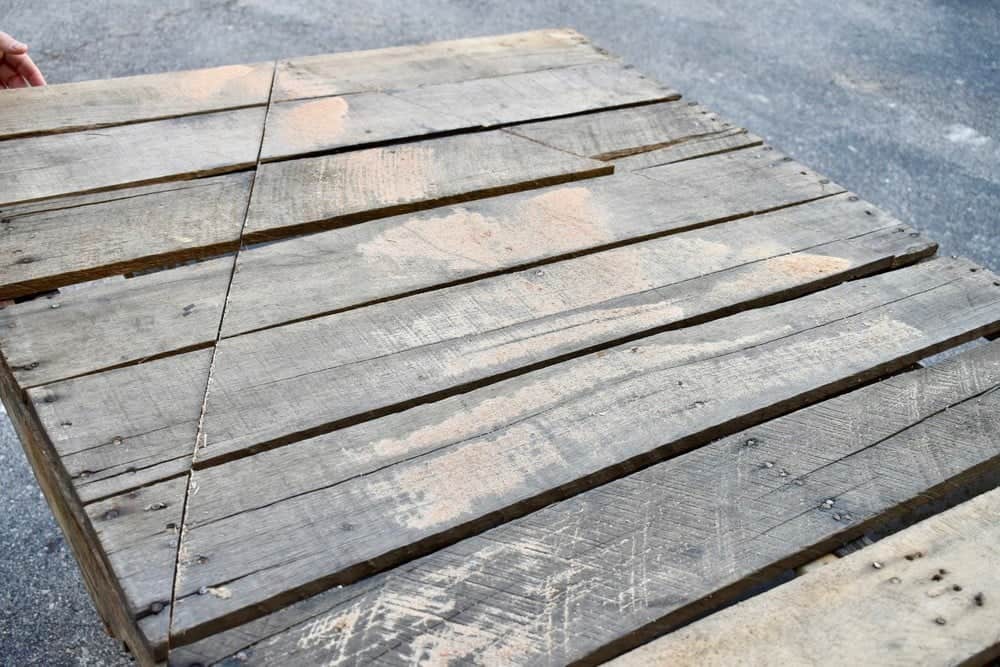
We chose a pallet that had boards that were evenly spaced. Go ahead and ignore that board on the far left, we just removed that one and used it to make the trunk of our tree.

There are several ways that you can repurpose a pallet and we chose the easiest way, to just draw a triangle and cut through it.
This way isn’t hard but you will need to be careful of where the nails are place on your pallet.
First
The first step is to use a straight edge to mark off your cut lines.
Generally the center point of a pallet has nails in it so it’s easy to find.
We removed the bottom two boards for our tree’s trunk so we just angled our straight edge from the top center point to the outside edge of the last board.
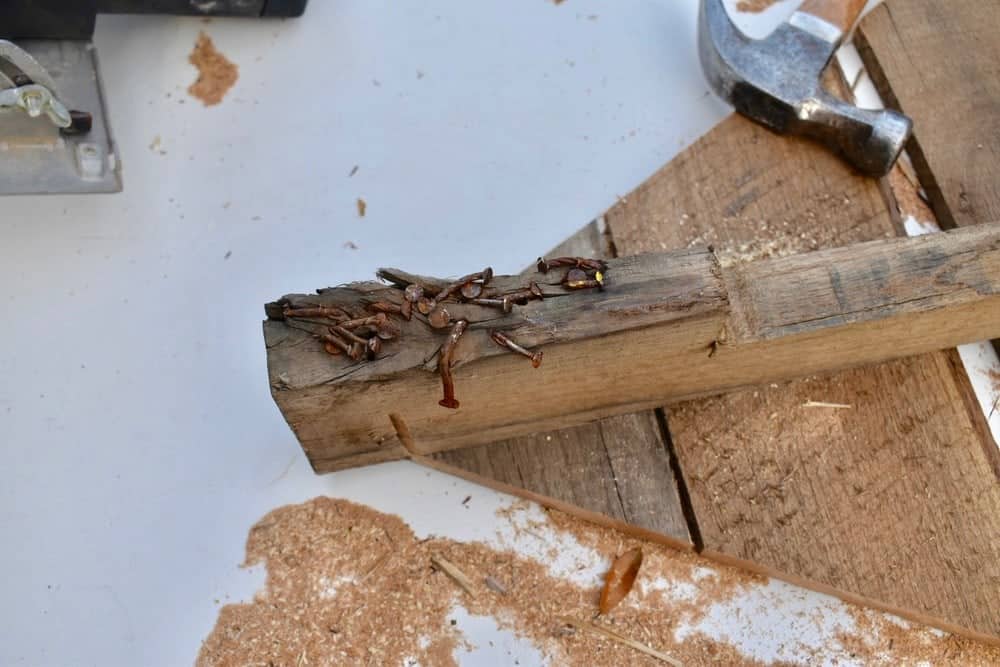
When you’re looking at the photo – the top edge is at the right side – see all the nails?
The bottom edge of our tree is the angle heading toward the left. This is where we’re going to cut.
You don’t necessarily have to draw this out with a straight edge but it definitely makes it easier for us to follow that straight line.
Be sure that you wear gloves when working with pallets. The wood is not smooth and many times we have found rusty nails poking out in random spots.
The last thing anyone needs is to be poked by a rusty nail when you’re doing a project.
I mean, let’s try not to get poked by a rusty nail ever. Okay!
You also really need to wear protective eyewear for this project.
Pallets are generally repaired by adding more nails to any loose boards.
This means than when you’re cutting you may find a nail (or 100) in a place that you didn’t expect.
The wood on pallets may splinter easily and pieces may go flying. Be sure to protect your eyes!
This is just an example to show you. We removed one board and this was how many nails were hiding behind it.
That seems like a lot of repairs.
Once you’ve figured out your lines just cut along them.
You may have to cut more than once but once you’ve cut through the top layer it’s very easy to just pry away the remaining boards.
You will likely be left with a lot of splintered pieces of wood so be careful.
Once you’ve cut through the top layer and pried it away from the bottom you’ll have your finished tree!
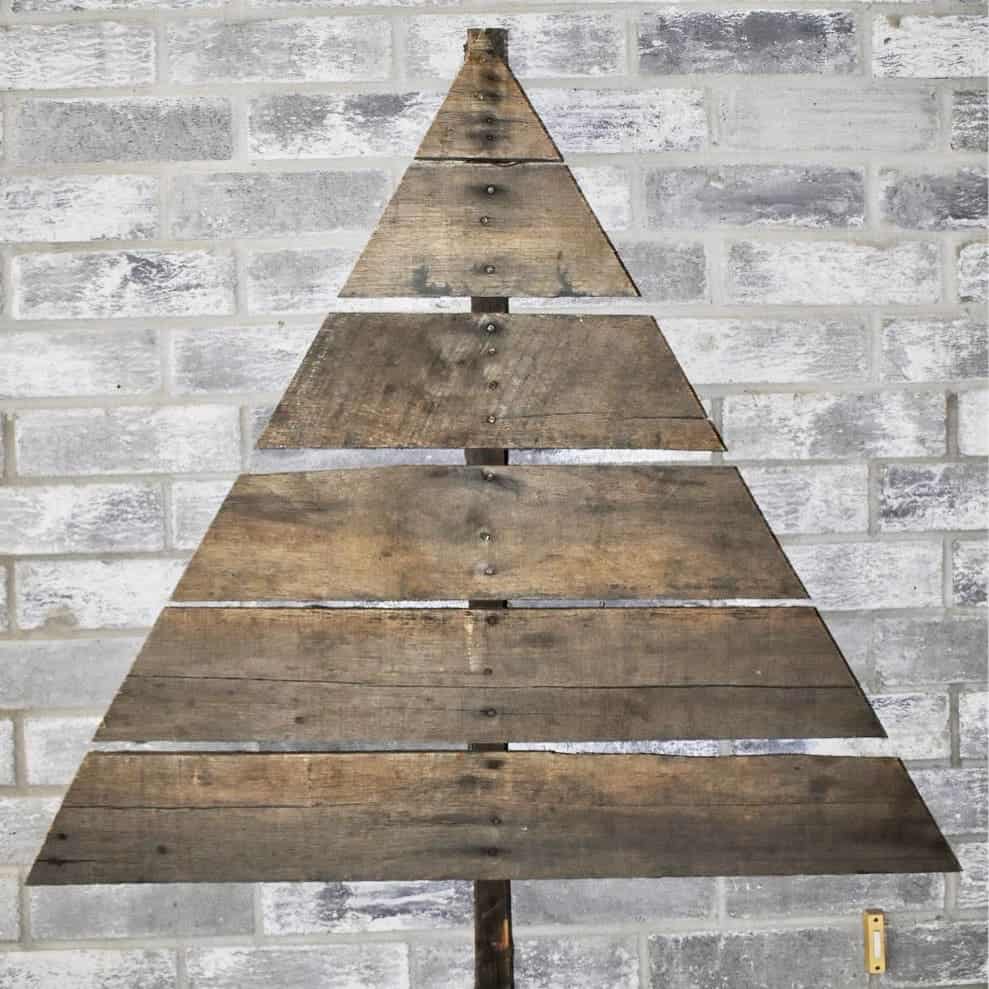
Finished Pallet Christmas Tree
And then you’ll be left with a pallet wood Christmas tree!
We hung our pallet tree on the front porch by the doorbell (it’s an ugly doorbell) and I think we’re going to leave it natural for this year.
It will probably wind up having some lights on it before the season is over, but that’s the only decoration I’m going to add to it since it’s fits into the farmhouse style we have this year.
In the future it may get painted or decorated another way.
We’ll find out next year!
Want More Christmas Decor Ideas?
Follow us on Pinterest and on Instagram for lot’s more ideas and inspiration!