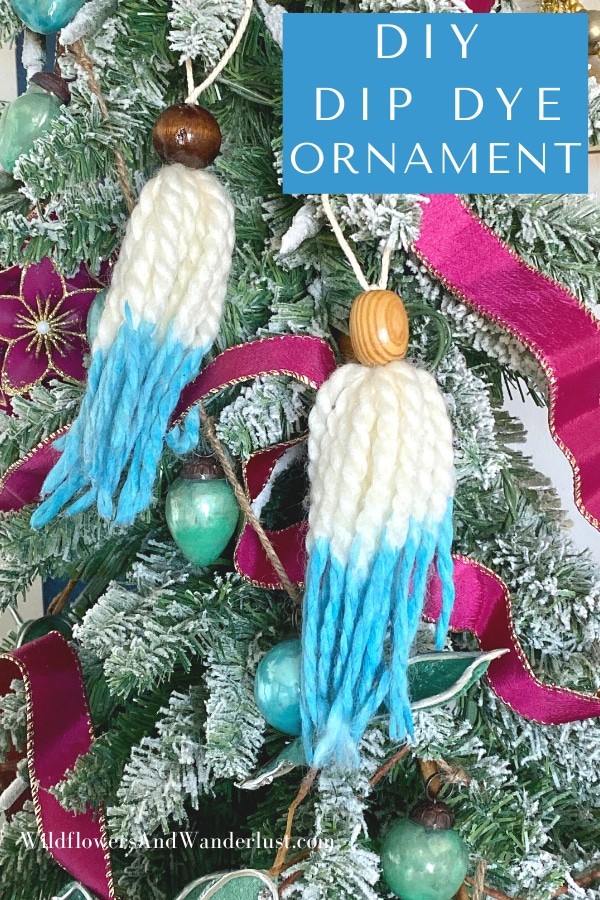
How to Make an Easy Tassel Dip Dye Ornament DIY
This is an easy tutorial to make a dip dye ornament for the holiday’s. It’s a great craft to make with kids so you might consider it for a party.
We are just starting the process of Christmas decor this season and we’ve got all our crafting gear out. Our plan is always to add a few new, hand crafted ornaments each season and update our tree.
This time we’re making a tassel dip dye ornament. These are going to look great on our Christmas tree but I also think these would be cute to display on a wall if you’ve got any boho decor in your house.
~This post may contain affiliate links. If you click one and make a purchase, I may receive a commission at no additional cost to you. This helps us fund creating great content for you! For more information click here ~

Supplies for a Tassel Dip Dye Ornament
You only need a few supplies for this project and if you craft you’ve probably already got them on hand:
- String or Yarn
- Dye or paint
- A bead for the topper (optional)
- A bowl or cup for your dye or paint
- A paper plate or paper towel
- Scissors

We used some tempera paint mixed with water for this project because that’s what we had on hand.
We also started off using macrame cord but then switched to yarn because we like how much fuller it looked when we turned it into a tassel.
Both of these are just a matter of which look you like better or which materials you have on hand. And that’s also the beauty of a DIY project – yours will look completely different than mine because we’re using slightly different products, or colors, or even just the beads.
How to Make a Tassel Dip Dye Ornament
This is an easy DIY, which is always our favorite kind.
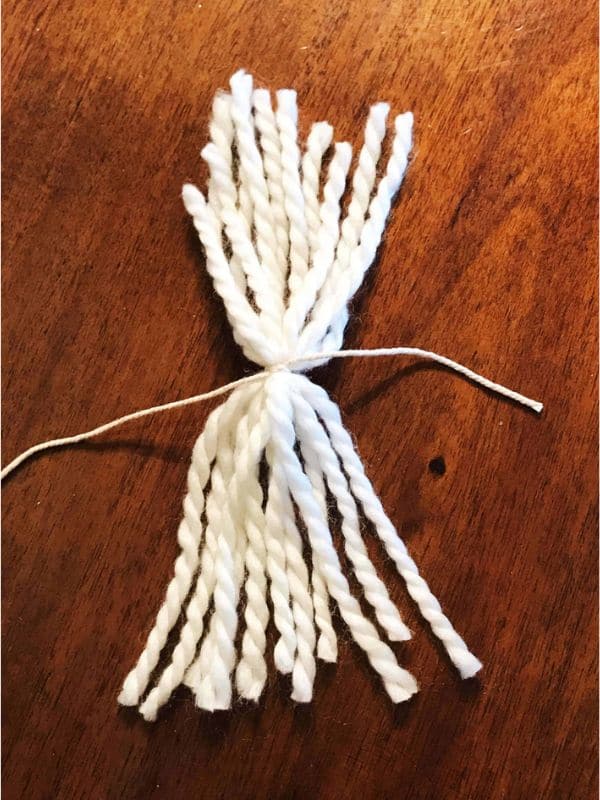
Just lay out your string or cord and measure them to all the same length. We used about 9″ to measure each piece of ours and that’s definitely because we eye-balled it and then measured after we’d already cut our yarn.
If you’ve got a large tree or you’re using it for a wall hanging you may need to make your lengths a bit longer, smaller tree a bit shorter.
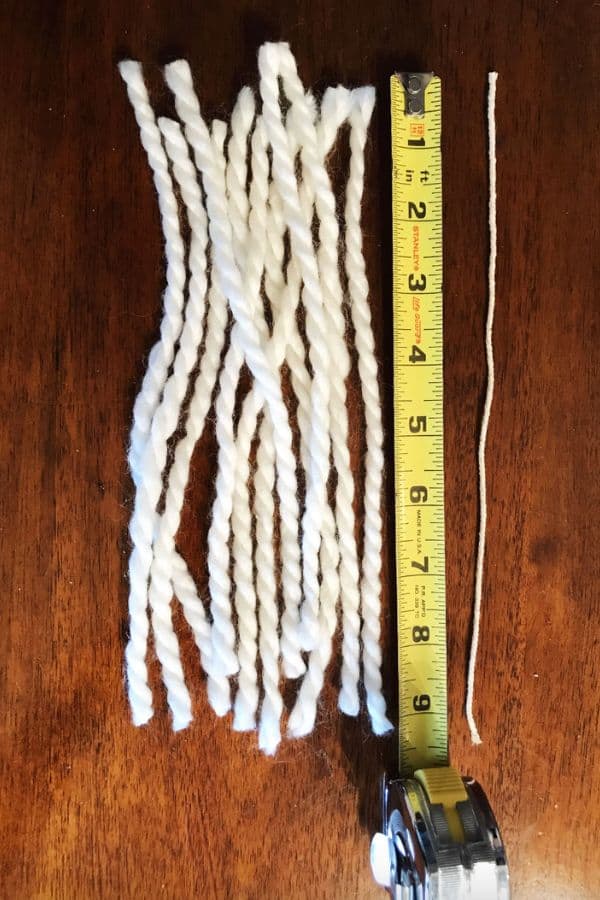
Remember that you’re going to fold your strings in half so you can use an odd number of pieces.
The thinner string is the one we’re using for our top piece, but you can use the same string for the top as you do for the rest of the project.
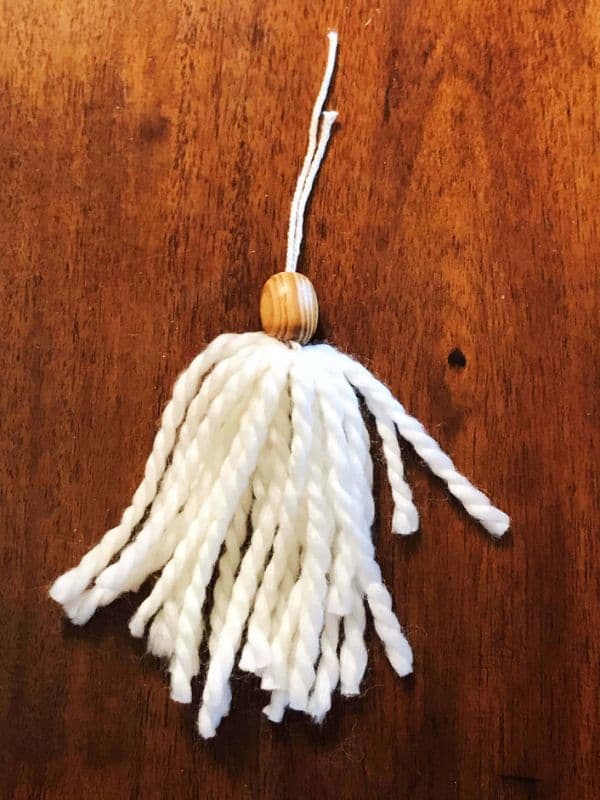
Once you’ve created your tassel you can trim the ends to be even if you want them that way. Or you can cut them at an angle.
Or you can just leave them.
So many options.
We added our bead on the top and then just tied a knot at the very top to make a loop for hanging.
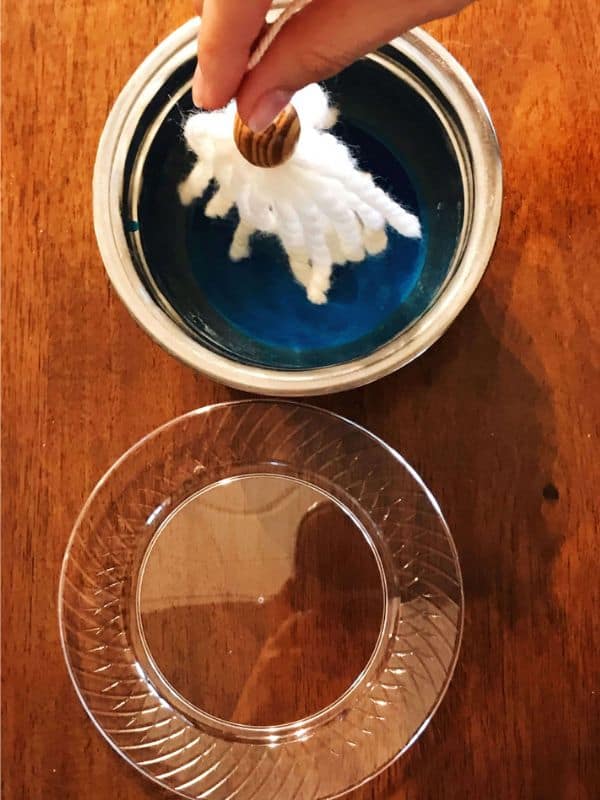
Once you’ve created the tassel then we get to the fun part, which is dipping them in the dye.
Because we’re obviously making dip dye ornaments!
Here’s your chance to be creative and use your favorite colors for your project.
We just dipped, swirled, and then hung our ornaments to dry.
There are lots of variations you can do at this point in the project. Different colors of dye, ombre your dye, or even just use a different color of string or yarn.
I know that you’re more creative than we are so I’ll leave it to you to come up with lots of fabulous colors and designs right here.
Remember to Dip:
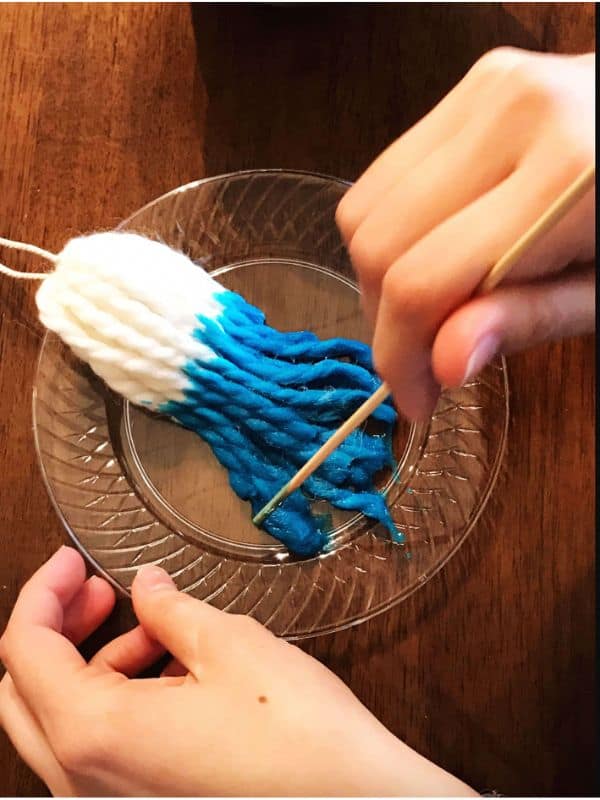
Then swirl.
Swirling your tassel around makes it easier to get all sections of it covered in your dye mixture.
Leave your tassel in the dye or paint for at least 30 seconds. Remember that it will look lighter when it’s dry so if it’s really light when you first remove it, dip it again.
Also note that you can dip it after it’s dry to make it even darker, or add an ombre effect.
Then you just have to lay it on a plate or paper towel for a few minutes. You can use the paper towel to squeeze some of the excess water out of your tassel and then hang it up to dry.
Be sure that your project isn’t dripping before you decide to use it. We hung ours outside for a few hours and let them get good and dry.
If you’re in a hurry you can try using your blow dryer.
See, we’re just full of great ideas right?

And there you have it!
Tassel dip dye ornaments that only took a few minutes to make!
Now we need to make more of them and get them all up on our trees!
Be sure to share your project with us so we can see how creative you are! We’d love to see these made in a rainbow of colors. Or maybe even a tree made out of dip dye ornament tassels.
Hmm, now that’s an idea to try.
In the meantime….
Follow us on Pinterest and on Instagram for lot’s more ideas and inspiration!
Do You Need More Holiday Craft Ideas?
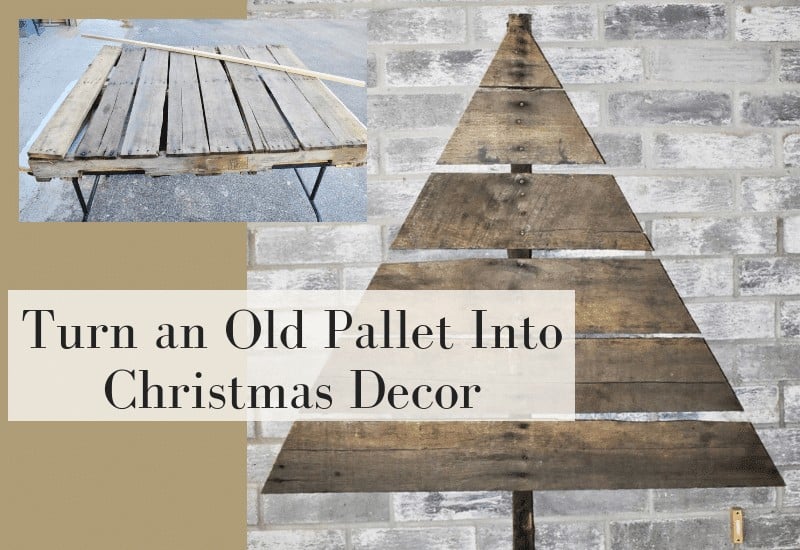
Here’s how to make a Pallet Christmas Tree
A delicious Peppermint Body Scrub for yourself or a gift
Some fun Dollar Store crafts to make