Quick and Easy Pallet Wood Heart for Valentine’s Day
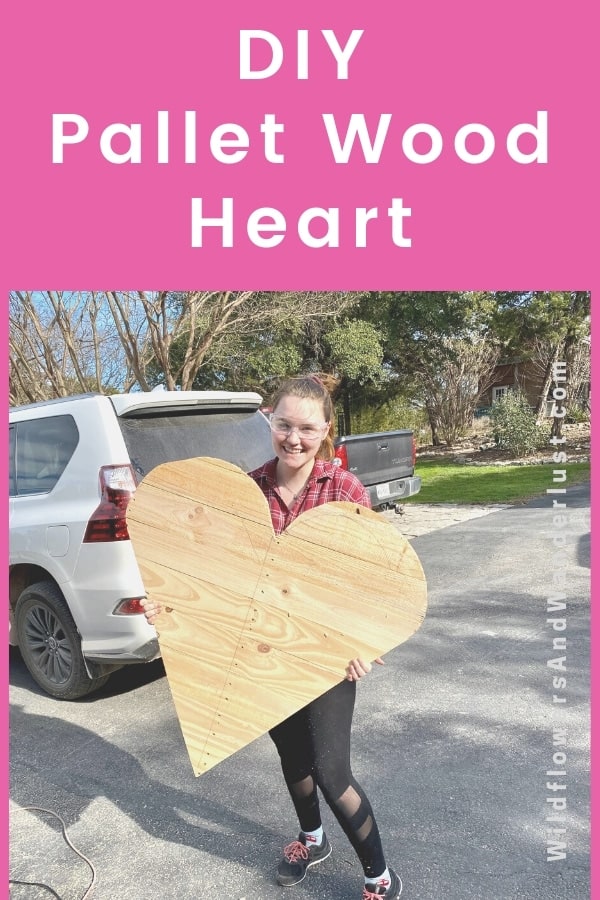
Do you happen to have a pallet laying around and you’re not sure what to do with it? Well we made a pallet wood heart to use for our Valentine’s Day decor and we’ll show you just how we did it.
We generally have a pretty good pile of scrap lumber to choose from, but we actually got this pallet when our daughter had a new appliance delivered to her house. The wood on this pallet was so pretty and smooth that we figured we needed to make something out of it.
Bring on the pallet wood heart.
It’s the perfect decoration for Valentine’s Day and it’s the perfect way to recycle a pallet.
~This post may contain affiliate links. If you click one and make a purchase, I may receive a commission at no additional cost to you. This helps us fund creating great content for you! For more information click here ~
Supplies You’ll Need
The best part of using pallet’s for projects is that you can find them for free in lot’s of places.
If you don’t have a pallet on hand, check your local hardware store. You may even fine one by asking a local shop to see if they have any to recycle.
Of course you’re going to need a pallet to make your pallet wood heart! There are a few other supplies that you’re going to need for this project:
- Eye Protection and Gloves
- Pencil
- Hammer
- Prybar
- Saw – we used circular and jig
- Nails or staples for finishing
- Paint (optional)
How to Design your Pallet Wood Heart

We started off using a straight edge to draw the V part of our heart and then just free handed the top part of the design.
If you’re not confident in your drawing skills you can make a template first – but you should be pretty safe drawing on the wood. You can easily sand off your pencil marks or paint right over them when you’re finished.

Don’t be afraid of using your power tools. They are not as hard to use as you might think and a pallet is a great way to try out cutting.
It’s free. And hey, if you mess it up you can easily recycle your pallet and start over.
We used a circular saw to cut the long straight cuts (the V) and then we used a jig saw to cut the rounded sections.
This is the same process that we used to make our Pallet Christmas Tree.
A few tips:
Be very careful of the nails on your pallet. We always cut first and then peel the back away from our design but if you’ve got an old pallet with a lot of nails in it you may need to dismantle the back before cutting the front.
Wear gloves. Even this pretty and smooth pallet will give you splinters. Even if you’re careful. Gloves are a great way to avoid splinters and scratches.
Wear Eye Protection. Always use eye protection when you’re working with power tools. A slight gust of wind can send sawdust everywhere, especially into your eyes.
Finishing the Back of the Pallet Wood Heart
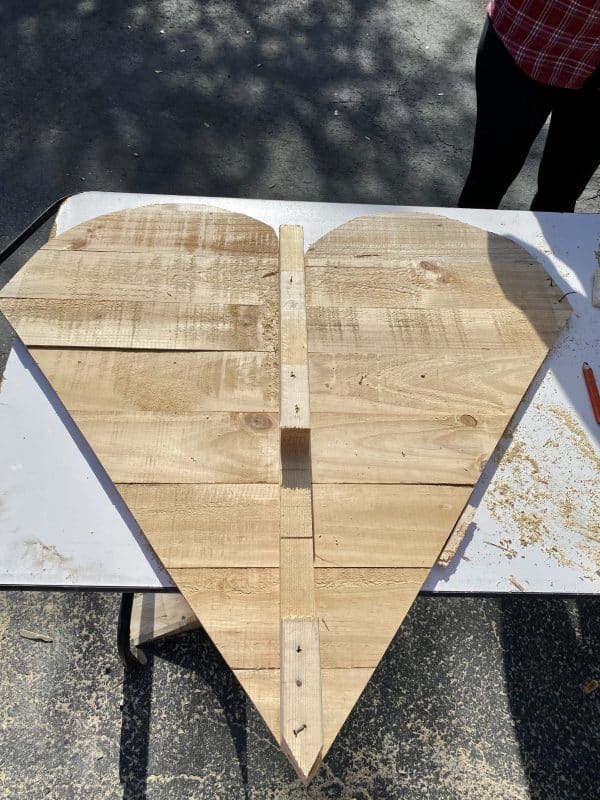
Once we peeled the unused portion our heart away from the cut out section we had a few loose boards that weren’t attached.
We left the center support from the original pallet attached to our heart. The top two boards of our design weren’t attached to the center section so we had to add some braces onto the back to hold them.

We had plenty of scrap wood from the pallet so we used a couple of pieces that we pulled right off of it as our braces.
We also went back with our jig saw and rounded off the pointed edges so that they had a nicer shape.
If you’re not comfortable doing finer work with your jig saw then a sander will work just fine too.
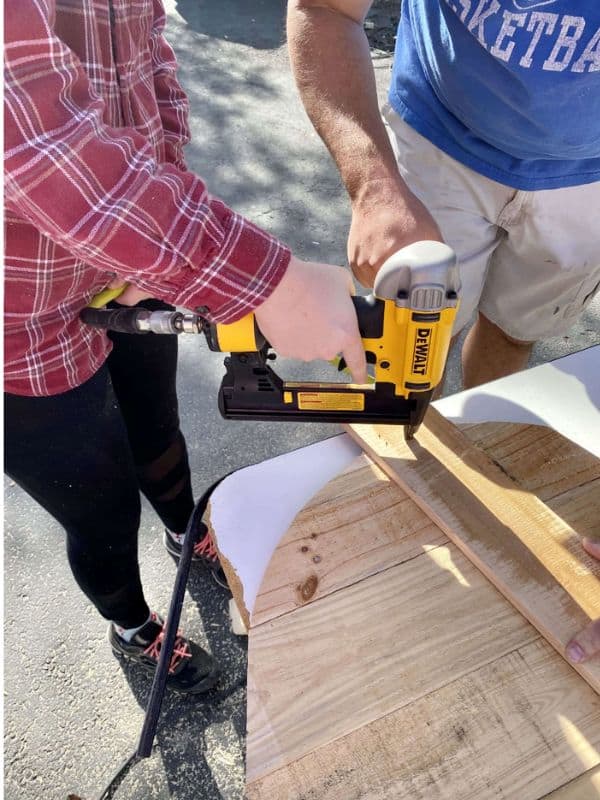
We used a small stapler to attach our braces to the back.
Finishing Touches for Your Pallet Wood Heart
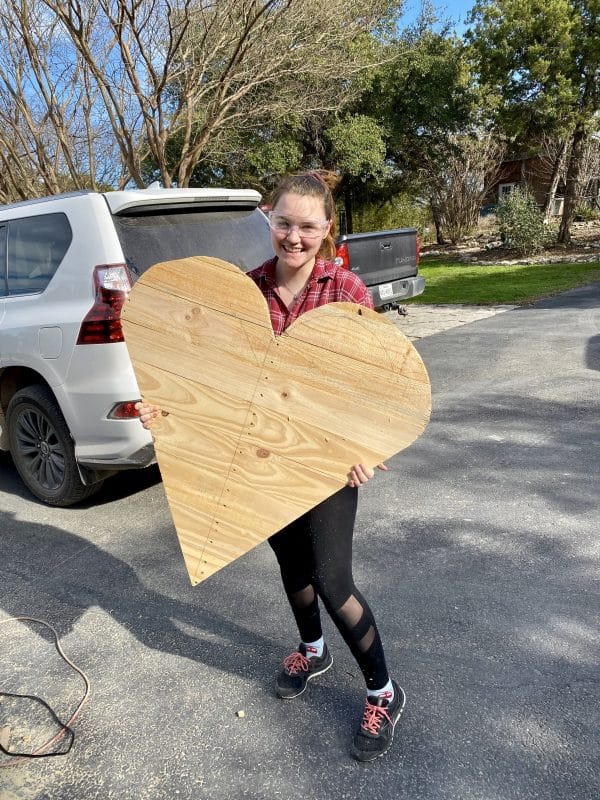
Here’s Victoria showing you the cut out!
She’s smartly wearing her safety goggles and you can also see several of the lines that we drew onto the pallet before we had our perfect heart shape drawn.
It took a few times to get the shape just right but it turned out to be a great size when it was finished.
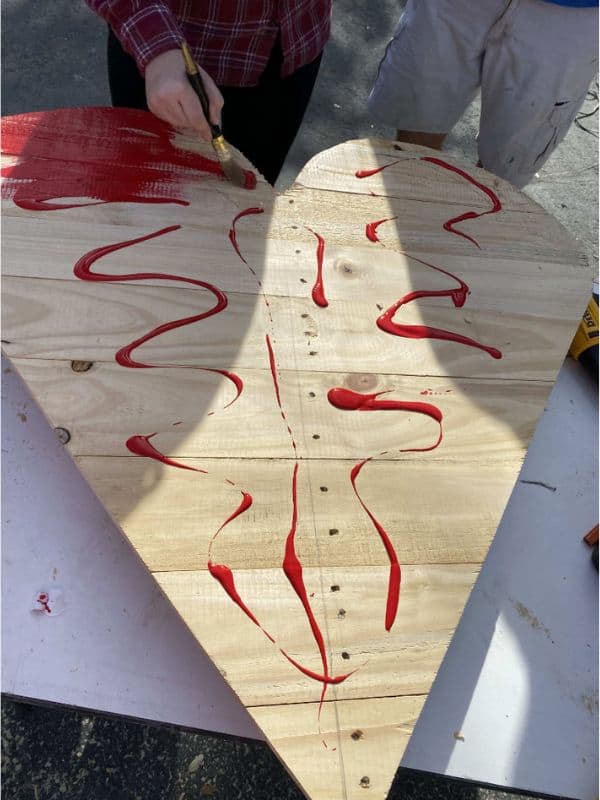
The heart was painted red so it would stand out when we hung it on our gate and boy does it!
We used some leftover tempera paint from one of our previous projects so we just dribbled some onto the heart and brushed it around. I put a little more than we needed so it got a full coat of red paint.
I think dry brushing it would have looked better but it’s finished now and we’re enjoying the bright spot of red.
We decided not to put any kind of sealant on the boards and they will fade and weather a little bit since they’re outdoors on our gate.
I’ve debated running a sander over it to give it a rougher finish but we’ll see how it looks in a few days.
Right now it’s a very bright spot of red at our entrance.
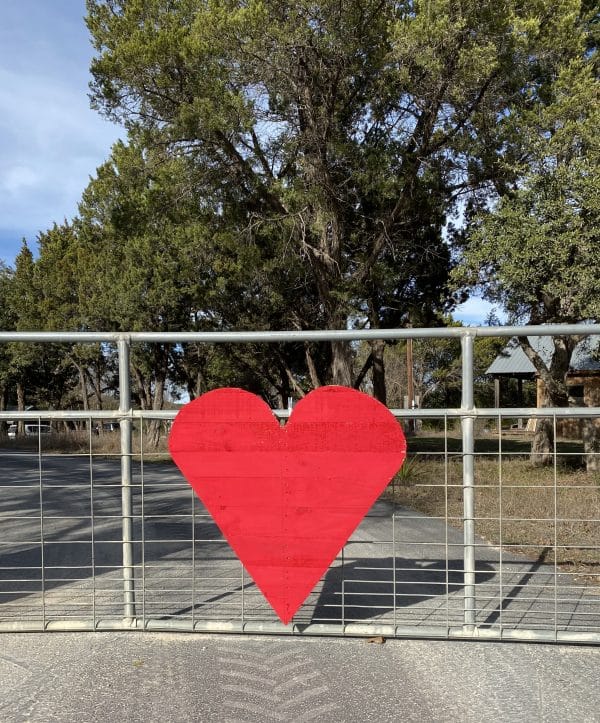
It would look a lot more rustic if I had hit it with the sander.
I guess that will be another project for another day.
If your pallet has a lot of great colored boards on it you may not want to paint it. Or you could put a light wash of color onto it. Our pallet was pretty smooth so it will need a bit of weather to give it a more rustic appearance.
Now we’ve got to get some more decor put up inside our house!
Follow us on Pinterest and on Instagram for lot’s more ideas and inspiration!
Want more fun DIY’s for Valentine’s Day? Check these out:
Easy and Delicious Pink Popcorn
Heart Shaped Pom Pom Wreath
DIY Heart Garland
and Lot’s of DIY Valentine Decor
