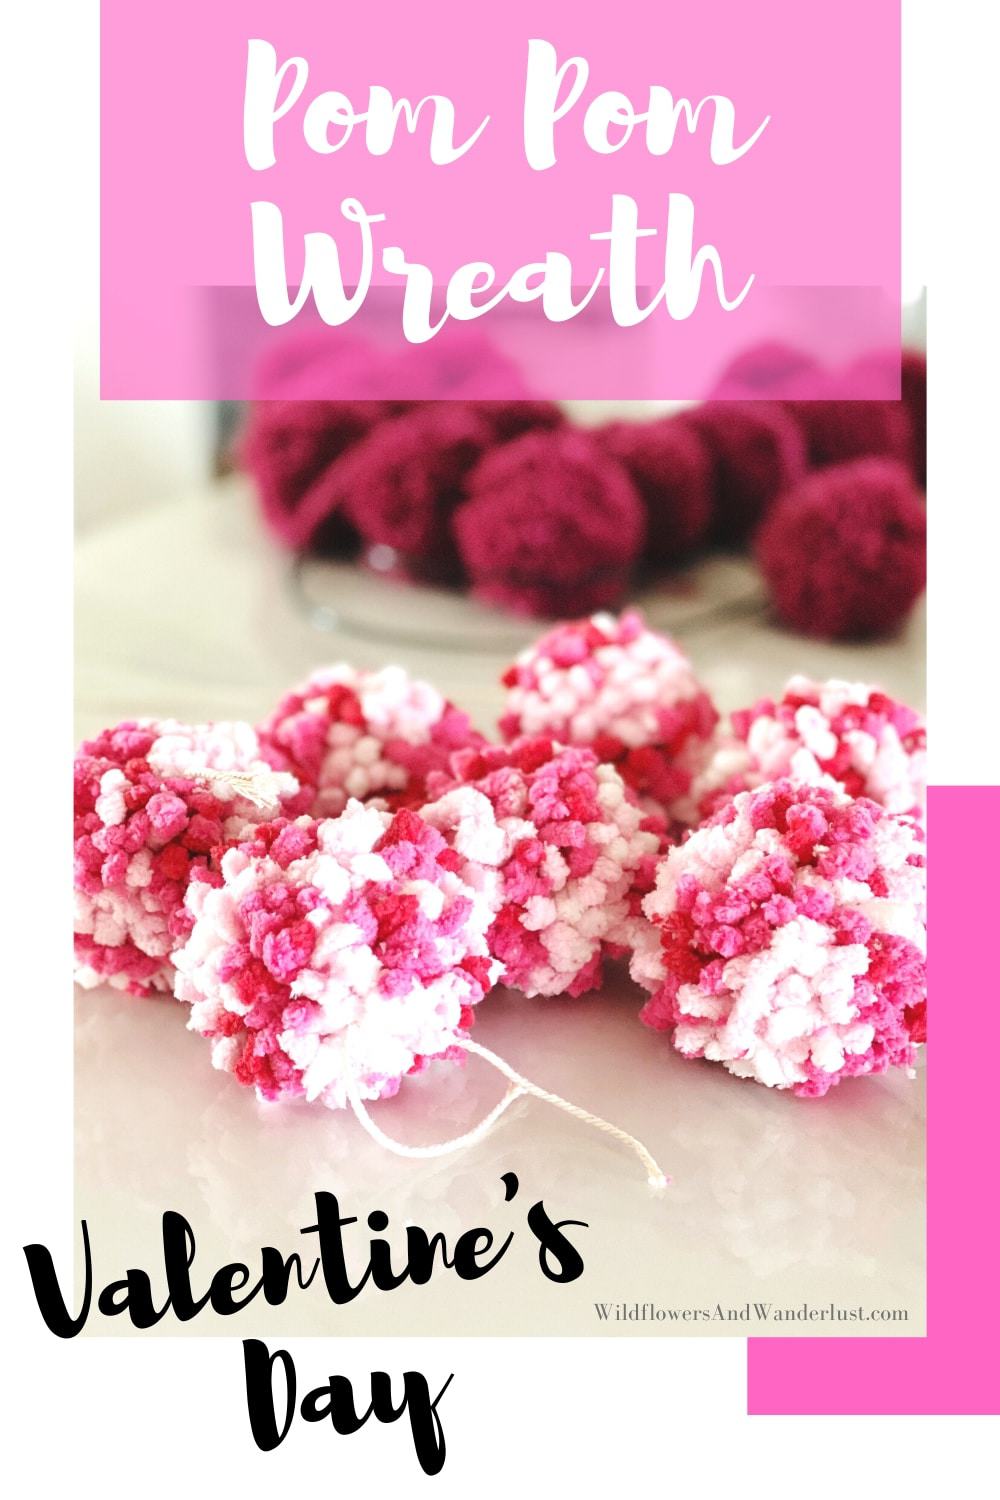
Bright and Easy Heart Shaped Pom Pom Wreath
A Pom Pom Wreath oh Yeah!
This is the first project that we’ve made for Valentine’s Day this year and this pom pom wreath might be our favorite craft so far.
I don’t know about you but Valentine’s Day is extra special around our house.
No, it’s not because of the treats or the love involved. Mainly it’s because it’s an excuse for us to turn everything pink around our house. I mean #pinkismyfavoritecolor is one of our favorite hashtags.
In a house with 4 sisters you know there’s going to be pink everywhere.
Don’t even get us started on pom poms.
They are the most fun and versatile item that you can decorate with. You can make them for crafts or add them to your clothing, keychains, and most any form of home decor.
Did we mention this was a house of girls?
~This post may contain affiliate links. If you click one and make a purchase, I may receive a commission at no additional cost to you. This helps us fund creating great content for you! For more information click here ~
Supplies for the Pom Pom Wreath
We have found that using the clover pom pom maker is the best tool for making pom poms. For this project we used the large size, it’s a pale green color in the 2 1/2″ size.
You can use any size of pom pom or yarn that you like, but we’re going to share what we used for our project here.
We should also note that one skein of the thicker blanket yarn was enough for one wreath, but it will take 2-3 skeins of thinner yarn. Yes there’s a half finished wreath here since we ran out of yarn.
But did we give up? We did not, we just found some different yarn and started over…..
Here’s what we used:

Bernat Blanket Brights Yarn in 10.5 oz – the color we chose is called Raspberry Ribbon
Clover Pom Pom Maker in Large – 2 1/2″ size
Scissors
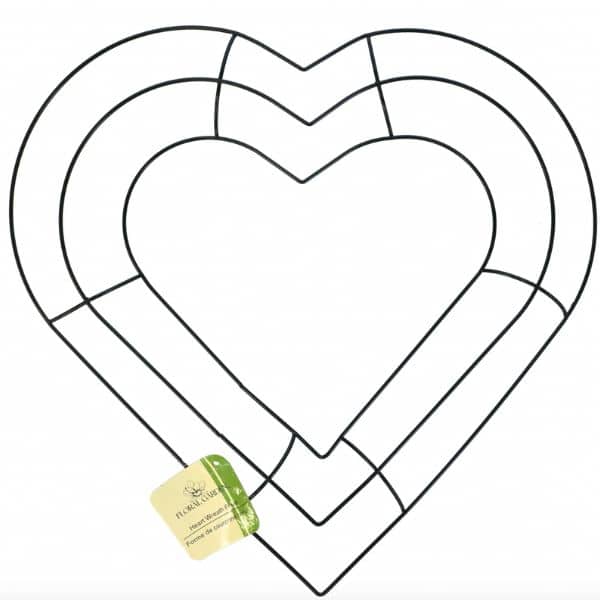
Heart Shaped Wire Wreath Form
How to Make the Pom Poms
Of course we’re going to start off making pom poms using a clover pom pom maker. You need a lot of pom poms to make a pom pom wreath!
There are a ton of different ways to actually make pom poms, but this little tool is the most durable and easiest to use that we’ve found.
If you’re planning to use a piece of cardboard or other form to make yours then by all means proceed! But for our directions this is the tool that we’ll be using.
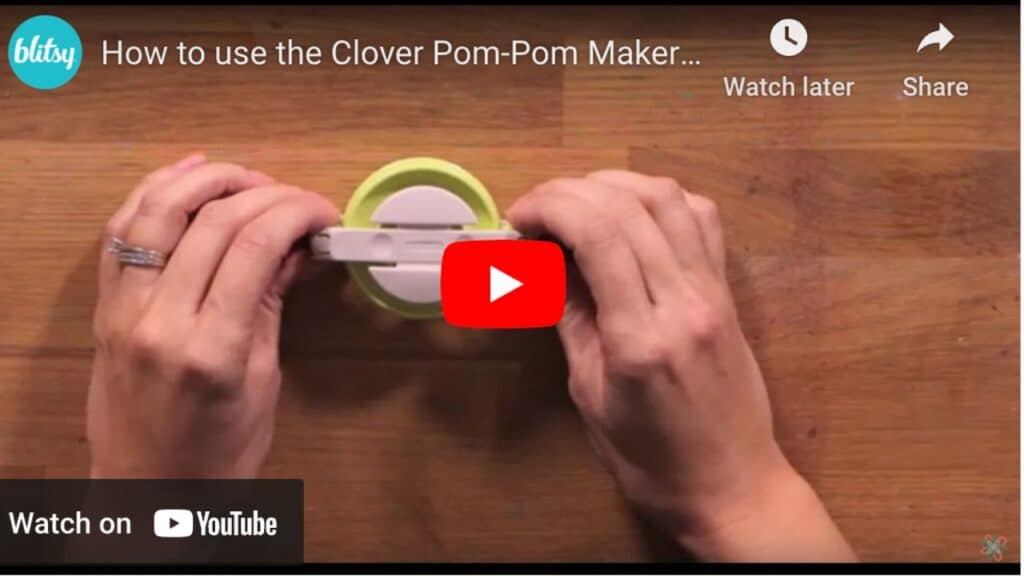
We’ve got the step by step directions with some photo’s for you and then there’s a quick video after that if you want to see it live.
A quick note about the pom poms: We were able to make 34 pom poms from the blanket yarn.
A regular skein of yarn made 12.
You’ll need roughly 34-40 pom poms to be able to cover your form so take that into consideration when you’re purchasing your yarn.
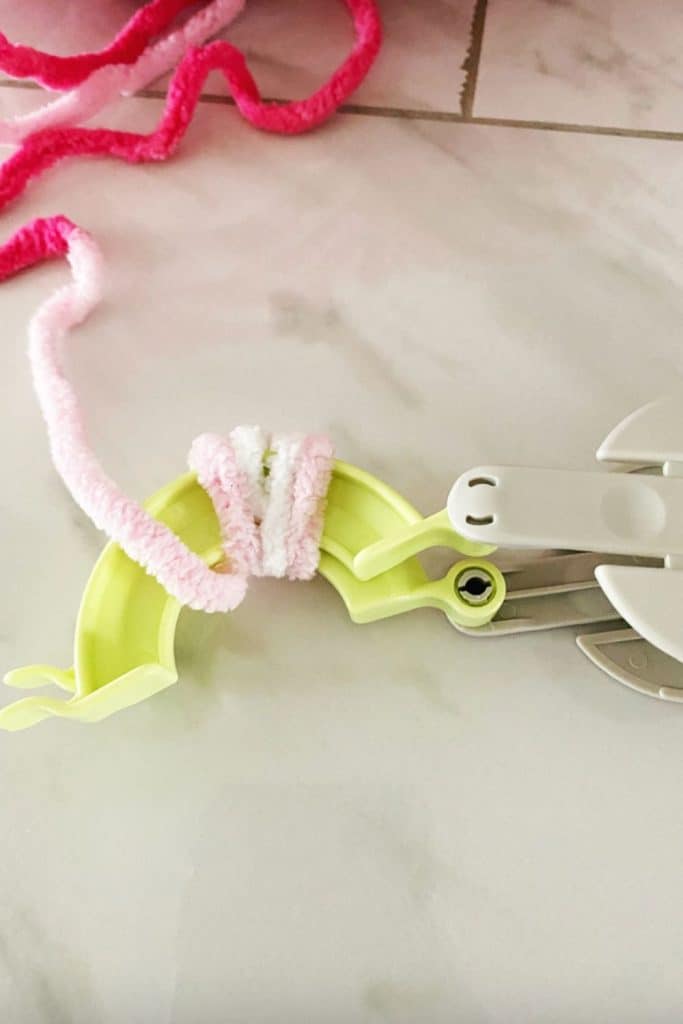
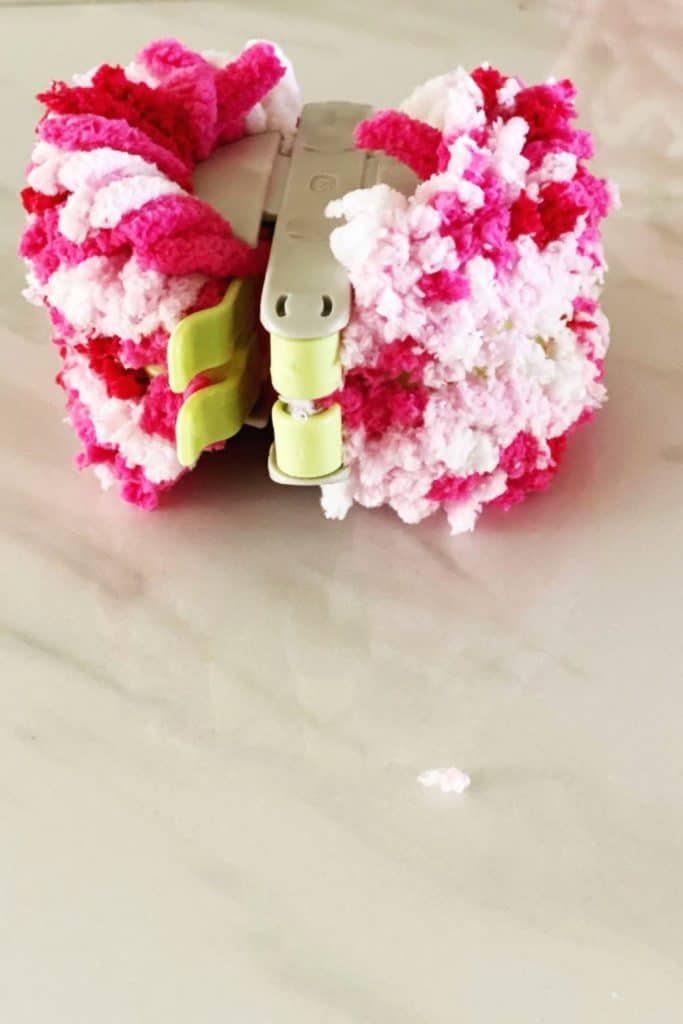
Step One
Start off by wrapping your yarn around one side of the pom pom maker. You’ll cover one half circle and then close it and cover the other half circle with yarn.
Start anywhere on the tool when you’re wrapping your yarn and then move from left to right and back until you have a nice thick wrap around half the tool.
The thicker you make your roll around the half circle, the fluffier your pom poms will be. Just be sure that you can close the circle when you’re finished.
Be sure to end on the outside edge of your clover so that it will easily wrap around to the other side.
Once you’ve filled one half of the clover you’ll move to the other half.
Repeat the same process until you have covered the second half in yarn.
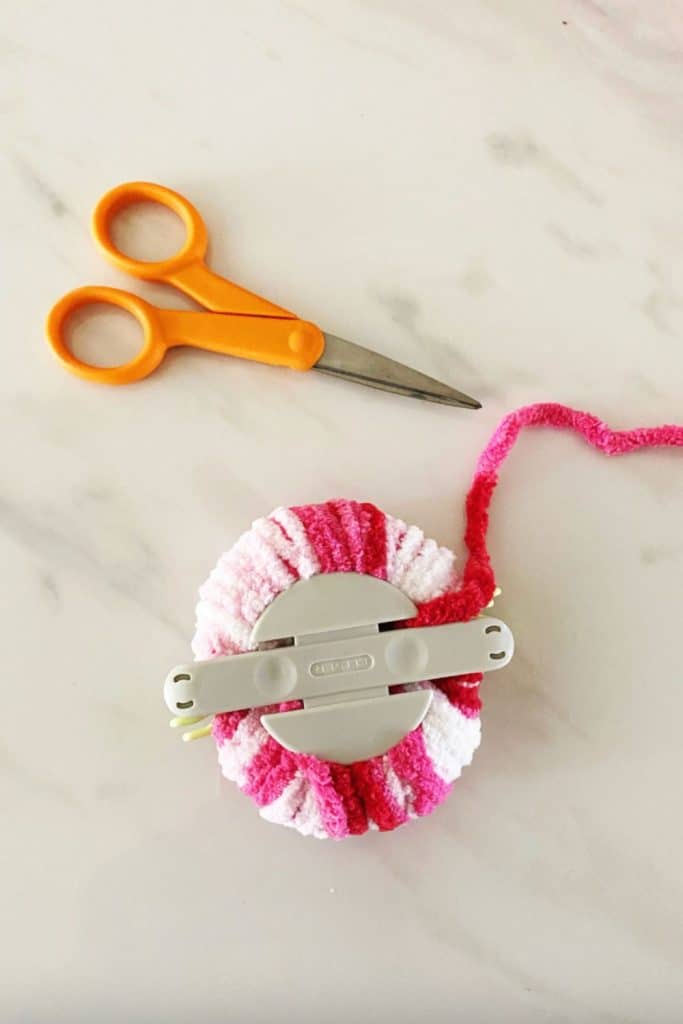
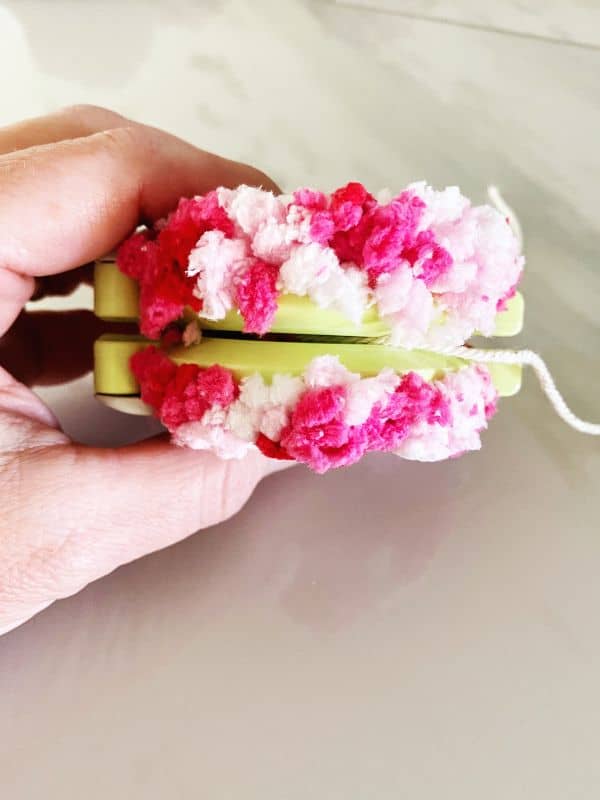
Step Two
Once you’ve wrapped your yarn around both half edges of the pom pom maker you’ll close it up and it should look like the photo above.
Here’s one of the benefits of using the clover tool. Your scissors will fit into the groove to cut the yarn and it makes it so much easier than some of the other tools we’ve tried.
Step Three
Now it’s time to cut your yarn. You can easily slide your scissors into the groove between to top and bottom of the pom pom maker and just slice all the way around.
Don’t go crazy here, just slice around. But use some muscle because that yarn is thicker than you think!
Step Four
Once you’ve cut your yarn all the way around, you’ll secure the middle of it with another piece of yarn or string.
We elected to use some scrap string so that we wouldn’t be using up any more of our yarn than we needed to, and so that we could use up some scraps from another project.
Be sure that your string is long enough to leave tails on it so that you can use them to tie your pom poms to the wreath form.
We like to use a piece that’s 10-12 inches long.
Pull the string tight and tie a knot in it.
You should be able to feel the knot tightening when you pull on the string. Be sure that you make a tight knot because that’s what’s holding all those cut strings together!
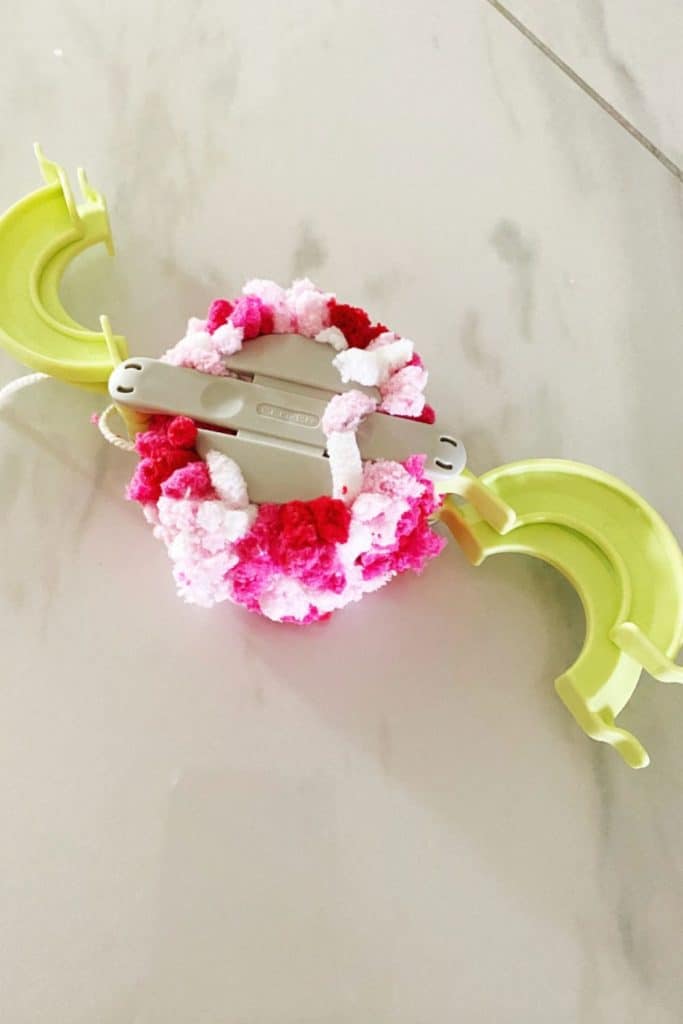
Step 5
After you’ve tied a secure knot in your pom pom you’ll just open the arms of the clover carefully.
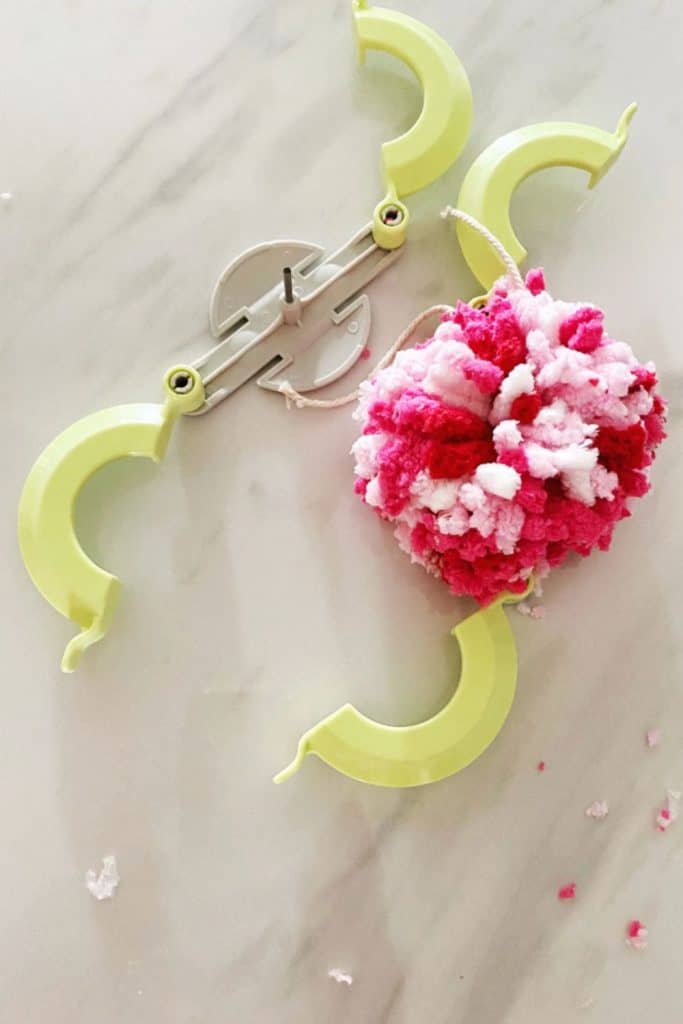
Step 6
Then you’ll just pop the top off the clover and your pom pom will be all done.
It just needs some fluffing and possibly some trimming to make it into a perfect little pom pom.
Here’s a video that walks you through the steps outlined above.
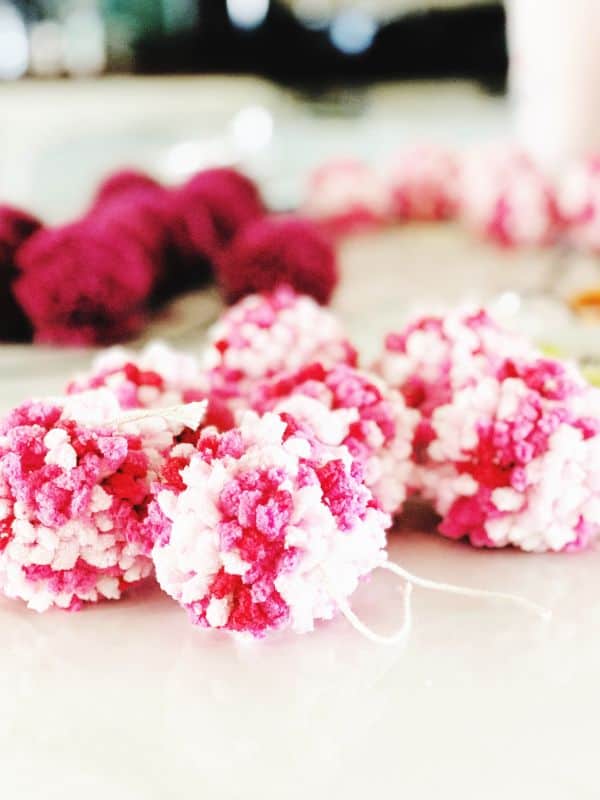
Step 7
Make more pom poms.
Did we mention that it takes a lot of them to make a pom pom wreath?
Repeat this over and over until you have anywhere from 34-40 pom poms. We suggest using up the yarn that you’ve purchased so that will be anywhere from 1-3 skeins of yarn.
Don’t worry if you haven’t made pom poms before. It actually gets a lot quicker once you’ve made a few and it’s a great project to work on while you’re bingeing on Netflix.
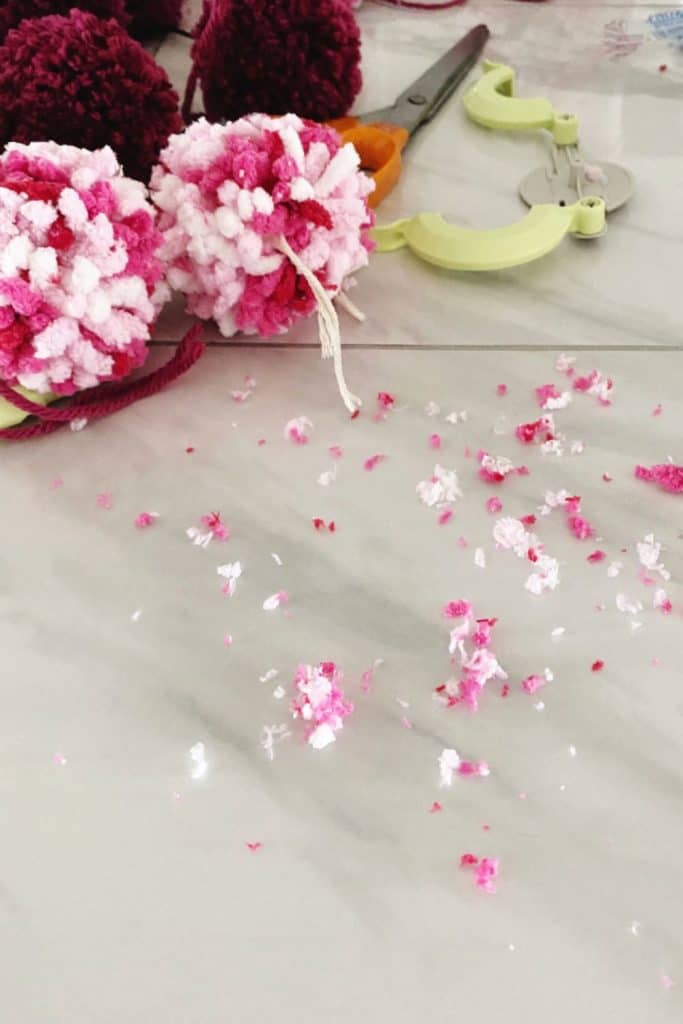
Did we mention that this is a messy project?
You’ll have little bits of yarn and fluff wherever you’re working so be aware of that.
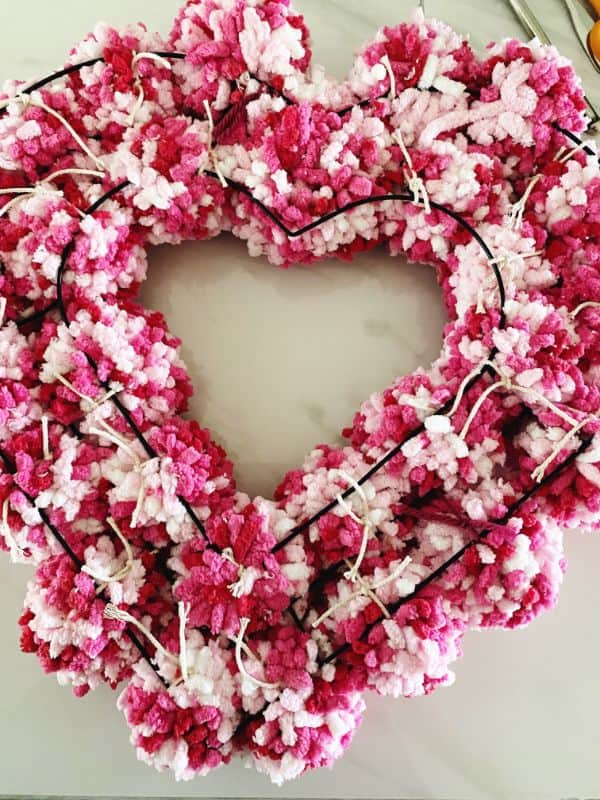
Assembling the Pom Pom Wreath
Putting the project together onto the wreath is easy.
Take those tails that are left from making your pom poms and tie them onto the wreath form.
We staggered our pom poms using two of the three rails each time. So the inside and middle rail for one and then the outside and middle rail for the next. We tied several onto each section and we were able to slide them up and down the sides to see where we needed to add more.
Once we had tied several on each side, we flipped the wreath over to see how it looked. Then it was just a matter of adjusting and adding.
This is what the wreath looks like on the back when it was almost finished.
We might go back and glue some felt onto the back of it to make it look nicer, but probably not.
Who’s going to be looking at the back anyway?
So what do you think of our cute little pom pom wreath? Are you ready to make one of your own? What color(s) will you use?
Show us your projects in the comments below so we can see how it turned out.
Want some more Valentine Day Projects and Inspiration?
Here’s an easy Heart Garland that looks beautiful in a window!
And here are lot’s of other Valentine decorating ideas to spur your imagination.
Follow us on Pinterest and on Instagram for lot’s more ideas and inspiration!