How to Make An Easter Egg Topiary Tree
We’re sharing our tips on how to make an easy Easter egg topiary that you can display in your home this spring. It wasn’t hard but we learned a few things to share!
One of the fun things about sharing a crafting blog is that we often craft as a group. Of course that always opens up all kinds of ideas and questions, and we think that helps us learn quicker and easier ways to craft.
Sometimes we move from house to house so we get to make decorations and then decorate at another house.
That can be a challenge or it can spark a great idea when we’re working with the decorating style.
Luckily we all love color, especially when decorating for a holiday of any kind.
A holiday makes it acceptable to use colors that you might not normally display in your house, or it means you can add even more colors!
So we created this Easter Egg topiary.
On this one we used iridescent colored plastic eggs but now we’re working on a whole forest of Easter egg topiary trees and we’ve got lots of great ideas.
~This post may contain affiliate links. If you click one and make a purchase, I may receive a commission at no additional cost to you. This helps us fund creating great content for you! For more information see our disclosure ~
Supplies for an Easter Egg Topiary
You only need a few things to make this topiary and it depends on how big you want to make it. Obviously if you make a large topiary it’s going to take more eggs to cover it, a smaller one, less.
- Cone – either cardboard or styrofoam will work
- Plastic eggs in your choice of colors
- Moss – we used Green Spanish moss or easter grass
- Glue Gun

If you don’t love the egg colors that you’re finding you can definitely paint your eggs but we’re big fans of bright colors so it just made sense to use the plastic eggs.
If you decide to paint your eggs we’d highly recommend chalk paint for the quickest and easiest coverage. Since all the plastic eggs have holes in them now, you can easily prop them on a dowel stick and spray paint them!
How to Build the Easter Egg Topiary
We started with a paper mache cone from the craft store. The paper mache cones are less expensive than the styrofoam so that was the reason for the choice but either will work just fine.
Our cone was the medium size which is about 15″ tall and about 4 1/2″ at the base.
We used 4 dozen plastic eggs to cover the cone. We actually had one left but we definitely could have fit it on there as well. You could use less but we were pretty happy with the spacing on ours.
Start off Gluing Eggs to Your Cone
We chose the hot glue because it was the quickest and easiest. Other types of glue just don’t dry quick enough and when you’re working on a vertical project you need glue that dried pretty quickly.
We just put a decent size dot of glue on our egg and then held it to the cone for a few seconds and moved on.
Your eggs don’t have to face the same direction and they definitely don’t have to be evenly spaced.

If you are a perfectionist you may need to have a “backside” to your project since the measurements may not work out perfectly.
We just eye balled our measurements and turned a few eggs sideways and some upside down.
The spacing isn’t perfect and that’s where the spanish moss comes in.
Add Spanish Moss to Finish Your Easter Egg Topiary
Next you fill in all the gaps with your Spanish Moss.
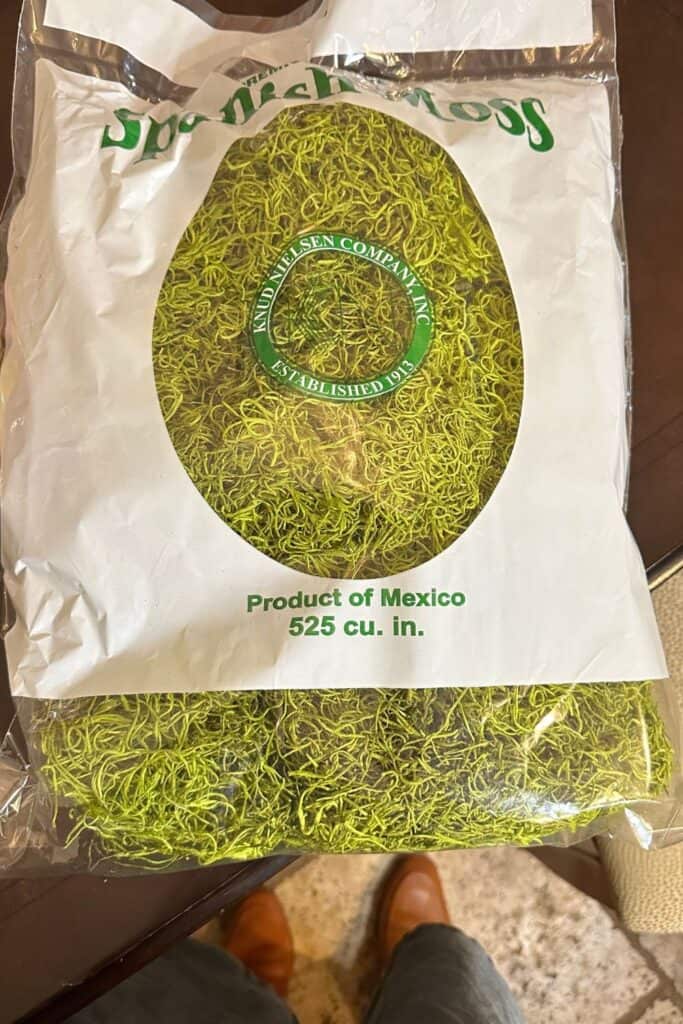
We chose the bright green moss for filler and it was pretty messy to pull apart but looked great when we got it finished.
After some experimenting we figured out that you don’t even really need glue to hold the spanish moss in the gaps.
You can easily separate the moss in to long pieces (not single pieces but a small bunch) and then stuff into a gap and spread around the plastic eggs to fill.

You can use a chopstick or a pencil to shove the moss down into any tighter spots. Or you can try winding your longer pieces of moss around to cover the smaller spaces.
However, we used hot glue to add secure our moss onto the larger spots on the cone.
Again, other types of glue take longer to dry but you could use white glue for this part of the project and it will work just fine. It’s also easier to drip the white glue down into the gaps.
With either type of glue you’re going to want to lay your topiary on its side while working on this part of the project.

If you’re using hot glue you’ll have to drip the glue down into the gaps and then be careful not to burn yourself with it. We also found that this method made lots of glue “strings” but they were easy to clean up.
A DIY Stand for our Easter Egg Topiary
We threw in a little bonus here by making a little stand to put the finished topiary on!
This was a glass candle holder and glass dish from the dollar store and we used E6000 to glue them together. Total investment of $2.50 for a cute little crystal looking stand.
It was just as easy as peeling off the stickers and gluing the plates to the stands.
Really, peeling off the stickers was the hardest part. Or messiest part!

You can also use a bucket, a plate or any other kind of riser that fits your decorating style to place your topiary.
Next up we’re going to create some single color topiary’s to see how they look! And we’ve got a few more Easter decor projects to try out!
Follow us on Pinterest and on Instagram for lot’s more ideas and inspiration!
If you enjoyed this you’ll also like: