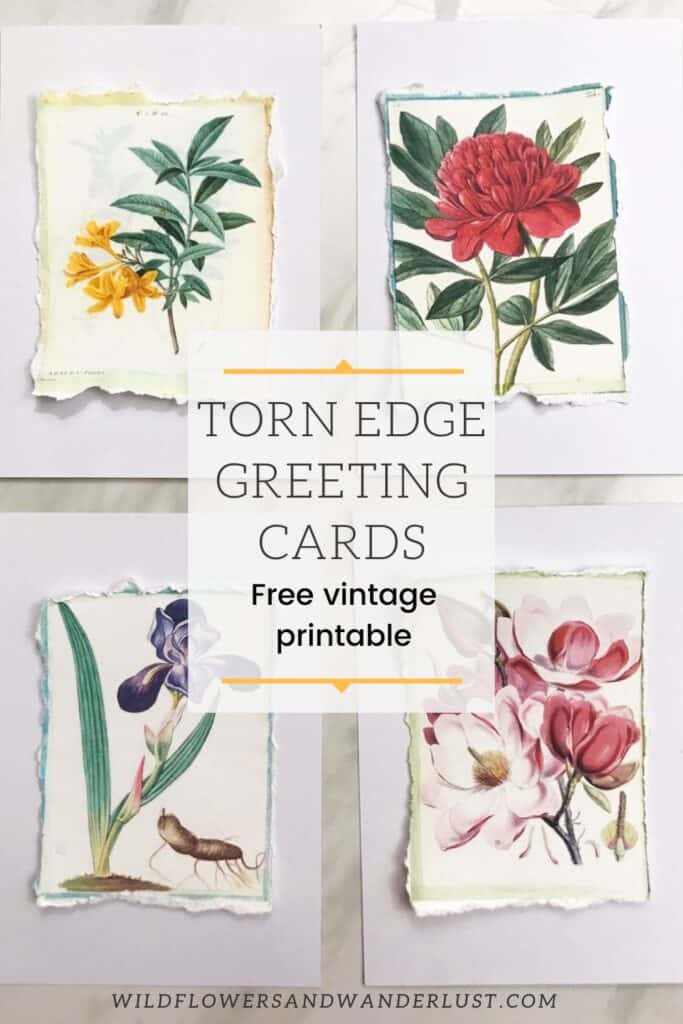
How to Make a Beautiful Torn Edge Greeting Card
We’re sharing some free downloads and a tutorial on how to make a torn edge greeting card. These are perfect for any day but we especially love them for Mother’s Day!
How to Tear Paper for a Greeting Card
So right now you’re thinking “How silly, of course I know how to tear paper”, and of course you do.
Tearing paper is not science.
It’s not even hard.
It can, however, really make some beautiful and interesting edges in your scrapbook. Or even better, for the project we’ve outlined below to make cards and labels with torn paper edges.
This edge is also called a deckle edge in crafting circles. I didn’t even know that until I was looking for “torn paper”. I guess a deckle edge does sound a lot fancier then just tearing paper.
~This post may contain affiliate links. If you click one and make a purchase, I may receive a commission at no additional cost to you. This helps us fund creating great content for you! For more information click here ~
Go Ahead, Tear Some Paper
Grab a piece of scrap paper and pay attention to how you tear it.
If you are right handed you may tend to pull the tearing edge toward you with your right hand, and if you’re left handed you probably lead with your left. Your dominant side leads the tear.
Playing around with this may give you some more interesting edges. You might try tearing it in the opposite direction, or pulling it outwards instead of up.
Different weights of paper are also going to tear a little differently. Thicker paper or handmade paper is going to tear according to the way the fibers line up within the paper. You may have to experiment with these to get the effect you’re looking for.
Paper is made from wood fibers that are tightly compacted together. The finer the wood fibers, the smoother the paper.
You can’t see these tiny fibers when the paper is cut with scissors or a blade. When you tear paper, however, a soft textured edge is revealed.
Of course, different types of paper are going to tear differently and feel different.
Most papers are going to have a white edge when you tear them but thicker papers might surprise you with their core colors.
So now that we all agree that tearing paper is not hard, we do have a few ideas on how to upgrade your torn edges. And after that we’ve got a project for you.
Paper Tearing Edge Ideas
Torn paper edges can add a beautiful effect to many different types of projects. If you are scrapbooking, card making, or working in another paper art medium, you may use torn paper. Here are a few ideas on how to embellish your paper edges.
Of course leaving the edges torn is always an option. Just the torn look is a beautiful edge.
Chalking the edge of your torn paper gives it a beautiful effect.
This consists of using a cotton ball or cotton swab and rubbing the exposed edge with loose chalk. This can add a subtle color to the exposed edge and you can play around to get different colors and combinations.
Inking is another possibility.
Just run the torn edge across the top of an ink pad and let it soak up a bit of the ink. Different colors of ink are going to provide a different look and contrast to your paper.
You may want to experiment with some scraps and different colors to try out these effects. Some paper is going to soak up the ink a little fast too, so try this with a scrap first.
Watercolor can be done in a similar fashion to inking. You will probably want to use a very watery version of a color to start with and see how it soaks into the paper edge.
Rolling the paper is another way to finish off the edge.
Once you have your torn paper design glued down you can just roll the edge toward you and it will change the look of your finished edges.
Where to Use Your Torn Edge Paper
Torn paper edges adds some textural appeal to any paper crafts project. We especially like it for the greeting cards we’re showing you below. It adds a nice vintage feel to the paper and gives it a little extra eye candy.
You can also just tear strips of paper and layer them as part of a project. We think it would be a beautiful card or scrapbooking page.
You could easily stamp an image, or print an image, onto a piece of paper and then tear it to give it more textural appeal. (cough, cough – project coming up)
We think this style is pretty popular with vintage prints and looks but that doesn’t mean that you can’t give it a great feel with a more modern style.
Make a Torn Edge Greeting Card
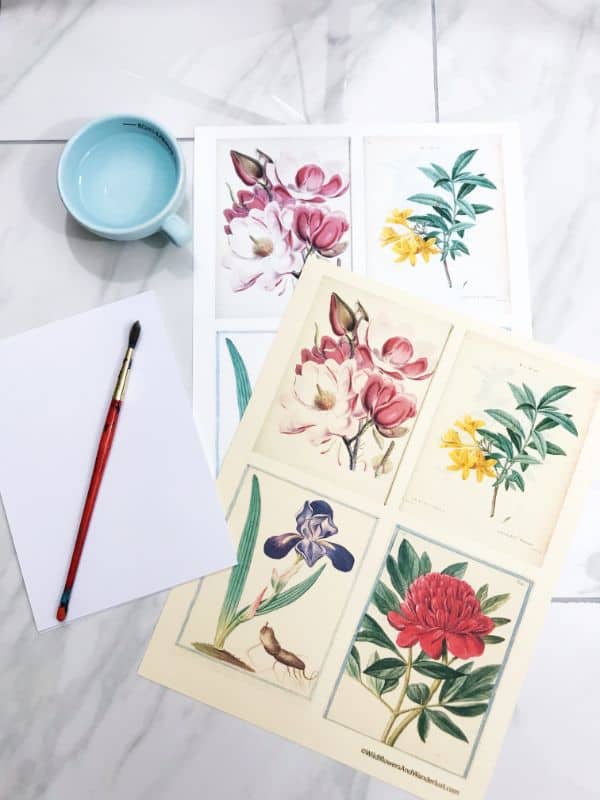
SUPPLIES
- free printable below
- printer
- cardstock paper and/or regular paper
- a small brush
- a bowl with water
- glue
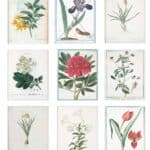
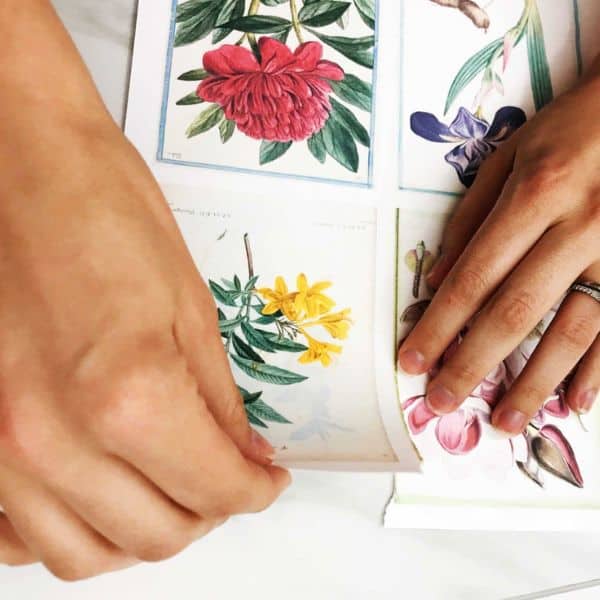
Start by downloading the free printables below. The 4 prints will work better for greeting cards and the 9 prints will be great for making labels or smaller cards. We used cardstock and regular paper, so we know that either one of these will work.


Both of these print should have plenty of white space around them to make a nice torn edge.
Be sure to leave yourself room in your future projects in case your tear doesn’t turn out exactly like you expect on the first try.
How to Use a Water Guide
If you’re unsure about being able to tear in a straight line, using a water guide can be a great way to get that perfect torn edge.

Use your paintbrush and paint a line of water down the piece of paper where you’re planning to tear it.
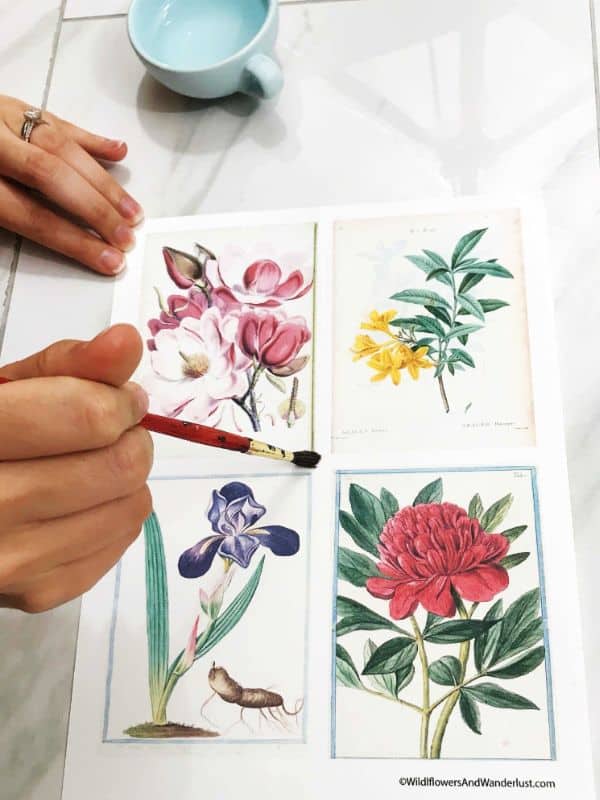
Then paint your next edge and continue working around the designs.
You may need to dip and apply several coats of water to get the lines fully saturated. Let the water sit for a few minutes so that it has time to absorb into the paper and then start the process of tearing your edges.
Take your time when you’re tearing the paper. The water should make the edges tear quite easily and give you that beautiful deckle edge.
Either of these printables should work easily with the water guide method. There should be plenty of room between each image for brushing water and tearing.
Be sure to work at the pace you’re most comfortable with. You can either paint water and tear each line, or paint all the lines with water and then tear. Either way will work just fine. If you reach an area that has dried out too much, just add some more water and continue on.
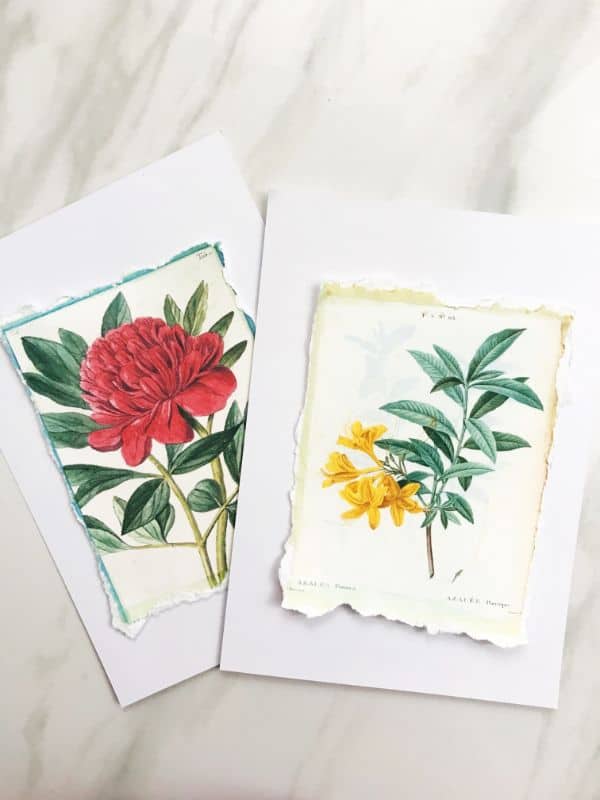
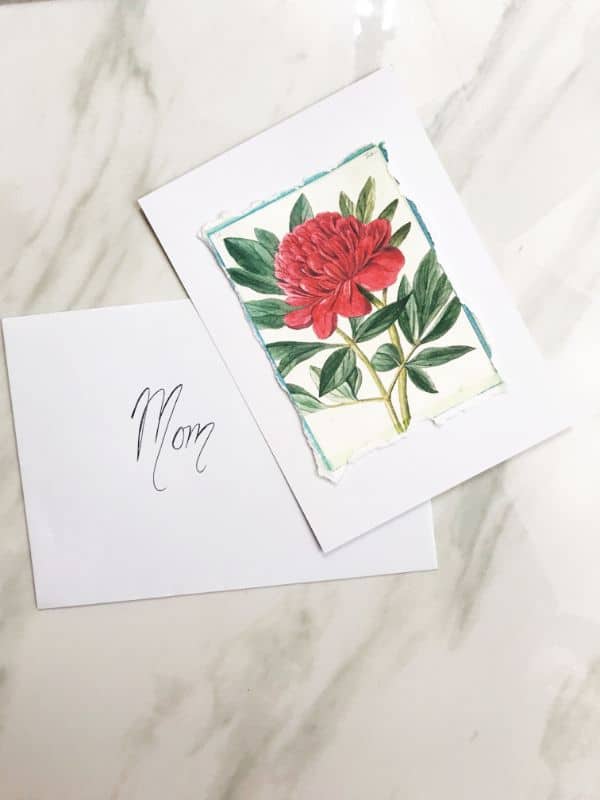
When you get finished you should have some beautiful prints with torn edges!
Glue your torn edge paper onto a blank piece of cardstock and you’ve got a greeting card.
A few notes about the project
We printed these on both regular and cardstock paper.
We also printed them on a colored paper and then decided we really liked the white for the greeting cards. The colored paper will be perfect for the labels in a future project.
Using the water guide method didn’t give us a noticeable difference on either type of paper, both were easy to tear and looked beautiful.
We generally prefer cardstock paper because of it’s weight but you could easily use cardstock for the card portion of this project and print the printables on regular paper.
If you want to embellish your greeting cards try adding some washi tape or ribbon, or maybe some dried flowers or herbs.
We are planning to use the smaller designs to make vintage looking tags with torn edges. Stay tuned for that to be another project, maybe to decorate some flower pot’s….
Want Some More Fun DIY’s?
We did finish these cards just in time to use them for this upcoming Mother’s Day.
Have you used torn paper edges in a project before?
Tell us about it in the comments below and be sure to save this idea to your Pinterest board so you can find it later.
Follow us on Pinterest and on Instagram for lot’s more ideas and inspiration!

<