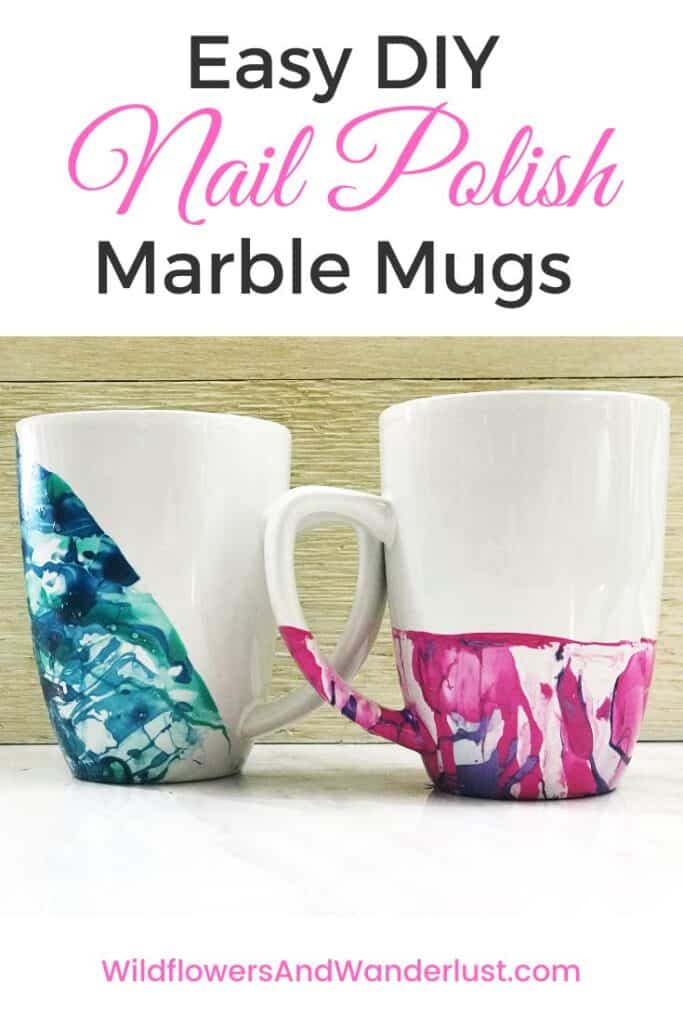
How to DIY Fantastic Marble Nail Polish Mugs
This is a quick project that kids can do supervised and outside. It’s a great way to use some fun colors of nail polish that you have or that you pick up at the dollar store.
Create Your Own Marble Nail Polish Designs
We are certainly guilty of spending way (and I mean way) too much time on Pinterest.
There are so many pretty projects on our never ending list of things to try. That is, or course, how we found these marble nail polish mugs, and we had to try this project.
Now this is an easy project. It really only takes a few supplies and you can pick them up at your local dollar store. Of course now that we’ve tried it we need to get back to the dollar store for more items to marble.
The colors vary each time you dip something and we were impressed at how quickly we were able to complete the project and have it ready to go.
~This post may contain affiliate links. If you click one and make a purchase, I may receive a commission at no additional cost to you. This helps us fund creating great content for you! For more information click here ~
Supplies
- Coffee mugs (or other ceramic or glass items)
- Nail polish
- Toothpicks or plasticware to stir with
- Large, disposable container that you don’t mind getting messy
- Paper towel
- Nail polish remover (just in case)
A couple of notes about your supplies – you don’t want to use quick drying nail polish.
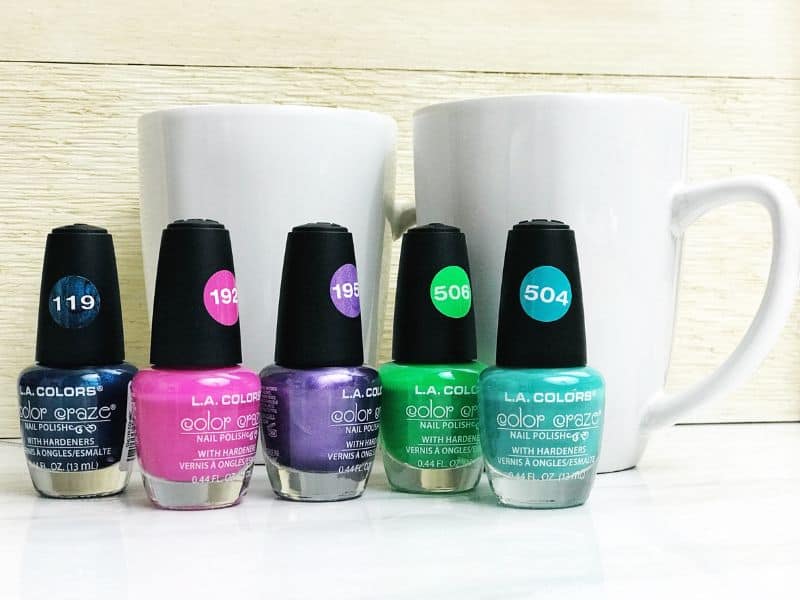
You probably also don’t want to use really expensive nail polish unless you’re just trying to use it up. We picked up several bright colors at the dollar store for, you guessed it $1 each.
Check out these Mugs and you can also find nail polish!
You also want to be sure that your water container is deep enough for your mugs (or whatever you’re planning to dip).
How to Make Marble Nail Polish Mugs
First you will add water to your disposable container. We just chose a plastic tub to use. If you’re planning to dye several items and want a similar look to them you can mark your water line on the container so that you use the same depth for each project.
Also note that it’s a similar look, not the same. The same is next to impossible with this project and that’s half the fun. However if you are able to make a set of these the same then please share your process with us!
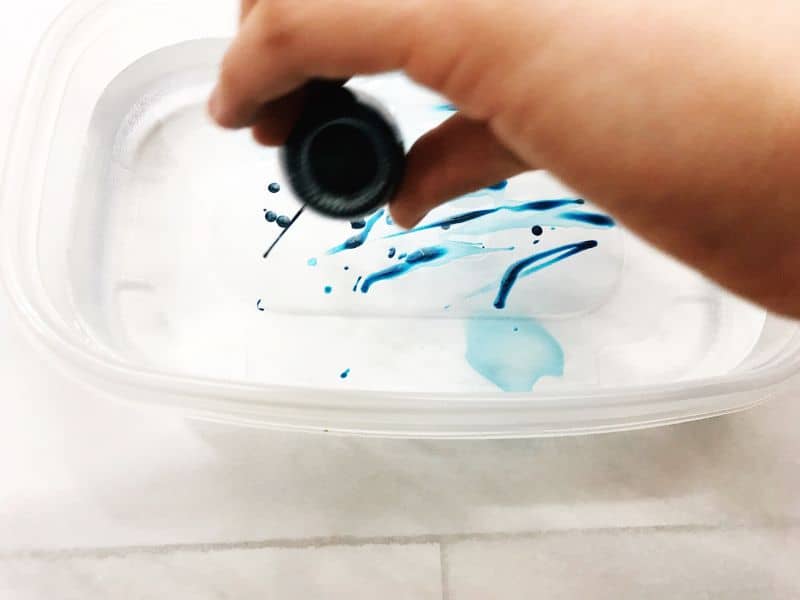
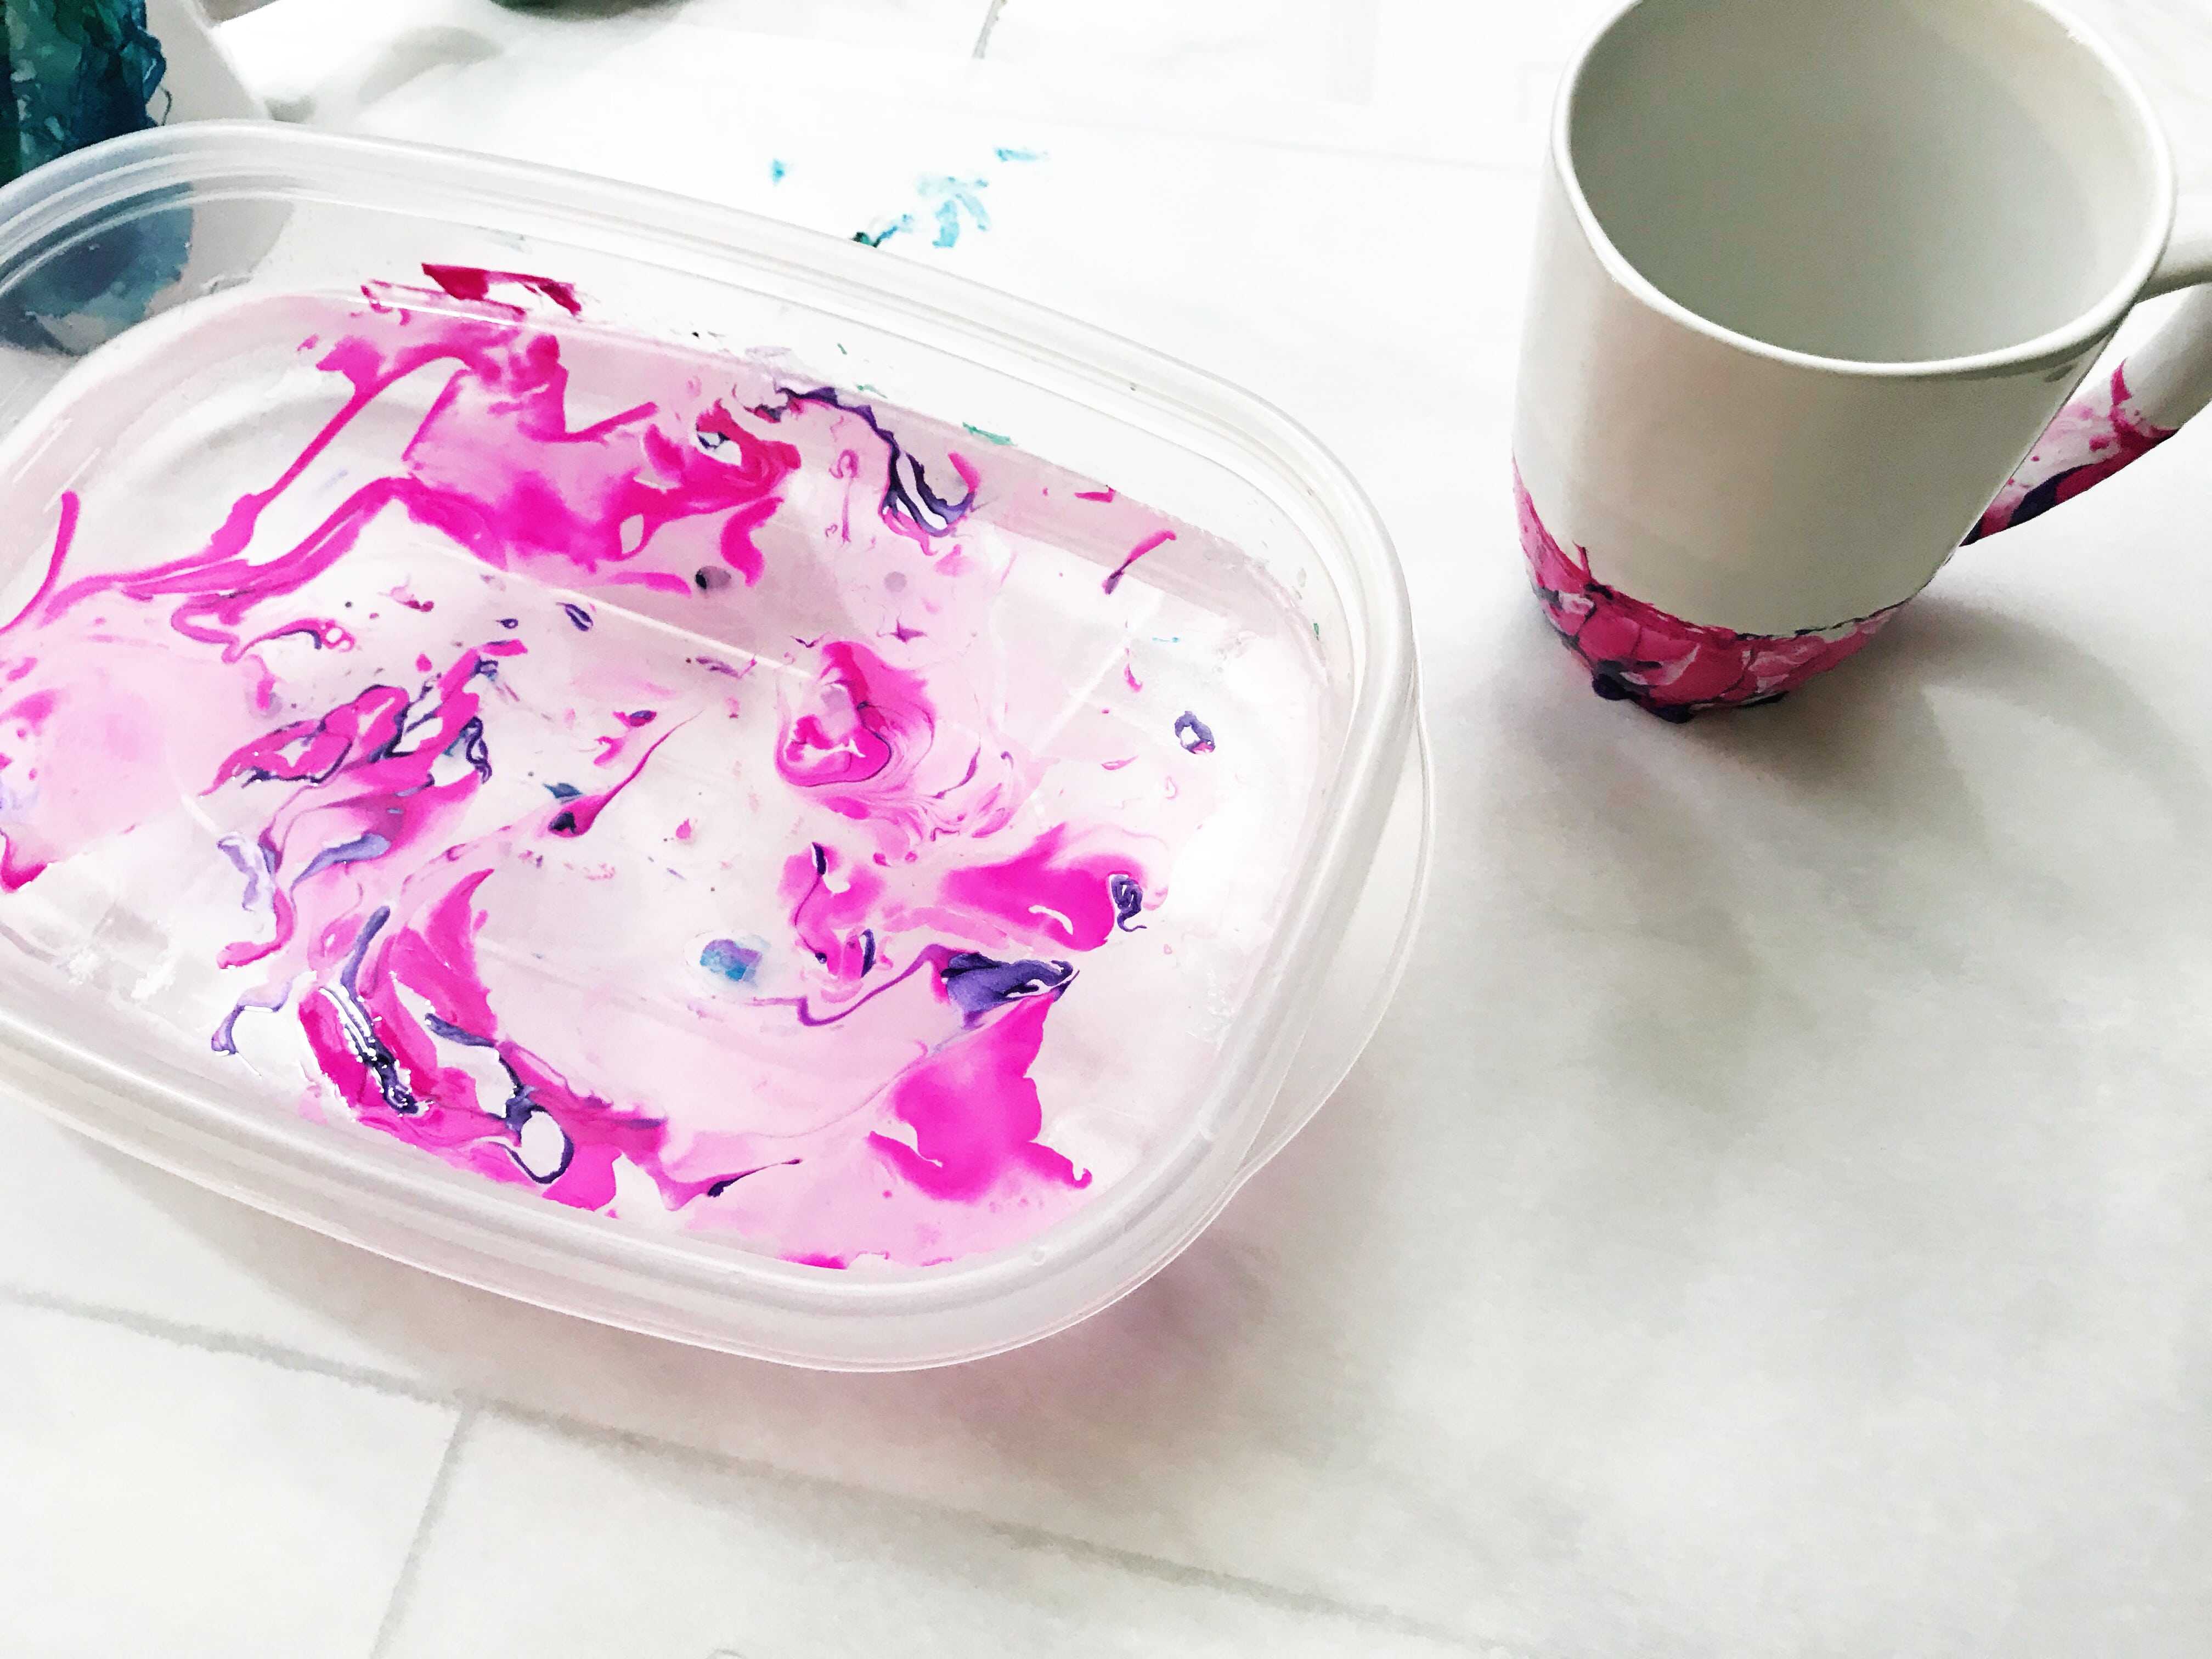
Once you’ve established the depth of your water just pour nail polish onto the surface of the water. Move your hand around over the container around while you’re pouring so that it doesn’t wind up in globs on the bottom of the container. You want the polish floating on the top.
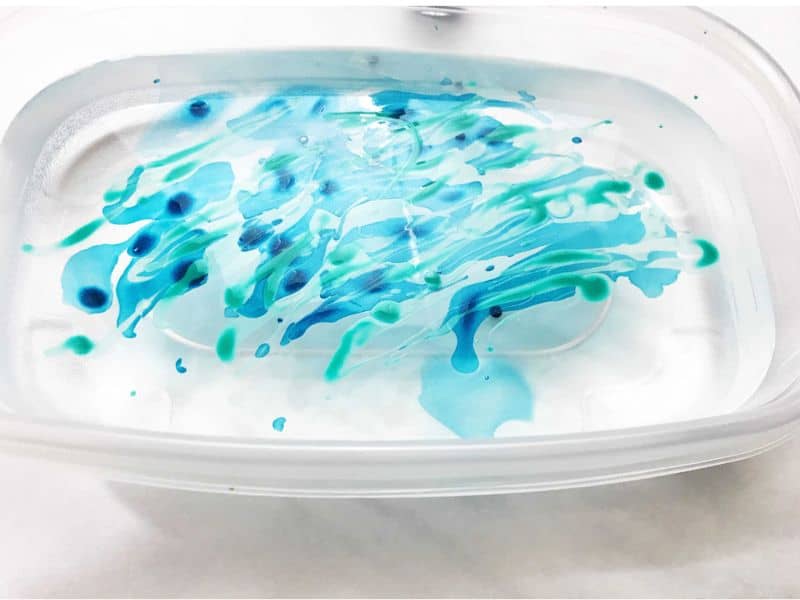
If you’re planning to use a second color you want to quickly add it.
You can use a toothpick, stick or plasticware to swirl the colors around but we didn’t have to do that. They had a nice swirl to them as soon as we poured them into the water. This gave us the marble nail polish effect we were looking for.
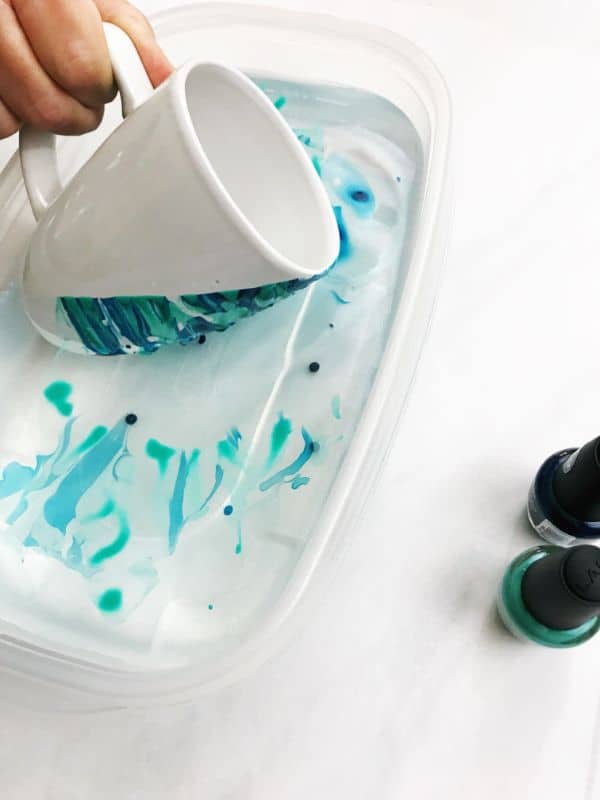
Dunk your item into the water one time.
You don’t want to double dip or you’ll wind up with a goopy finish. Yep, we did that once. If you decide that you need to dip the item again you want to wait until it’s completely dry.
We dipped this mug at an angle and it made a really perfect line all by itself. Bonus.
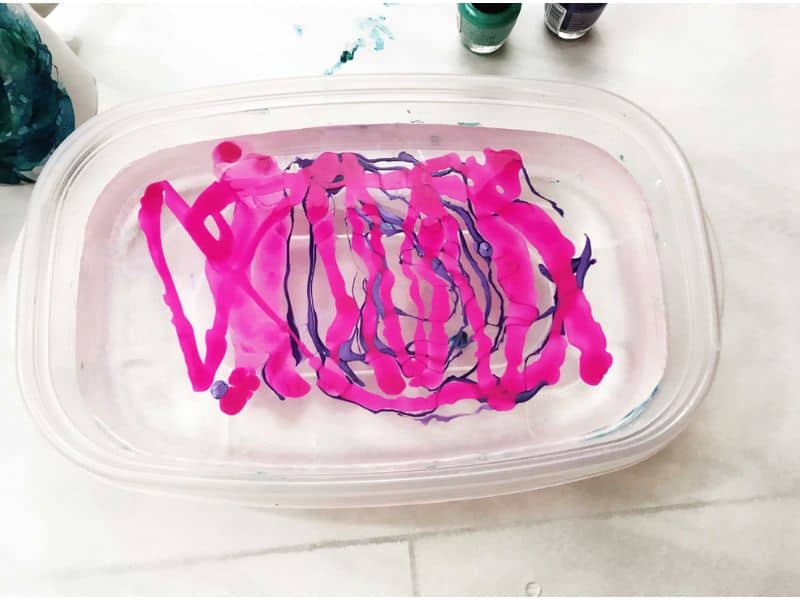
Next we mixed up pink and purple nail polish for another mug.
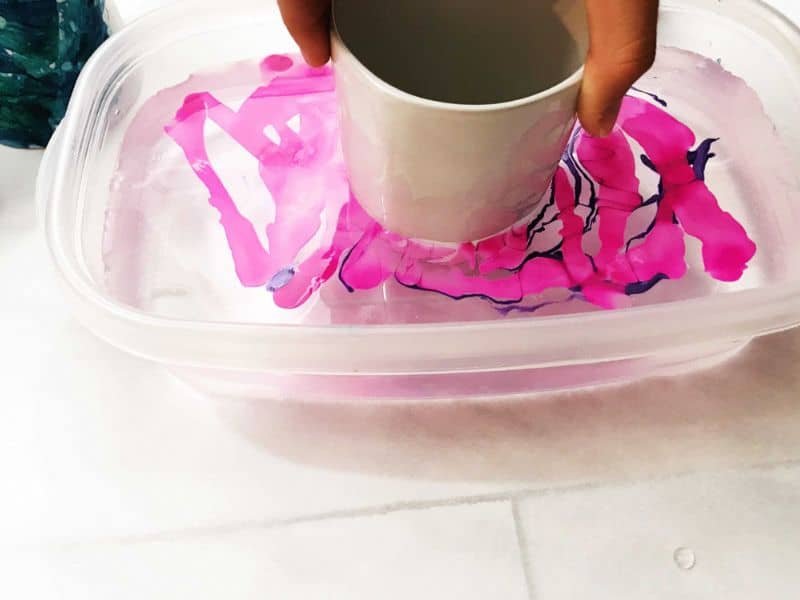
This time we dipped straight down for our finish.
We set the finished items on parchment paper to dry. They didn’t stick to the paper and they dried quickly. Some people like to prop their projects up to keep them from sticking. We think you can just use parchment paper.
Tips for Making Marble Nail Polish Mugs
Water Temperature
We’ve read to use hot water for this project. We tried it with both hot and cold water and didn’t find a noticeable difference in how it worked. I think that’s probably a matter of preference, so use the temperature that you’re comfortable with.
Use a Large Enough Container
Be sure that you container is deep enough but also wide enough for this project. The depth will be as far as you can put your item into it, but you also want the polish to spread out a bit so it will cover the whole area you are dipping.
Use new polish each time you dip an item
The nail polish dries quickly so you’ll want to pour it new for each thing that you dip. The upside of it drying quickly is you can use your toothpick or paper towel to move the polish off the surface of the water. It bunches up and you can pitch it into the trash.
It also doesn’t take as much nail polish as you might think so one bottle will go a long way.
Don’t dump your polish into the water
When you pour your nail polish try moving it in a swirling direction and not just dumping it into the water. If you pour straight down you will wind up with big globs of polish on the bottom of the container.
Instead try moving your hand as you’re pouring and creating a bit of a swirl on the surface of the water.
You want a good amount of the surface of the water to be covered.
Also, don’t use quick dry nail polish. You think it can’t dry that fast but it doesn’t work well for this project.
Move Quickly
Be sure to have your items ready to go when you start this project. Once you add nail polish to the water it’s a quick project.
You only have to dip your item for a few seconds and then pull it out. Hold it for a few seconds and then set it on parchment paper or wax paper to dry. Ours were dry to the touch in just a few minutes.
Nail Polish Remover
The beauty of this project is that if you make a mistake you can easily correct it with nail polish remover. We were happy with how ours turned out on the first try but we did remove the polish from the bottom of the mug. I know, no one will probably ever see it, but it’s an OCD thing. We prefer clean lines.
Finish
You can purchase dishwasher safe Mod Podge to paint on the outside of your design to protect it. We didn’t do this last step since we are just using the mugs to hold pencils and flowers, but if you’re gifting it or using it often you’ll want to be sure and protect the finish.
This is supposed to make your mug safe to go onto the top rack of the dishwasher, but we’re still going to recommend hand washing. It’s just so much gentler and you don’t want to risk messing up all your hard work.
It’s a Smelly Project
We didn’t realize how bad the nail polish odor was until we were done with the project. Boy, not a nice smell. You definitely want to do this project in a well ventilated space. Next time we’ll be doing this outdoors (there are some pretty flower pots in our future!).
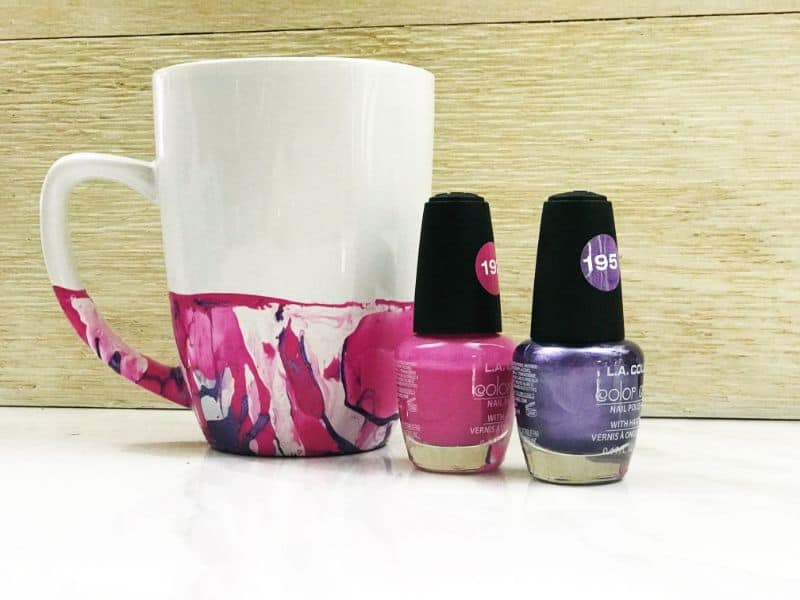
For this mug, we used pink and purple marble nail polish together for one design. We dipped it straight down and got a nice line across the mug and the handle.
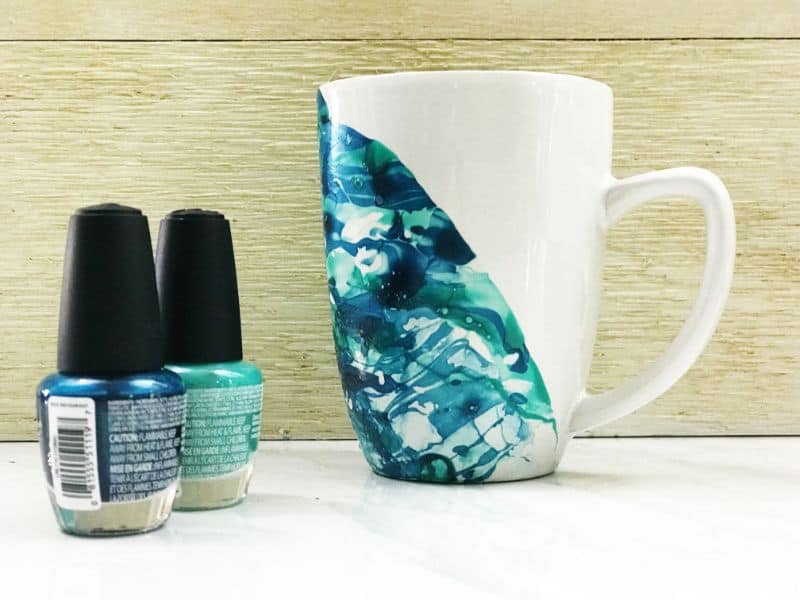
For this mug, we used two shades of blue. We dipped it at an angle and it still make a very nice straight line.
And there you have it!
We picked up our mugs and our nail polish at the dollar store and spent $6 plus tax on this project. We picked nice bright colors of nail polish and we’ve got plenty left for another project. I think we might find a few items at the thrift store that we can use this method on too!
Want Some More Fun DIY’s?
Show us your projects when you try this!
What are your favorite color combinations to use?
We’d love to see what you’ve made. And be sure to save this on your Pinterest projects so you’ll be able to find it again later.
Follow us on Pinterest and on Instagram for lot’s more ideas and inspiration!