How to Easily Make a Polymer Clay Pen
This is a fun and easy project that you can use your leftover clay for. You can make one clay pen or a whole set of them!
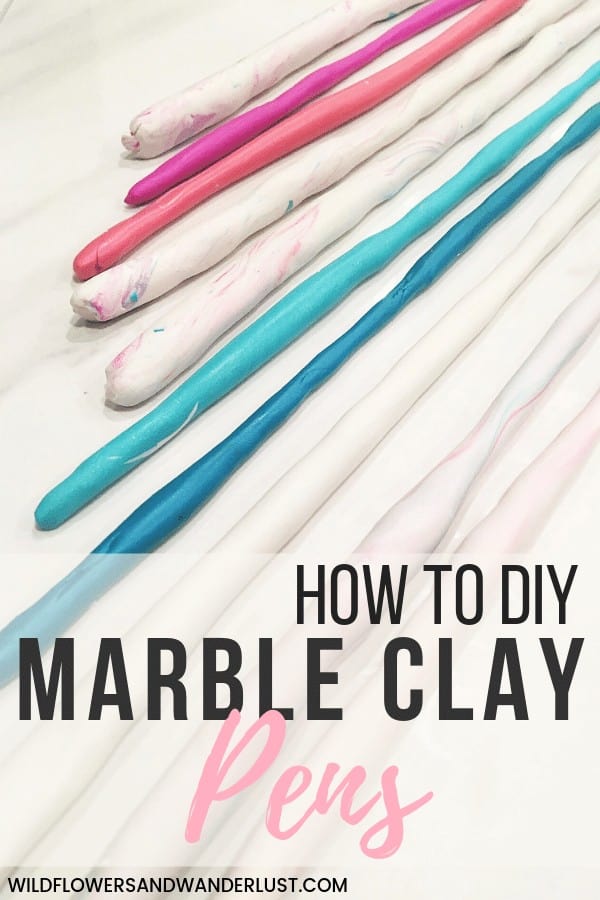
Make Marble Clay Pens with Your Leftover Clay
You can certainly make some pretty fancy pens with Polymer clay.
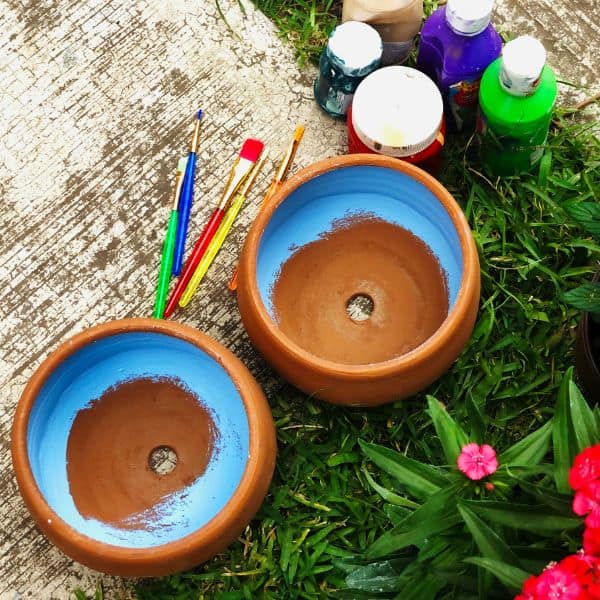
We just had some clay left over from our Clay Trinket Bowls project and were looking for ideas on what to do with it.
Bring on the Marble Clay Pens.
You can purchase pens to use for this project, or you can just gather a few from around the house and use them. You will need to be able to remove the ink from them easily.
We actually found one pen that we couldn’t get the ink out of so it doesn’t get to be pretty like it’s friends. But we were able to find quite a few pens just lying around to use for this project!
Overall it was a pretty easy project so read on to find out more!
~This post may contain affiliate links. If you click one and make a purchase, I may receive a commission at no additional cost to you. This helps us fund creating great content for you! For more information click here ~
Supplies for Marble Clay Pens
You will only need a few supplies to make these pens:
- Polymer Clay (we like Sculpey)
- knife
- rolling pin
- Pens – capped pens are the easiest to use
- A baking sheet
- Oven for baking
How to Make Polymer Clay Pens
Start by Making the Marble Clay
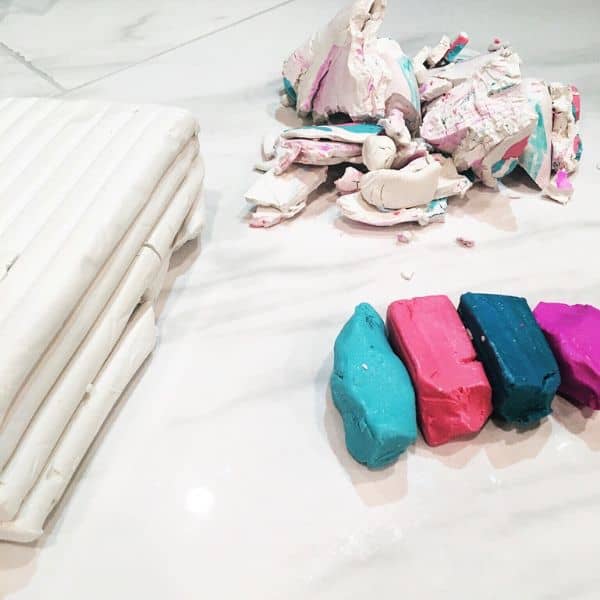
These are the colors that we used to make our pens. The blob in the back is what is leftover from a previous our project and we just incorporated it into this project.
That’s the beauty of clay, you can store it and use it again in the future.
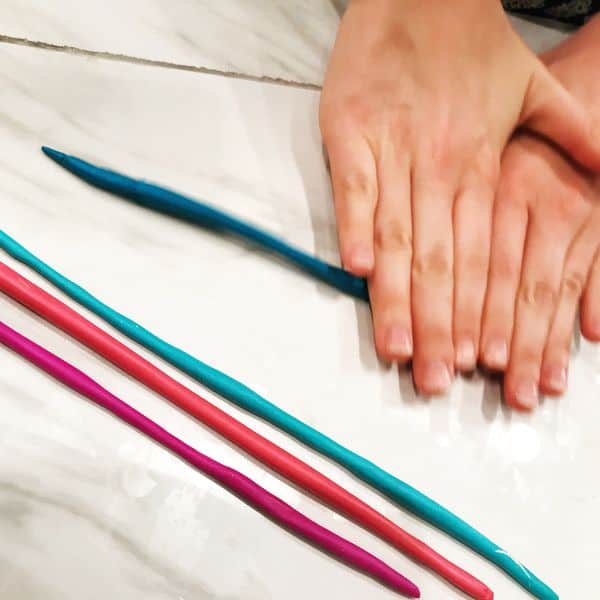
Start by rolling each color into it’s own snake.
You’ll want each roll to be about the width of a pencil and just a little longer than a pencil. It doesn’t take much clay to cover pens, which is why this is a great project for leftovers.
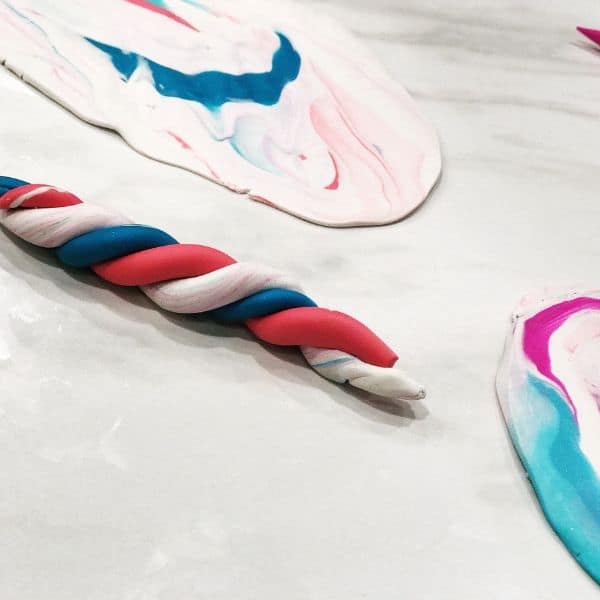
Once you have your colors made you’ll twist them all up together into one thicker snake.
Then you can roll them together or just mush them with your fingers.
The more you roll or smush the clay, the more of the watercolor look it will have to it. For the pens you’ll want to keep your clay in the fatter snake size before cutting it to use.
The easiest way to apply clay to pens is to cut it into little pieces and stick them all over the pen. It’s okay to have a little space showing in between because you’re going to roll them and that will cause the clay to meld together.
There are two ways you can do this:
You can remove the ink from the pens and apply the clay directly to the plastic barrel that holds the pen together. This makes a nice clean shape and end for you to work with. Then you’ll just bake them and add the ink right back into the cover.
These pens may wind up being a little thicker since you’re adding to the pen itself.
The other method is to remove the ink from the pen and apply the clay right onto the plastic ink holder. This will make use more clay and it will be thicker, but when it’s finished it should be about the same thickness as a regular pen.
Once you’ve applied your clay to the pens, just roll them like you did to make the snakes. This pushes out any air bubbles and helps smooth everything together.
The clay will need to be smoothed to keep it from cracking. If it’s not blended well it can easily crack and fall apart.
Finishing the Clay Pens
Once you’ve rolled your clay onto the pens and are happy with the look of it you will need to bake them to cure the clay.
We put ours in the oven at 275 for 15 minutes but check the directions on your package to see what’s recommended.
We had no problems using either method to make these pens, but be cautioned that putting a full ink into the oven could possibly cause it to melt or drip. As with any craft project, there’s always that chance that something might go wrong.
Let the pens cool completely before handling them.
If you applied clay to the barrel of the pen you’ll need to insert the ink back into the barrel to use it. If you applied clay directly to the ink holder then you’re ready to start writing.
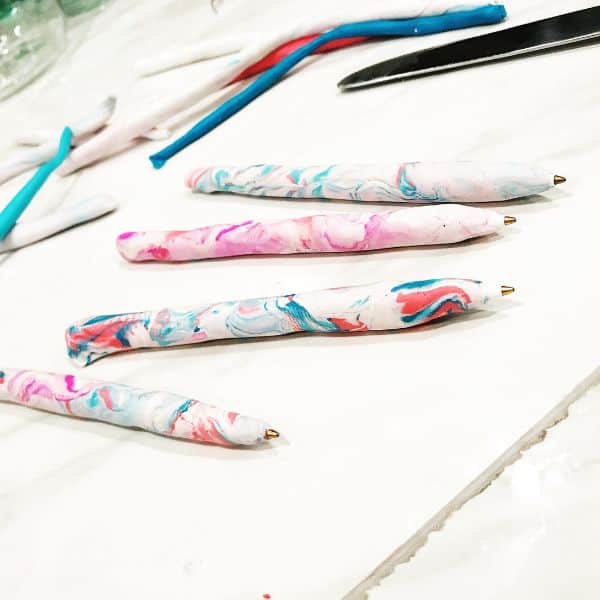
The pens will have a bit of a rubbery feel to them.
We have found that it’s very pleasant to use these pens for writing. And each one of them is unique so it’s fun to see all the designs.
If you find a rough edge anywhere you can easily smooth it with a nail file or some fine sand paper.
You can also add embellishments to your pens when you’re finished but we liked ours just the way they were.
These will also make cute gifts!! Think about Mother’s day and Father’s day gifts for sure!
Be sure to keep the label for your clay if you have any leftovers to store. We store ours in plastic bags and just drop the label in with it so we don’t forget. It makes it easier to identify in our craft closet. (because no one has just one kind of clay). It also makes it easier to keep the directions with the product!
Here’s some more project inspiration that we found:
We love these Blue and White Pens at SewVeryCrafty.com
What colors are you going to use to make your clay pens?
Be sure to share a photo so that we can see how they turned out!
Follow us on Pinterest and on Instagram for lot’s more ideas and inspiration!