How to Easily Know Which Craft Vinyl to Use
One of the first learning curves when you’re working with a Cricut or Silhouette cutter is figuring out which craft vinyl to use for your projects. We’re sharing some tips and insights here to help you out.
I love using my cutting machine for making all kinds of crafts and projects! We’ve had our machine long enough to try out lots of different products but I know when I first started it felt like there were so many more questions than answers.
If you find yourself in a Facebook craft forum you’ll see all kinds of numbers and symbols that mean nothing to you and pretty soon you might feel like you’re in way over your head.
I get it. There’s a learning curve here, just like with anything new.
But you’ll figure it out quickly! Hang in there!
Let’s start by talking about the different kinds of adhesive vinyl.
~This post may contain affiliate links. If you click one and make a purchase, I may receive a commission at no additional cost to you. This helps us fund creating great content for you! For more information see our disclosure ~
Types of Craft Vinyl
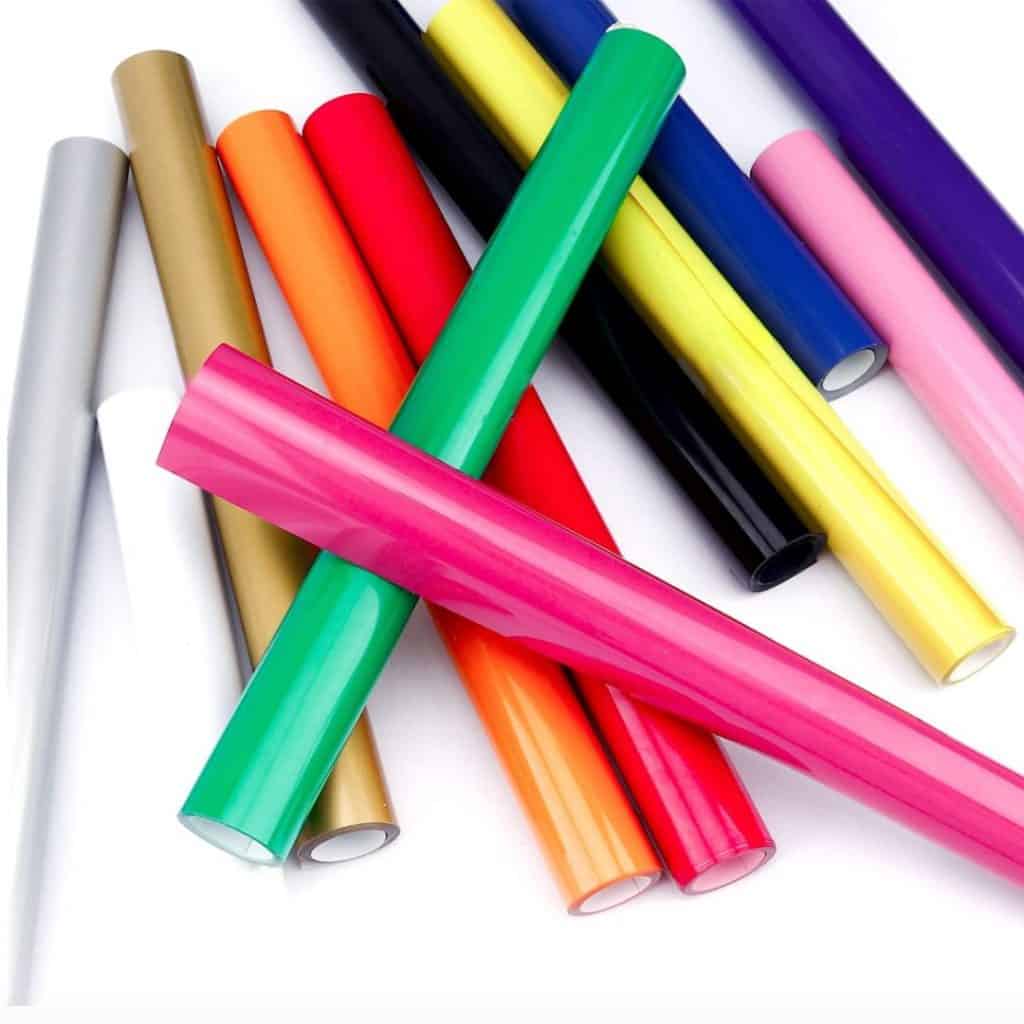
There are basically two categories of craft vinyl – adhesive vinyl (think of a sticker) and heat transfer vinyl (think of an iron on).
Within these categories are a million options but those are the two biggest categories that you’re going to hear about.
The basic rule to these vinyl’s, in most cases, is that a hard surface will use adhesive vinyl.
These surfaces need to be smooth so think about mugs and water bottles, mirrors, folders and all kinds of organizer type items. You may hear Adhesive vinyl called sticker vinyl as well.
It would be much easier to figure it out if we just called it “sticker vinyl”!
Adhesive vinyl is a think flexible material that can be cut into designs and applied like a sticker. The adhesive is pressure sensitive so it just has to be rubbed onto a surface and have a chance to “set” to be pretty indestructible.
If your surface is soft (and can withstand heat) you’ll want to use heat transfer vinyl. Think about t-shirts, tote bags and throw pillows. Basically just think of it like an iron on.
You may also hear it referred to as HTV, iron on vinyl and t-shirt vinyl.
Heat Transfer Vinyl (htv) is a thin flexible material that has a heat activated adhesive. It’s meant to work on softer surface and sometime more flexible surfaces.
Again – there are many different types of vinyls in these two categories, but these are the main categories and we’re going to simplify it even more so if you’re just starting out hang in there!
How do I tell the difference between adhesive vinyl and heat transfer vinyl?
If you’re like us and you save all kinds of pieces of vinyl for future use, you may find yourself with lots of little pieces that look very similar.
We have a couple of pocket binders that we save scraps in for projects and they filled up pretty quickly with some reasonably sized pieces.
There’s actually a fairly simple way to be able to tell which vinyl is which.
This is also helpful if you ever pick up a grab bag of vinyl!
Sometimes you can find a great deal on a package when there are cuts and sometimes the manufacturers will put together a grab bag to give everyone a chance to try out a new product. Of course if they can get you using it they’ll sell more.
Adhesive Vinyl has a paper backing. If you peel the paper backing off it’s going to feel sticky to the touch. You can find all types of adhesive vinyl – textured, metallic and flocked are just a few, but it’s still basically a sticker. (Most of ours also have a grid pattern on the back but that can be deceiving sometimes).
Heat Transfer Vinyl doesn’t have a paper backing, it has a plastic sheet attached to it. The clear plastic is the carrier for the vinyl so if you peel the vinyl back from it it won’t feel sticky to the touch.
Now let’s get a little more specific with the vinyl’s!
Which Adhesive Vinyl Should I Use (as a beginner)
Once you’ve got the big basic down – when to use adhesive or heat, then you move on to more decisions. This is also where lot’s of questions come in and it can sometimes be a little confusing.
But don’t worry, we’re here to help!
We highly recommend sticking to the bigger and more well known brands for best results. Once you’re more confident and ready to start experimenting on your own it will be much easier to branch out.
We’ve spent a lot of year’s crafting and working with vinyl and we still go with the tried and true craft vinyl that we’re going to share with you. These are generally the easiest to work with and we feel confident in their results so that’s why we recommend them.
Adhesive Vinyl Types
Adhesive vinyl can be found in permanent and removable types. We use Oracal 651 (permanent) for the majority of the projects that we work on using sticker vinyl.
Permanent Adhesive Vinyl
Oracal is the brand of the vinyl you’re looking for and 651 is the type.
There are many, many types to choose from. Oracal is one of the premier brands so you’re likely to see their name and all kinds of number combinations mentioned when people discuss craft vinyl.
You can use the Oracal 651 vinyl on just about any surface that you want to afix it permanently. It is waterproof and it will even stand up to the outdoors for around 6 or more years.
You can use this vinyl on signs, dishes, mugs, water bottles and many surfaces. It will work on glass, plastic, metal, tile, wood and just about any other surface that you can think of.
The surface does need to be smooth and non-porous for the best adhesion.
Be careful about using this in spots that you don’t want it to remain permanently though. If you stick it to a wall it could cause damage when. you remove it and there’s a better vinyl to use for removable pieces.
We’ve removed stickers from a stainless steel surface and can still clearly see the outline of it too FYI.
Generally if you’re using vinyl on dishes you’ll want to hand wash them without using a scouring pad. It can cause the edges to lift, or smaller pieces of a design to come loose. I won’t lie though, I’ve got some mugs that have been through the dishwasher multiple times and still look great, but it’s against my own advice. (It’s just my laziness that supports it!)
What’s the difference with the 751, 851, etc.? In Oracal’s case the 51 series is their permanent vinyl. The 6, 7, 8 and 9 will refer to how long the vinyl will adhere outdoors. The 651 is six years, the 751 is 7 years, you get the idea.
You can also find the Oracal 651 in glossy or matte and in a huge selection of colors and patterns. Look for it in metallic and glitter as well.
Removable Adhesive Vinyl
Our favorite removable craft vinyl is Oracal 631.
This is the vinyl that’s easy to remove and reposition so it’s great for scrapbooking and stencil’s. It also works great to use for wall decals since it won’t damage the walls when. you peel it off. Well it’s not supposed to damage the walls, you’ll want to check your surface before making that assumption.
It’s great to use for party decorations as well – think about making up some signs and quotes that you can take apart after and reuse.
If you’re planning to make stencils you may also want to try Oracal Oramask 813. It’s a vinyl that’s made specifically for stencil material but we are just as happy using our 631. Don’t try this out until you’ve had a bit of experience with the easier projects though!
Most of the vinyl that you find is going to have a glossy finish so if you’re looking for a matte finish try Oracal 641. Again, when you’re first starting out we like to stick to the basic’s and use the easiest and most well known to avoid wasting money.
Once you’ve got some experience and feel more confident it’s a great idea to experiment with other products.
Places to shop for vinyl include: Amazon, Swing Design, Expressions Vinyl and Consumer Crafts. We try to avoid purchasing at the local craft stores since the prices are a bit higher (usually).
Which Heat Transfer Vinyl Should I Use (as a beginner)
When you’re looking for htv, or heat transfer vinyl you’re going to find that it also comes in many different brands, styles, and again with the numbers.
One of the biggest headaches with the htv is that some of it is just a lot harder to work with than others. There are a lot of things to learn about heat transfer vinyl and so we highly recommend using the Siser Easyweed because it’s by far one of the easiest to find and also one of the easiest to work with.
You can find it at many of the same places that sell the adhesive vinyl and then you’re ready to move onto the learning part of how to use these vinyl products.
What can I make with Heat Transfer Vinyl?
Heat transfer vinyl works great to make items like:
- T-shirts
- Tote bags
- Kitchen Towels
- Ball Caps
- Pillow Cases
- And many more items
You can use your iron for most heat transfer vinyl but it you find yourself using it a lot you’ll want to invest in a heat press to get a more consistent heat and a better transfer. That’s definitely not at the beginning stages though!
Which Craft Vinyl to Choose
Try using removable vinyl for your first few projects!
It's much easier to work with when you're starting out!
The basic rule is that if your surface is smooth you’ll want adhesive vinyl and if your surface is soft and can withstand heat you’ll use heat transfer vinyl.
Easy peasy right?
There are always going to be exceptions to these rules and you’ll learn more by experimenting with the products than you will by reading about them so download some easy files and try it out!
Where to Buy Vinyl
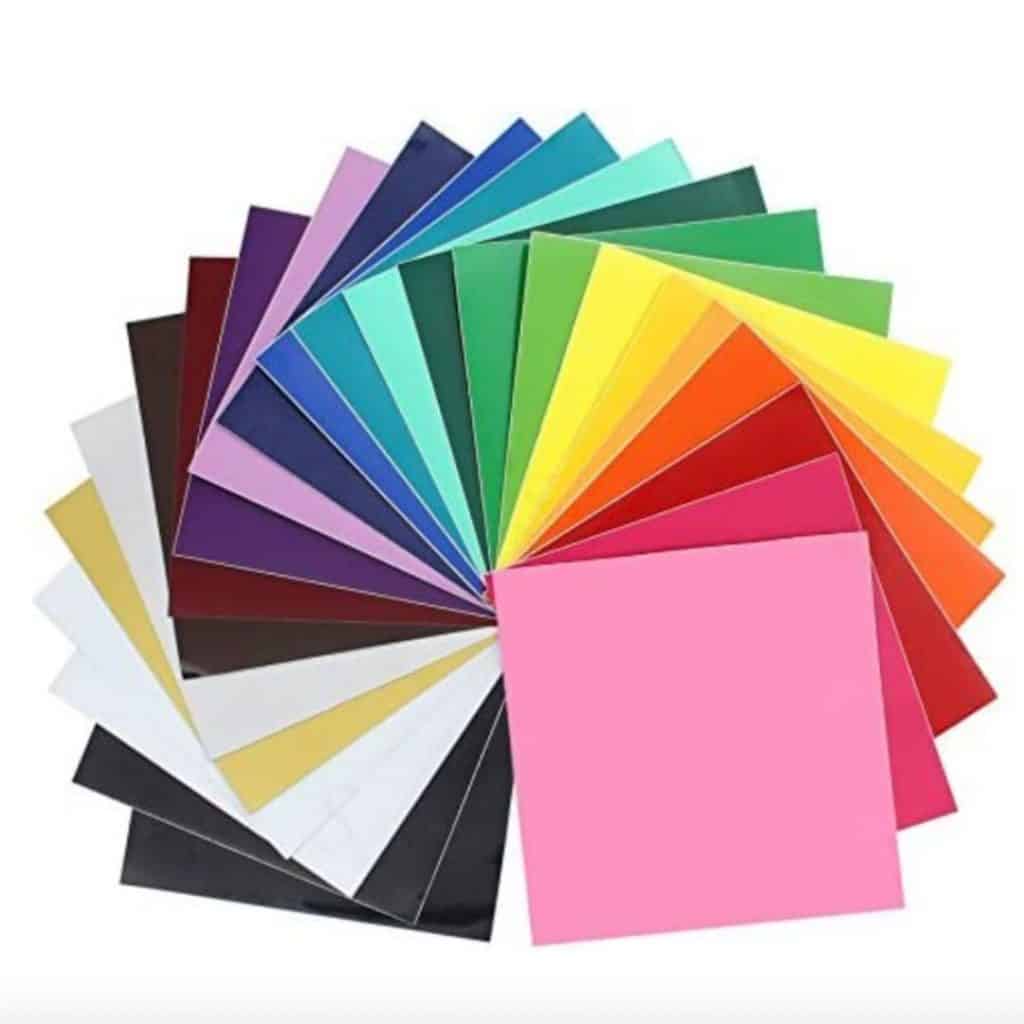
Since we started off using vinyl in our shop (it’s a quick learning curve) we were able to purchase some products wholesale and that was a great way to be able to try out lot’s of different types of materials.
Now we purchase our vinyl online because the prices (and quality) are much better than what we’ve found in the craft stores.
Here are a few of our favorite places to shop:
- Amazon – of course we all look here for everything right? You’ll want to be super specific about which material you’re looking for and also to compare prices. It’s not always the best deal but it usually will get here a lot faster than some of the other vendors.
- Expressions Vinyl – One of our favorite shops that has everything under the sun. Their house brand of craft vinyl is fantastic and their shipping is quick. They have a club that will pay for itself if you’re using your cutter and they’ve also got plenty of help in the form of tutorials and videos.
- Pro World – If you’re looking to place a larger order this is our favorite place to shop. You can buy craft vinyl by the yard instead of in sheets and that will save you lots of money. If you find that you’re using a lot of one color, or you’re printing tons of stickers it’s worth checking into. They also generally have some packages (like holiday colors) that will save you some money.
- Happy Crafters – Another great source for everything you need. Supplies, craft vinyl and help along with cut files, you’ll find it all here!
So which craft vinyl should I use?
After reading all that are you still wondering which vinyl to use?
Here’s a quick recap:
The general rules that we follow is if your surface is hard and smooth (mugs, glass, picture frames, mirrors, boxes, etc.), then you’re going to want to use adhesive vinyl.
If your surface is soft and can withstand heat (clothing, hats, tote bags, etc.), then heat transfer vinyl will work best.
Of course there are exceptions to the rules but these should get you started and help you figure out the best practices as a beginner. As you gain experience you’ll find more products and try out new things and you’ll be sending us tips on how to make our projects better!
Follow us on Pinterest and on Instagram for lot’s more ideas and inspiration!
Also be sure to check out our exhaustive list of Where to Find SVG Files and:

