
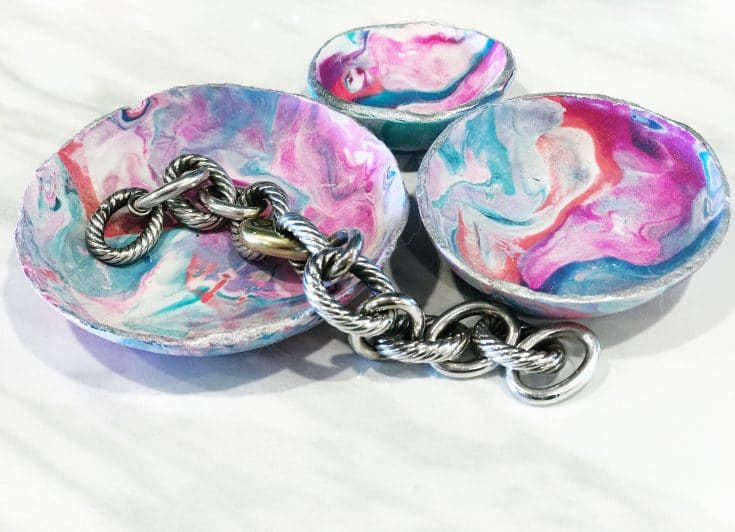
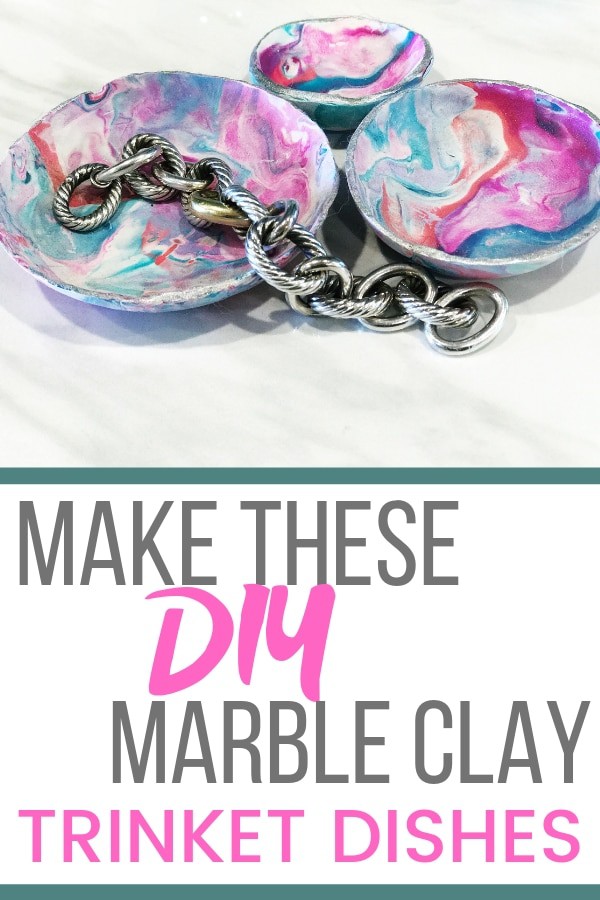
How to Make Cute and Easy Marble Clay Bowls
We made these easy marble clay bowls and it was a fun afternoon project. It’s also an easy project to do with kids. Bonus – we also rolled out some dough and made them into coasters at the same time.
Make a Marble Clay Trinket Dish
Well you can’t actually just make one of these little marble clay bowls. You’ll wind up making a dozen, and when you’re done you might just decide to make more!
These are such a fun and easy homemade craft. You can make this craft project with kids and they’ll love creating all the fun designs.
But I have to confess, we don’t have any little kids around here and we had a blast making these dishes.
These make a great little trinket dish, but you are only limited by your imagination. They can easily be made larger. I think next time we’ll work on some candle holders and succulent pots.
For now let me share what you need for this project.
~This post may contain affiliate links. If you click one and make a purchase, I may receive a commission at no additional cost to you. This helps us fund creating great content for you! For more information click here ~
Materials for the DIY Marble Clay Bowls
- White and your choice of colored oven bake clay (our go-to is Sculpey!)
- a knife
- oven safe bowl
- rolling pin
Optional Items:
How to Make the Marble Clay

A little bit of clay is going to go a long way for this project. Start out by separating your colors. We had some clay that was already marbled from another project so we added it into the mix too.
If you’re working with a new block of clay it usually has lines in it. Just choose a small section to start with. You can always add more later.
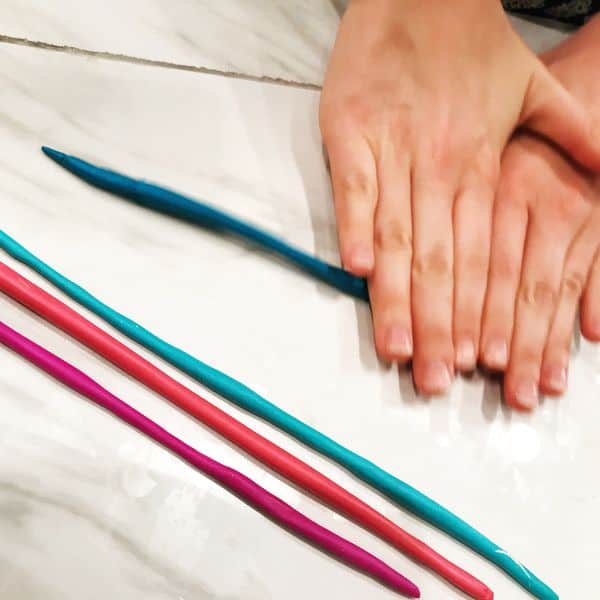
Roll each color that you’re planning to use into a snake about 5″ long and about the thickness of a pencil. We usually make at least 1-2 white snakes per color that we use.
Don’t worry if you’ve got the exact right amount, you can add more later and each dish is going to look a little different when they’re done.
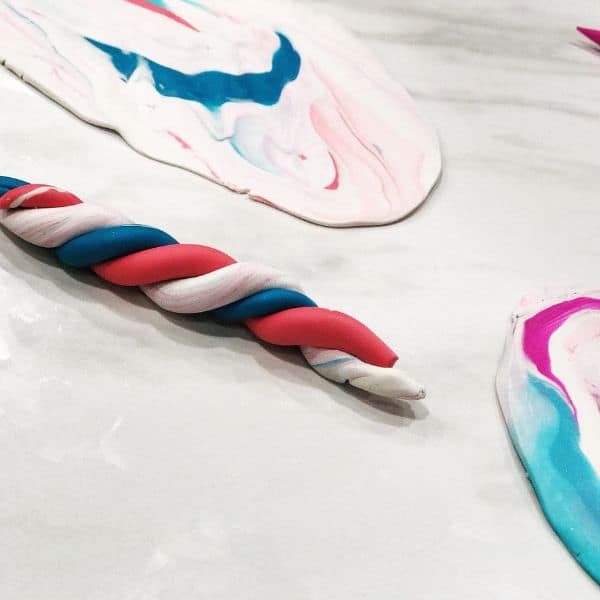
Combine Your Colors
Once you’ve made snakes out of your individual colors, twist up your choices together into one thicker snake. Think of it like a braid sort of, you’re just twisting the colors together so that they’re next to each other.
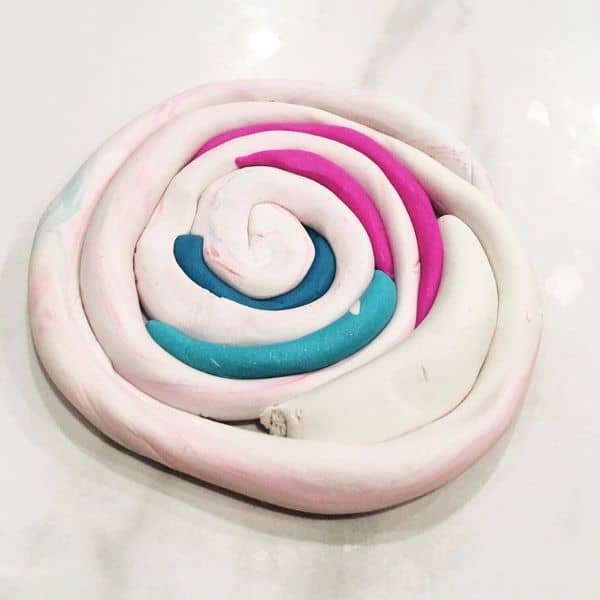
If you want a larger pattern to your finished project just lay your colors into a coil and run a roller over them. This will make bigger patches of color.
If you prefer a more marbled look you can form your large coil into a ball and then roll it out.
If you spend too much time mixing clay you will end up with a solid color. The key is to gently combine the colors and then use the roller for some of the blending.
You can see that once you start rolling out the clay the patterns will develop. Try rolling in different directions to change the patterns. If you’re not happy with the mix, just smush it all together and try it again.
Just remember that too much mixing will blend the colors and you won’t get the marbled effect.
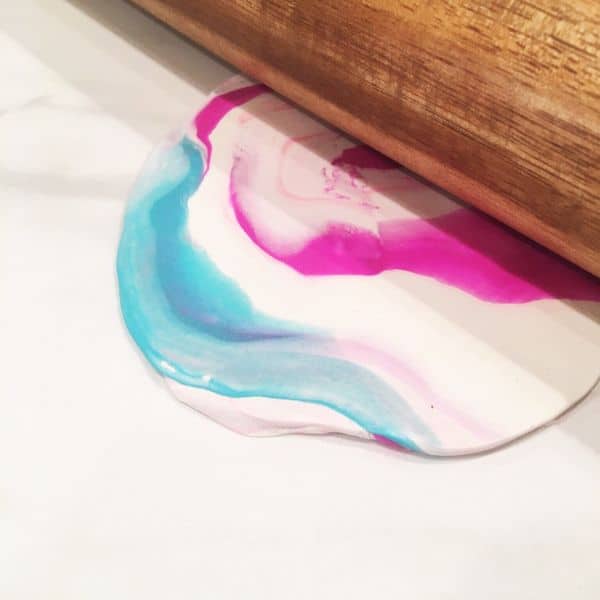
Roll your clay until it’s about 1/4″ thick. Then use a template and knife to cut it.
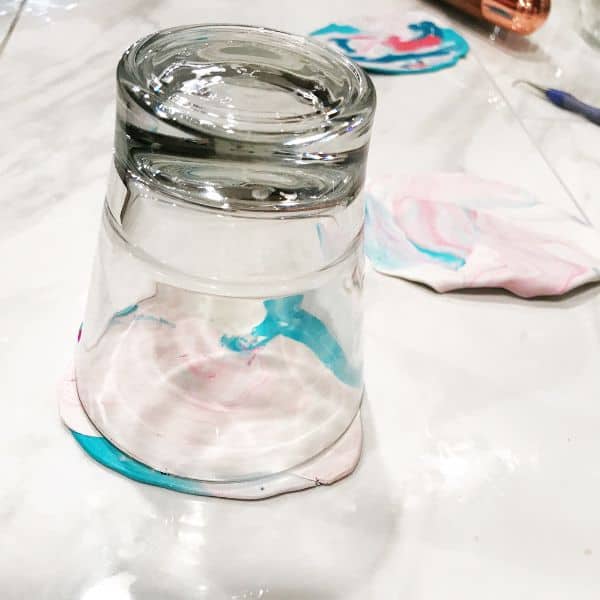
You don’t need any special tools for this. We just used a large glass for our template and then used a knife to smooth the cut edges.
Try using two different size glasses to make the bowls in different sizes. We used two different sizes and also a larger template to make coasters.
Yep – you can make some pretty, pretty coasters too!
Be sure that your coasters are large enough to actually work as a coaster. Their circle should be larger than the bases of your glasses and mugs.
Oven Bake the Marble Clay Bowls
To bake the coasters you can just place your circle right onto a baking sheet.
To make the bowls you’ll need a form for them. We set them into a cereal bowl for the larger bowls and a custard cup for the smaller bowls. This just helps them take on a curved shape when they bake.
You don’t need to smash them into the bowls, just set them gently in so that they take on the curve of their container.
Follow the directions on your clay package to bake.
Ours was for 15 minutes at 215 degrees, but be sure to check your directions since they may vary. They should be listed on the package.
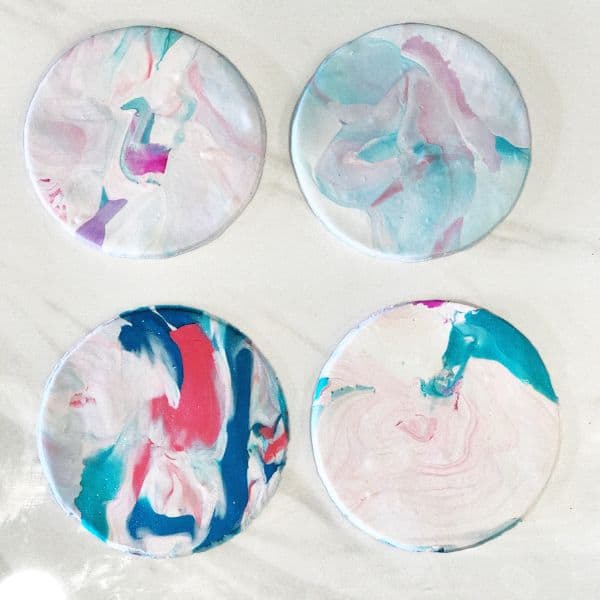
Here’s what our coasters looked like when we finished rolling them out. We used the same colors for each but they all look drastically different.
After You Oven Bake the Polymer Clay Dish
Be sure to let your items cool after they come out of the oven.
It shouldn’t take too long but you want them to cool completely before you add any finishes or use them for anything.
Even after these are baked they will still have a flexible feel to them. That’s perfectly alright, they’ll still hold up amazingly well.
If you find any rough edges you can use a nail file or some fine sand paper so smooth them off.
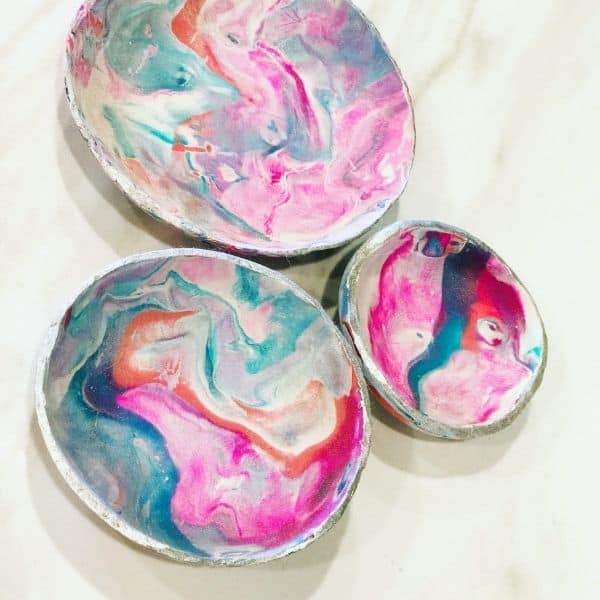
If you prefer you can add a gilded edge to the bowls in either silver or gold. Of course that’s just a matter of preference. We added gilding to a few of them and left a few of them without.
Once your edges have dried you can also add glaze as a finish for the clay. The glaze will seal them up a bit and give them a little firmer texture.
TIP: Be sure to save your label if you have any leftover clay. We store ours in a sealed bag and keep the label with it so we have the baking instructions for the next project. I mean, you never know when a clay making party might break out at our house!
We suggest using an oven bake clay like Sculpey. It’s already soft and pliable so it’s much easier to work with. Even if you don’t think you’re a DIY’er you’ll find that these little bowls are a fun and easy project to make.
We used polymer clay for our project but air dry clay works just as well so feel free to use whatever clay you have on hand.
We think these marble clay bowls will be especially cute as a gift with some earrings in them!
Follow us on Pinterest and on Instagram for lot’s more ideas and inspiration!
Be Sure to Check out these Other Projects:
You can use your leftover clay to make Polymer Clay Pens
Make a Faux Crystal Jewelry Dish
Try out some Salt Dough Ornaments
And there are lot’s of ideas for Crafts that You Can Sell for Profit
Which ones are your favorites? Do you prefer the bolder colors or the more blended ones? If you make these bowl share a photo so we can see how your patterns turned out!
DIY Marble Clay Bowls
Fun & Simple oven dry clay trinket dishes
Materials
- White and colored oven bake clay (our go-to is Sculpey!)
- Optional Items:
- Gold or Silver Gilding Paint
- Glaze (for sealing)
- Fine grain Sandpaper
Tools
- Knife
- Rolling Pin
- Oven Safe Bowl
Instructions
- Choose a small section of each color you'd like to include in the marbling and roll it out into a thin string. Repeat with all of your colors.
- Wrap your strings together to combine colors for a bright pattern or coil the colors together for a bolder look.
- Roll out the clay so it's flat and use a wide circle to cut out your shape.
- Set the circle in an oven safe bowl gently so it naturally forms the shape.
- Follow the instructions on your clay packaging to bake. (Our sculpey was 15 minutes at 215 degrees)
- Wait for the bowls to cool fully before sanding any rough edges. Use a brush to add your gilding paint to the edges.
- Let the paint dry fully before brushing or spraying your glaze.


Incredible! This blog looks just likee my old one!
It’s on a entirely different topiuc but it haas pretty much
the same layout and design. Outstanding choice of colors!