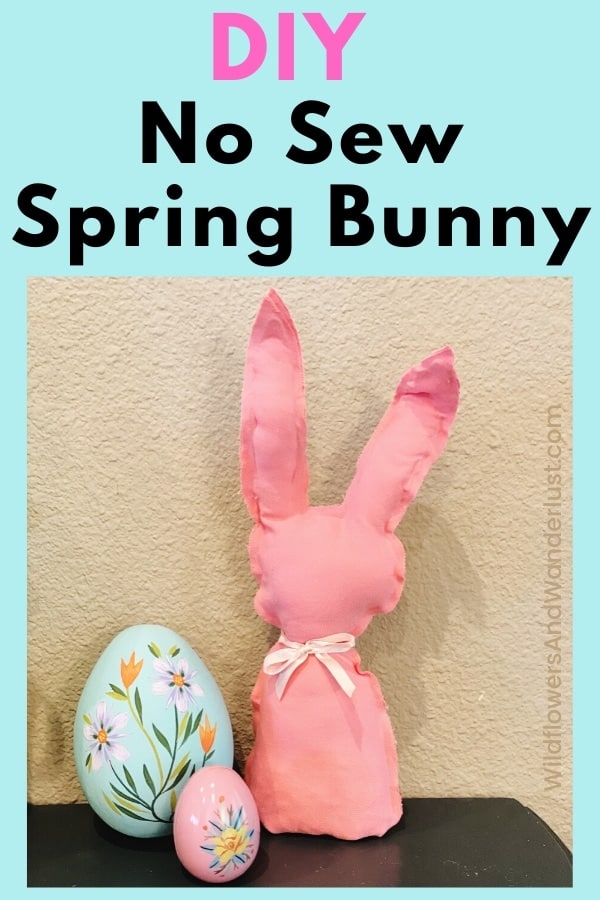
Easy DIY No Sew Bunny for Awesome Spring Decor
We’re sharing this super cute no sew bunny DIY that you can put together in a flash and have the prettiest spring decor on the block!
We made this super cute bunny in just a few minutes from a cloth napkin!
We’re going to show you how to create a no sew bunny that will fit right in with your spring decor this year and you’ll be able to whip it up in no time.
We used a cloth napkin that we already had on hand but you could use a dish towel or leftover fabric to create yours. It’s also be a sweet little bunny made out of burlap!
~This post may contain affiliate links. If you click one and make a purchase, I may receive a commission at no additional cost to you. This helps us fund creating great content for you! For more information see our disclosure ~
Supplies (we used) For a DIY No Sew Bunny
- A cloth napkin
- Hot Glue Gun and Glue Sticks
- Polyester Stuffing
- Scissors or Pinking Shears
- Pencil
Optional Supplies:
- Floral Wire
- Sand or equivalent for weight
Starting on Your No Sew Bunny
I’m going to share how we made our bunny but I’m also going to point out all the places that you can change it up or use substitutions.
This is a project that can be made so many different ways!
We used a bright pink napkin out of our assortment of cloth napkins.
You can use just about any kind of fabric that you have on hand. Think outside of the box here, a shirt you don’t wear anymore, a drop cloth, a pillowcase, or some remnant fabric that you have on hand.
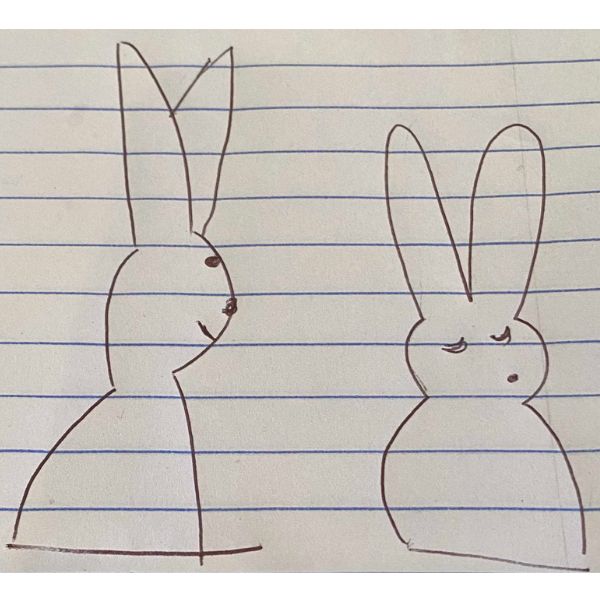
Start With a Sketch
We sketched out a few ideas of shapes before we decided on what we wanted the bunny to look like. We went with the shape on the right, but we might go back and make another in the other shape to see how it turns out.
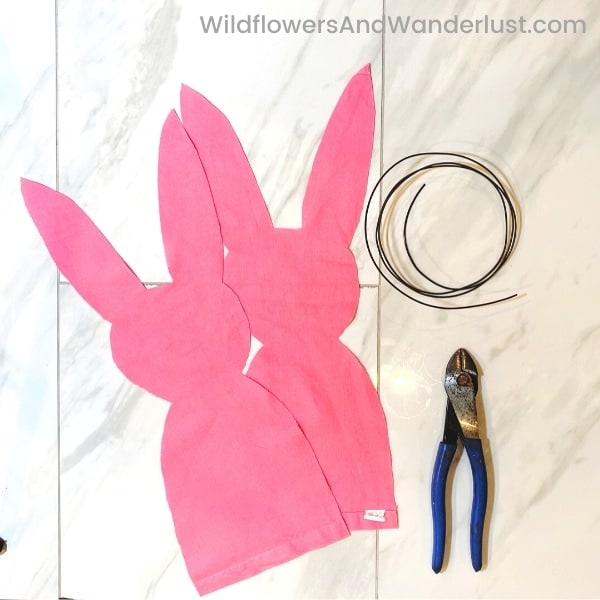
The easiest way to cut out your bunny is just to fold your fabric in half. Since we used a napkin, that was the size of fabric we had to work with.
If you’re using a scrap just make your sketch larger or smaller.
We just sketched an outline of the bunny right onto our napkin and cut it out. Your sketch doesn’t have to be perfect, little imperfections are what makes each project unique, just be sure you sketch it on the inside of your napkin so no lines are left showing when you’re finished!
Be sure that your ears are wider than you think you’ll want them.
Remember that they’re going to be glued and stuffed and if they’re too skinny there won’t be enough room to stuff them.
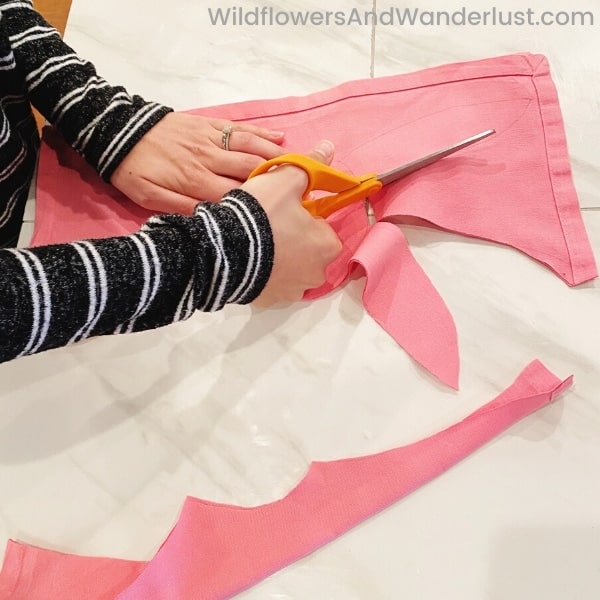
Then Cut
Then just use your scissors to cut out your bunny shape.
Pinking shears are probably a better idea, but of course we didn’t think of that until we had already done the cutting, so if you don’t have any, no worries!
Once you’ve cut out the shape of your bunny it’s time to start assembling it. Since you folded over your fabric, it should be easy to match up the insides.
We decided to put some floral wire into the ears of our bunny so that we could move the ears around.
This is completely optional, just adding some stuffing to the ears will give them a nice pointed look.
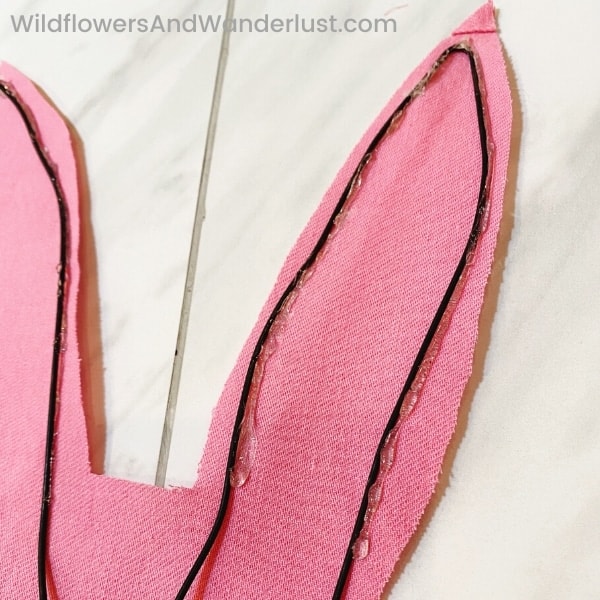
If you decide to add wire, you’ll want to form your floral wire into the shape of the ears. Leave enough wire that it extends a little way into the head of the bunny. If the wire isn’t long enough you’ll wind up with flop ears.
They’ll be flop ears that you can shape. but they won’t stand up.
Use some hot glue to attach the wire to the fabric on one side.
Putting Your No Sew Bunny Together
Now it’s time to start putting your bunny together and stuffing it!
If you work in sections it will make it much easier to get the stuffing into the top of the bunny.
We glued the ears together first and then filled them with stuffing. We used our pencil to push the stuffing to the tips of the ears and make sure we had it as full as we wanted.
The amount of stuffing is entirely up to you, whether you want the bunny to be plush or more tight. It also will depend on if you’re using it as a pillow or as a standing decoration.

If you’re using the bunny as a pillow you don’t need floral wire or a weighted bottom, you can just glue your bunny together, stuff him and put him on your sofa or bench.
Once you’ve got the ears stuffed work on the head in the same way. Glue the edges down to the neck area and add your filling.
Then glue down the sides of the body.
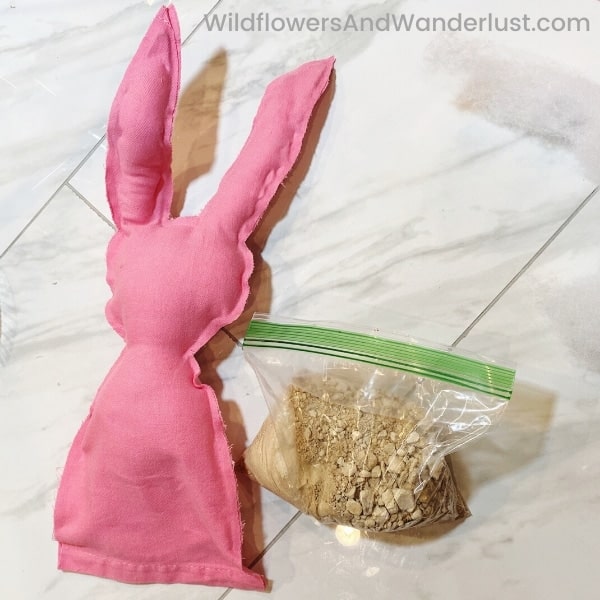
When you reach the bottom you can add your weight to make the bunny stand. We decided a baggie of sand was the best idea and just glued the fabric right onto the bag.
After you finish all of your glue add a little ribbon around it’s neck and it’s all finished!
Now you can go on and make a whole fluffle of rabbits. Did you know that a group of rabbits is called a fluffle?
That’s your fun fact for the day!
Making a group of these in contrasting fabric will make an easy and inexpensive decoration for spring. If you make them all different size you’ll have more than a fluffle!
But it doesn’t matter how many you make, it’s still on of the easiest no sew bunny projects that you’re going to find!
Happy Spring!
Follow us on Pinterest and on Instagram for lot’s more ideas and inspiration!
Need some more fun Spring and Easter Crafts?
Be sure to check out:
- Natural Dyed Easter Eggs
- Fun Easter Crafts
- Easy and Unique Spring Wreaths
- Free Vintage Flower Prints