
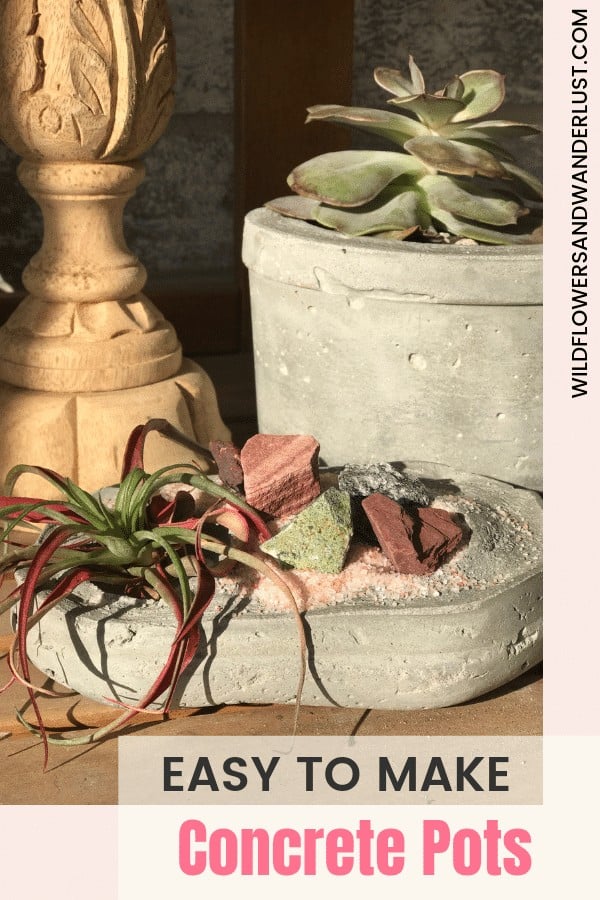
How to Make Easy DIY Concrete Pots for Succulents
Once you’ve made a few of these DIY concrete pots you’ll be addicted to the easy process and design options!
Easy to Make Cement Pots
We have been wanting to try making our own little DIY concrete pots for awhile and we had the perfect opportunity this past weekend. The opportunity was that we had all the supplies and some great containers to use.
They were super fancy containers right out of our recycling bin!
These turned out to be a pretty inexpensive and fun project. There are definitely lot’s of ways to personalize them so they’d make a great gift.
Think of a cute little succulent in a DIY concrete pot you made as a welcome gift for your new neighbor.
So follow along and we’ll show you how to make these. And we’ll give you a few tips along the way too. Like wear gloves. Because gloves will save your hands from the concrete.
By the way, if anyone needs a gift idea for us, gloves is always the answer.
We’ll take any kind of gloves since we seem to use them for so many projects!
~This post may contain affiliate links. If you click one and make a purchase, I may receive a commission at no additional cost to you. This helps us fund creating great content for you! For more information click here ~
Supplies You’ll Need
- Plastic containers to use as molds
- Water
- Cooking Oil
- Concrete/Cement Mix
- Trowel
Cement vs. Concrete
There’s a lot of confusion about cement and concrete since those names are used interchangeably. And really, why would we know this information?
Concrete is actually a mixture of cement and rocks or sand. Cement is very powdery and not a very strong product so adding sand or rocks gives it more stability.
You use cement to make concrete! Got it? Okay.
For the purpose of our pots – we used Quikrete.
You can buy a bucket of it instead of a bag (and we can always use a good bucket). This product is more for repairing concrete but it works great for small pots. If you’re making larger pots you’ll need something stronger.
Probably a stronger back as well!
Okay science lesson over, back to the crafting. But first….
A Few Safety Tips.
Wear a mask.
This stuff is dusty. Like a really fine dust. You don’t want to breathe it in. Once you’ve got it mixed up you don’t need to wear the mask anymore, but definitely for the mixing part.
It doesn’t have to be a fancy mask, go ahead a tie that dish towel around your head for a few minutes, just until you’ve got the concrete mixed. Or even a bandana!
Anything to cover your nose and mouth.
Wear Eye Protection
Same reason. You don’t need this dust in your eyes.
Wear gloves.
Not only does the cement stick to your nails and get under them, it will give you the driest skin that you’ve ever had. And it takes awhile to get over it.
Very, very dry skin. So let me say again, be sure to wear gloves.
How to Make DIY Concrete Pots

Gather all of your supplies before you get started. We’re working with quick setting cement here so once you mix it, you’ll want to be ready to use it.
Its’ quick setting!
Grease your containers.
We aren’t kidding when we say thoroughly grease your containers. You can use cooking oil but be sure that you thoroughly grease them. If you don’t, you will have to cut or break your molds to remove the pots.
That’s perfectly alright since we aren’t planning to use them again but it’s also a much bigger hassle so let’s just make it easy on ourselves!
Mix Your Cement

Quikcrete recommends using a 5:1 ratio so start with that.
We found that triple the amount of water made the consistency we wanted, but we found that out much later in the process.
For small containers you want your mixture to be a bit runny, for larger containers it will be easier to work with a thicker consistency.
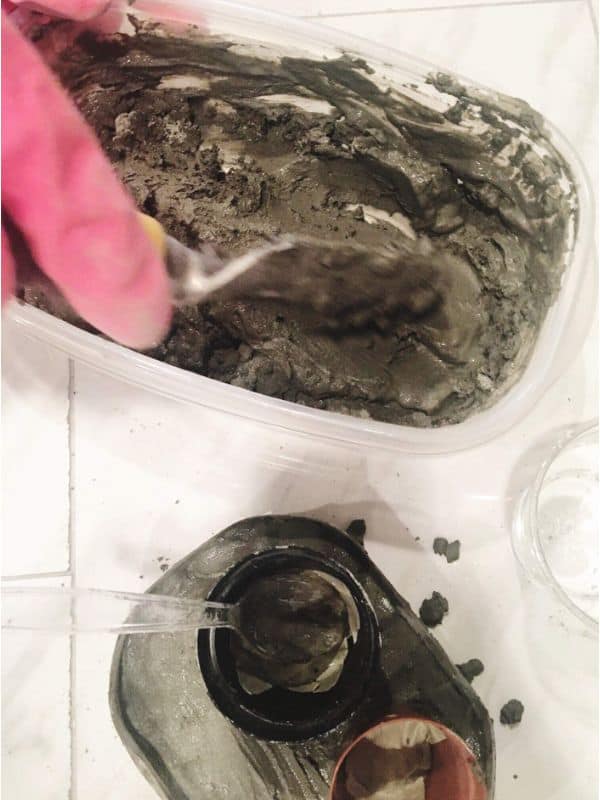
This is the part you need the mask for!
We highly recommend mixing up a small container to start with so that you can get a feel for the product without it drying up too quickly on you. Much less pressure to start.
Since we haven’t worked with concrete before it gave us a chance to use some of it and figure out how to do better with the next batch.
We used a variety of containers out of our recycling bin. Since it was our first time trying this project we just grabbed a few to see how they’d work.
We lined a couple of small pots with plastic to see if it would make it easier to remove them from the pots. Spoiler Alert: It made some really pretty grooves in the sides of the pots where they were wrinkled, but didn’t make them easier to get out.
Fill Your Molds

After you get your concrete into your forms you want to vibrate them a bit to let any air bubbles escape. We just banged the bottoms of our molds on the table we were working on and it seemed to be fine, but this is an important step.
Once the concrete has set for about 15 minutes it should be dry enough to manipulate a little.
We went ahead and pulled out some of our forms and used a little water to smooth some edges. If you wanted to make designs on the top of any of them you could easily do that at this point of the process.
And then we wait
Have you ever watched concrete dry?
It’s about as exciting as you would imagine it to be.
We loaded our creations onto some baking sheets and moved them out of the way to dry.
Then you just wait.
I believe that 4 hours is the recommended time for letting them dry but we left ours overnight and took them out the next afternoon.
This is definitely not one of those instant gratification type of projects!
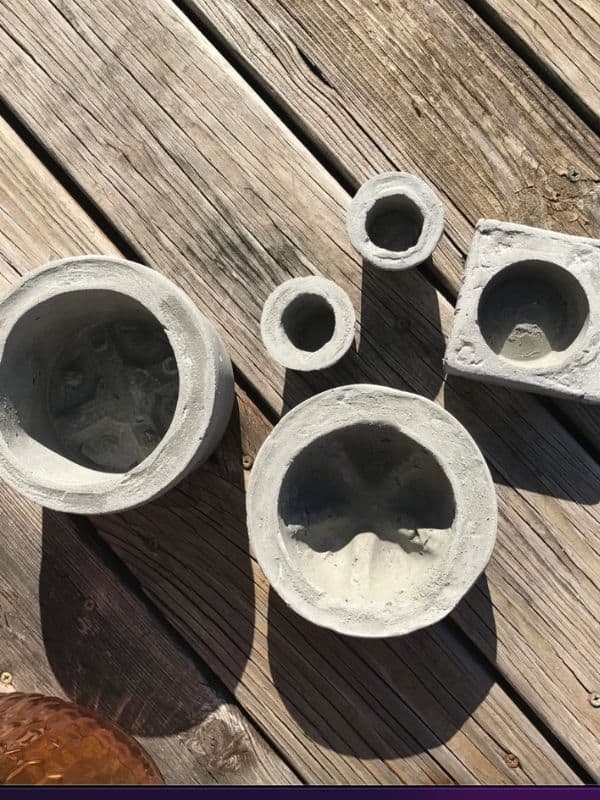
Most of the pots came out of their molds pretty easily. We got a little bit of crumbling at the tops but we were pleased with the process. We did have one that had to be cut out, so we simply sliced the plastic and peeled it away.
Finishing Your DIY Concrete Pots
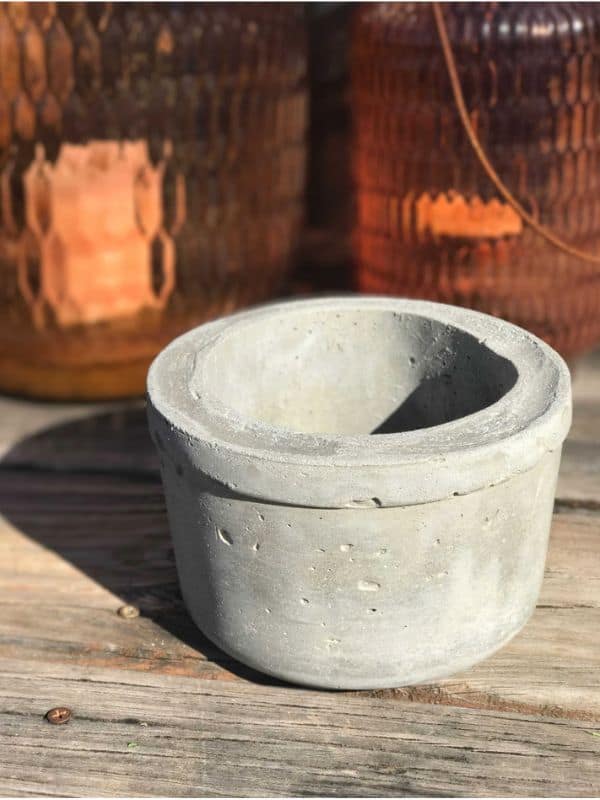
You can see that we had a few bubbles left in the sides of this pot. We decided that we like the character that the bubbles leave and this was one of our favorite pots that we finished.
You can use some sand paper to smooth off any rough edges and add a little polish to your pots.
Next time we will work harder at smoothing the top edges of the pots but overall we were happy with how they turned out.
Using Your DIY Concrete Pots
Concrete is bad for plants. It creates an alkaline environment that very few plants are going to like. It will basically just dry them out from the roots up.
Isn’t that sad that it makes a really cute planter but the plants don’t like it?
We probably should have told you that at the beginning so you could decide whether it was worth your time.
You’ve got a couple of choices on making them plant friendly.
- Line the pots
- Soak the pots
To line the pots you can either use a plastic pot that fits inside your pots or you can paint them. It will take a couple of coats of paint to get a good seal on them so that nothing leaches through.
To soak the pots you will want to immerse them in water and dump it a few times over a couple of days. Adding a bit of vinegar can help to neutralize the alkalinity in the pots a little quicker.
We are using the soaking method for our pots. We soaked them for 2 days and just dumped the water twice a day. Once in the morning and once at night. We used a 4:1 ratio on water to vinegar.
Fortunately our pots are small so this wasn’t too tough of a job.
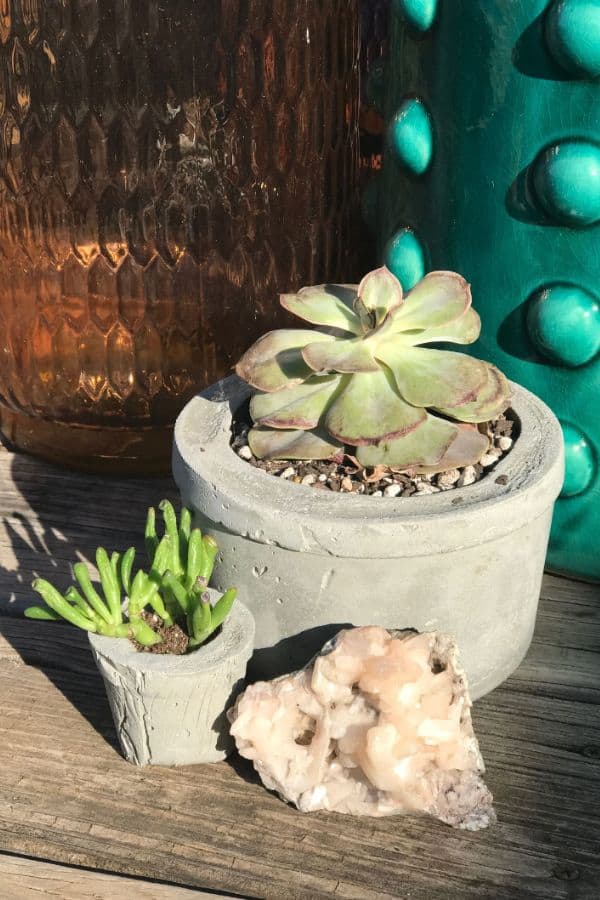
And then we added our succulents.
We think these pots look outstanding on our Burlap Table Runner
If you need more ideas for your succulents try this Live Succulent Wreath or Succulent Pumpkin.
Follow us on Pinterest and on Instagram for lot’s more ideas and inspiration!
Be sure to save this so you can find it later!


What type of paint do you use? and does that then make to pot non porous?
Steph:
We generally just use leftover wall paint or acrylic paints because we are using them for decor. If you want to make your concrete non porous you’d have to put a sealer on it so it would depend on the type of paint you use!
Thanks for the question….WildChild
5:1. is that 5 cups of water per 1 cup of concrete? or the other way around?
Yes – roughly 5 cups of water per 1 cup of concrete. Be sure to check the package directions for the brand that you buy!