How to Make a Festive Burlap Table Runner
A burlap table runner is a quick and easy project for your fall table. You can make one this afternoon and use it all season long!
An Easy DIY Burlap Table Runner
We are going to show you how to make a super easy, no sew, festive table runner.
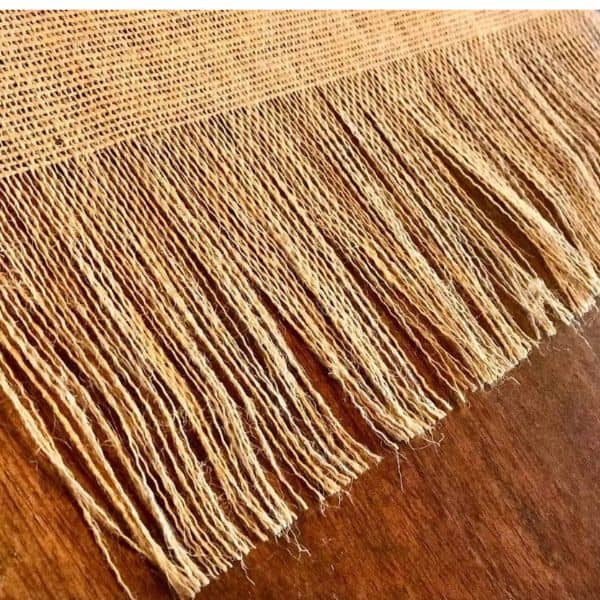
We tied some fringe onto this table runner to give it a little more eye appeal and it’s the perfect runner for that cozy farmhouse look or vintage style.
This is such an inexpensive project that you can easily style one for every holiday and still not spend too much money!
It’s also a fast project that you can make quickly to easily add a little style to your table.
My favorite project are usually no sew projects. I’ve got a long list of things I want to learn and I know how to sew, but it’s definitely not my favorite thing to do.
I also love the fact that farmhouse style is big on imperfect items, things that look like they’ve had a bit of love in their lifetime. Burlap is a big component of the farmhouse look but it’s just as cute in other styles too.
This burlap runner looks great with it’s fringe so there’s no reason to sew it anyway!
~This post may contain affiliate links. If you click one and make a purchase, I may receive a commission at no additional cost to you. This helps us fund creating great content for you! For more information click here ~
Supplies for a Burlap Table Runner
You’re going to love this supply list because it only takes a few things!
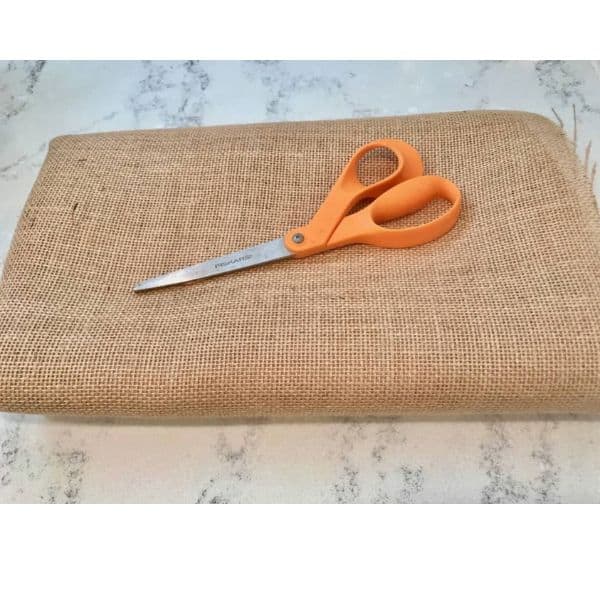
Guess what? You’ll need some burlap – and some scissors. That’s really all the supplies you’ll need for this project.


If you plan to embellish your table runner then you’ll also want to include these supplies. We think the runner is super cute just as a burlap runner. Add some stamps, buttons, ribbon, glitter or any other embellishment that you love and you’ve got a completely different look.


Buying Burlap
Most burlap that you find is going to be around 47″ wide.
There are all kinds of colors and designs to pick from these days but we stick with the basic burlap and add our own designs. Be sure to pay attention to the price if you’re looking at embellished burlap, it can be surprisingly expensive.
You can find all kinds of burlap at most fabric stores and some craft stores too. And of course you can always find it online.
Measure Your Table
You’ll need to know how big of a runner you need for your table.
Many people like to have their runners hang over the sides but I’ve stopped doing that. It only takes one time for someone to get hung on it and drag everything off the table to come crashing to the ground.
Oh that’s never happened to you? Well between kids and dogs, there are plenty of opportunities for things to get broken.
Now I’ve decided I really like the look of the fringe on top of my table!
So we’re going to use 2 yards for our runner. Measure your table and then add 18″-24″ for the overhang, if you’re planning for it to hang over the edge. That’s how easy it is to determine how much burlap you’ll need.
We’ve also got a great trick for cutting a straight line in your burlap. You thought it was easy to cut straight since it has lines in it right?
Well it can be trickier than you think!
How to Cut Your Burlap Table Runner
Measure the wide of your table runner. I think that 12″ is probably the normal width of a runner but we are using 15″ on our table since it’s a wide table and we don’t use placemats. I feel like the wider width will work better for us.
Now you can see that your small purchase of burlap will make you 2-3 table runners, or you could make up some placemats to use another time.
You can get lots of crafts out of this one piece of fabric.
Be sure to check that your outside edge is straight before you start. They usually are but we picked up some fabric once that had a twist in it so we had to figure a little extra to straighten out the edge.
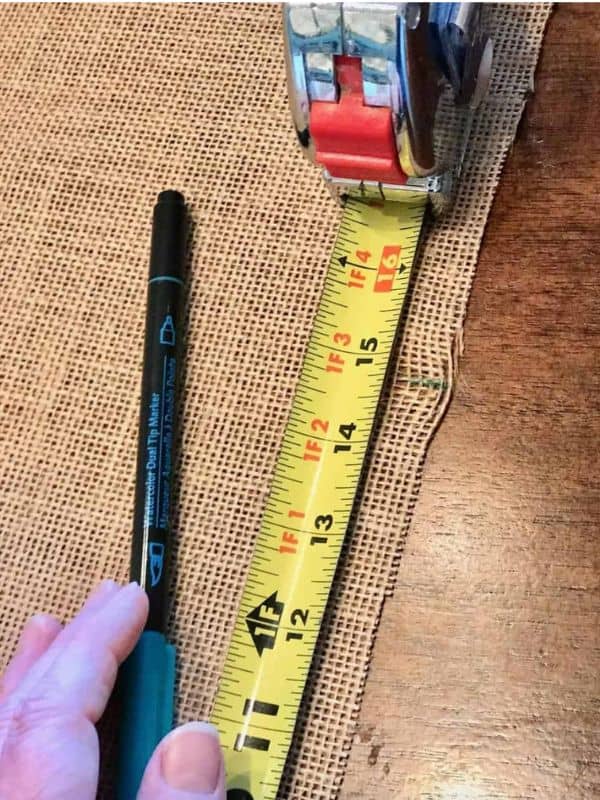
Once you’ve determined your width, measure from the outside edge and make a mark.
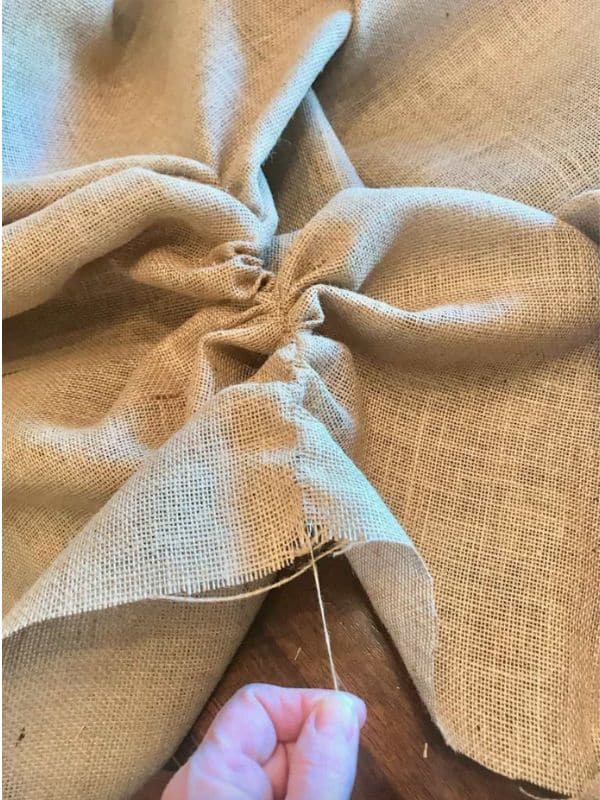
Now that you have a mark, we’ve got a great tip to make a clear and easy cut line.
Pull the vertical thread all the way from the fabric.
You may have to bunch up the fabric to get the piece to pull all the way through but once you do, you have a nice, easy to see line to cut along.
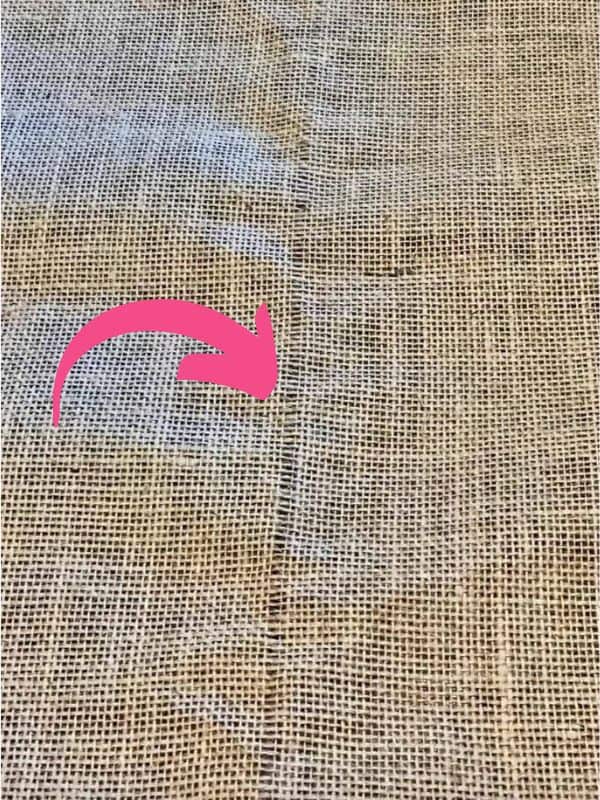
See that blank space? That’s your cutting line and it’s so much easier to see now!
Then Deconstruct
Once you’ve got your cuts made you can deconstruct the edges to make fringe and then you’ve finished your burlap table runner.
That’s it. That’s how easy it is.
We like to leave about 1/4″ on the sides and then 6-8″ on the ends of our runners. It’s really just a matter of preference so deconstruct a little and see what you think and then adjust.
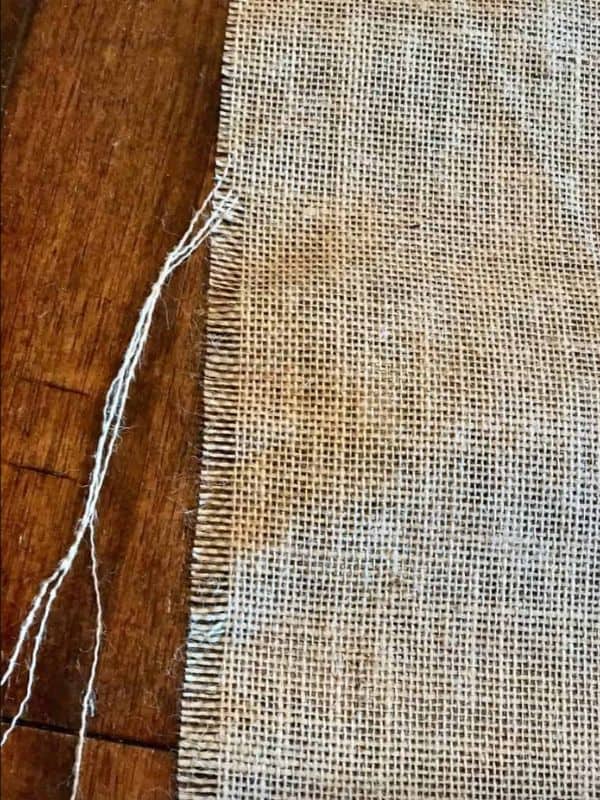
Decorate Your Table Runner (or don’t)
You may want to leave the burlap as is or you may want to embellish it. We love the look of the plain fabric with fringe for our fall table, but for the holidays we like to add a bit of embellishment.
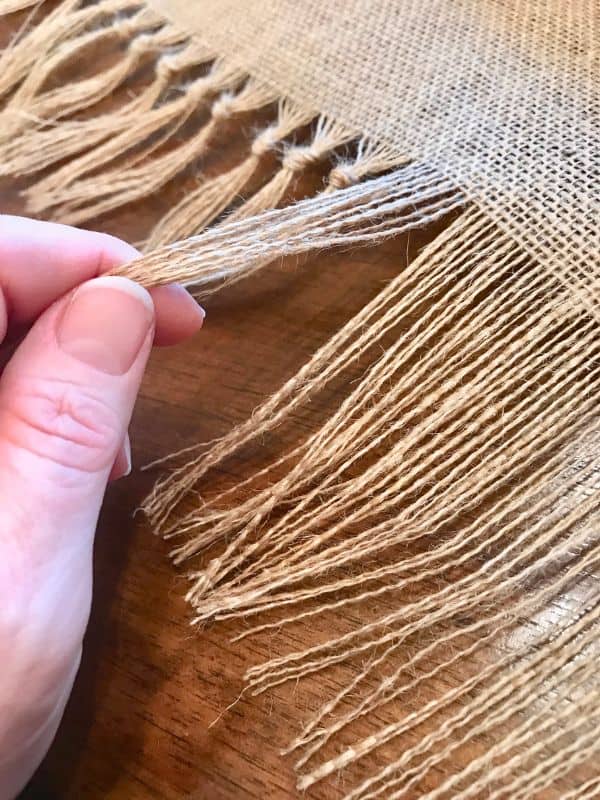
Adding a knotted fringe at either end is an easy way to change the look of the runner.
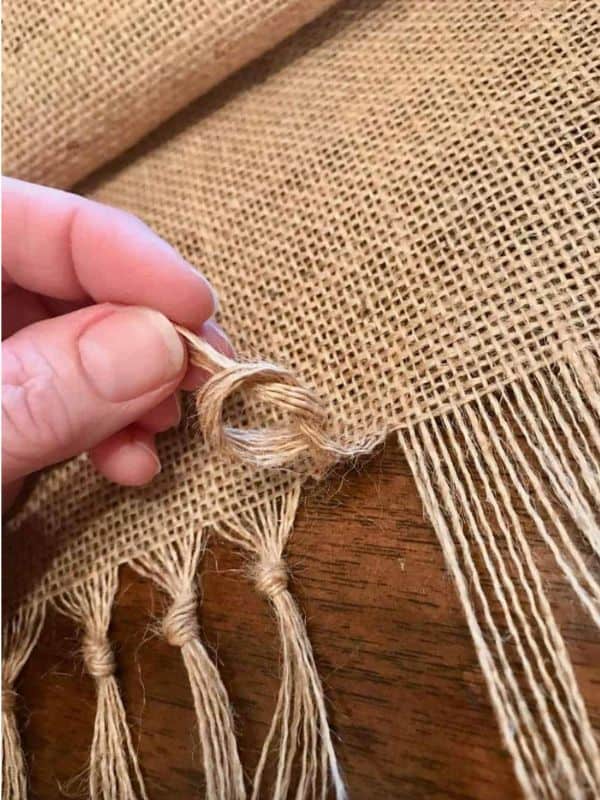
To do this just count out about 10 strings and knot them together.
I’d start from both outside edges and work inward so that you can incorporate any extra’s that you have, that way it looks like each bunch has 10 strands.
A Few Extra Notes
If you decide to add paint to your runner, be sure to lay it on an easy to clean surface since burlap is extremely porous. You probably don’t want to wind up with paint in other places!
You can easily wash burlap in your washing machine but it will create a lot of fuzz and threads. I find that just running a hot steam iron over mine is all it takes to keep it looking great.
Whether you decide to decorate your runner or not, I would recommend only spot cleaning if it needs it. A gentle wash is fine but the washing machine and dryer may damage your fringed edge.
Festive Burlap Table Runner
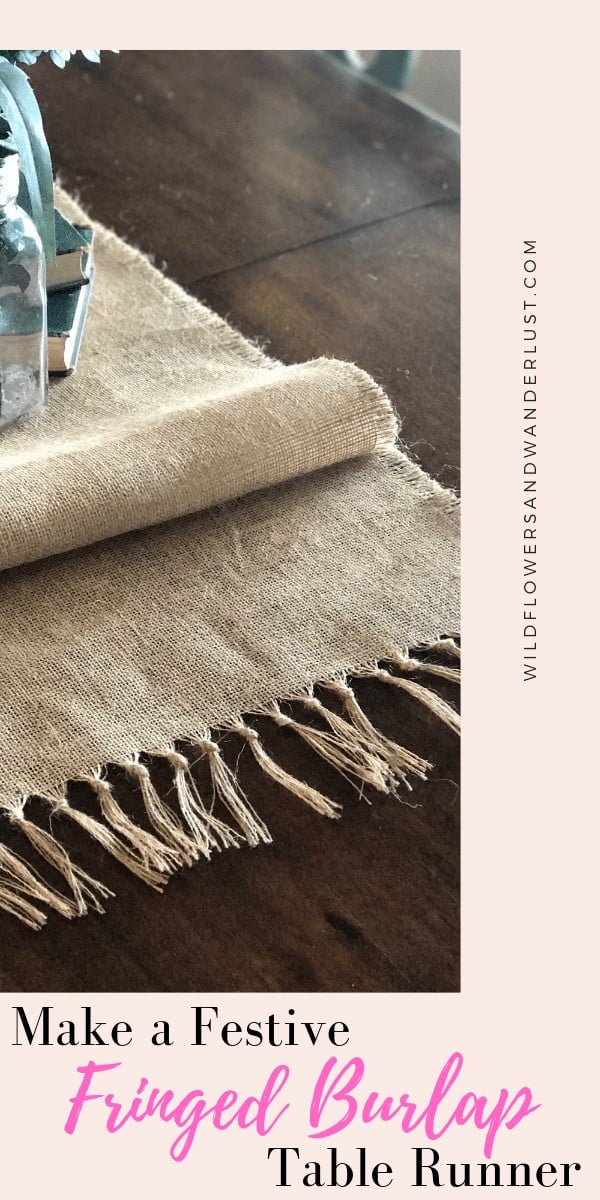
Super easy, no sew, festive table runner. We tied some fringe onto this table runner to give it a little more eye appeal and it’s the perfect runner for that cozy farmhouse look or vintage style.
Materials
- 2 yards of burlap
- Fabric Markers (Optional)
Tools
- Scissors
- Measuring Tape
- Iron
Instructions
- Measure your table to decide how long your runner should be and add in measurements for any overhang. Iron if your burlap is very wrinkled.
- Use your measuring tape and pull a few strands completely loose as your cut line and cut straight across for the length you determined for your table and anywhere from 12 to 15 inchs for your width. If you use placemats, 12 inches may be a better fit for your table.
- Pull thread loose on all edges for a deconstructed vintage look. We recommend 1/4 inch on the length (usually 2-3 strands) and about 6 inches on width.
- To create a knotted edge, pull about 10 strands together and tie and knot and repeat across the width of the fabric on both sides.
- Decorate as you'd like with your fabric markers. Make sure to complete this on a covered surface since burlap is porous.
Notes
Iron afterwards and spot clean as needed. We do not recommend burlap in the washing machine.
There you have it, a festive burlap table runner that’s a quick and easy DIY.
What did you think of this project? Are you going to try one for your table or have you already made one? Let us know or show us your photos in the comments below.
Follow us on Pinterest and on Instagram for lot’s more ideas and inspiration!
You might also be interested in Thanksgiving Tablescape Ideas
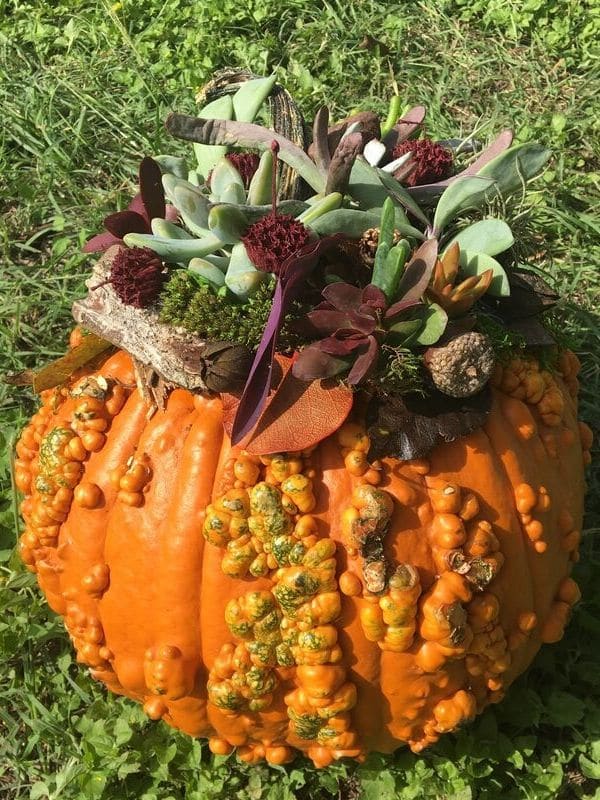
Be sure to check out How to DIY a Succulent Pumpkin Centerpiece
You’ll also love to see how we made DIY No Sew Scarves
Be sure to save it for later!





Like!! Really appreciate you sharing this blog post.Really thank you! Keep writing.
So excited to see this post. Will
Be doing this project right away