How to Make Engraved Floral Art (it’s easy)
We are back with another project made on our new xTool M1 laser engraving machine! We’re sharing this gorgeous piece of engraved floral art that was our first project we tried!
Now that we’ve got our new toy unboxed and set up we’re so ready to try it out!
Since we’ve used the Silhouette design space there’s not a huge learning curve to creating on the xTool creative space. Thank goodness for that!
Even in just the few weeks that we’ve had our machine there are lots of projects that have been added to the design space so it’s very easy to at least try a few projects that you’ll have success with.
We’re not quite ready to venture into creating our own projects yet, first we want to try a few that should be easy and we’re going to start with this one!
Engraved Floral Art
We started on the xTool Projects Page. From here you can sort shared projects by machine, material and difficulty.
There are other options as well, but since we’re just looking for something easy to try this seemed like a great place to find a project.
There are projects that are shared by xTool and also projects that are shared by individual users.
We assumed that engraving on a wood sheet would be an easy starter project and it was!
First we downloaded the floral art, then we uploaded it into the Creative Space.
How to Place Material in the xTool M1
One of best things about this tool is the live camera that shows your material right on your computer screen!
It makes it so easy to see exactly where your material will be engraved or cut and you can easily make adjustments.
It’s also really fun to actually watch the design appear on you material!
For this project we are using a 3mm sheet of basswood.
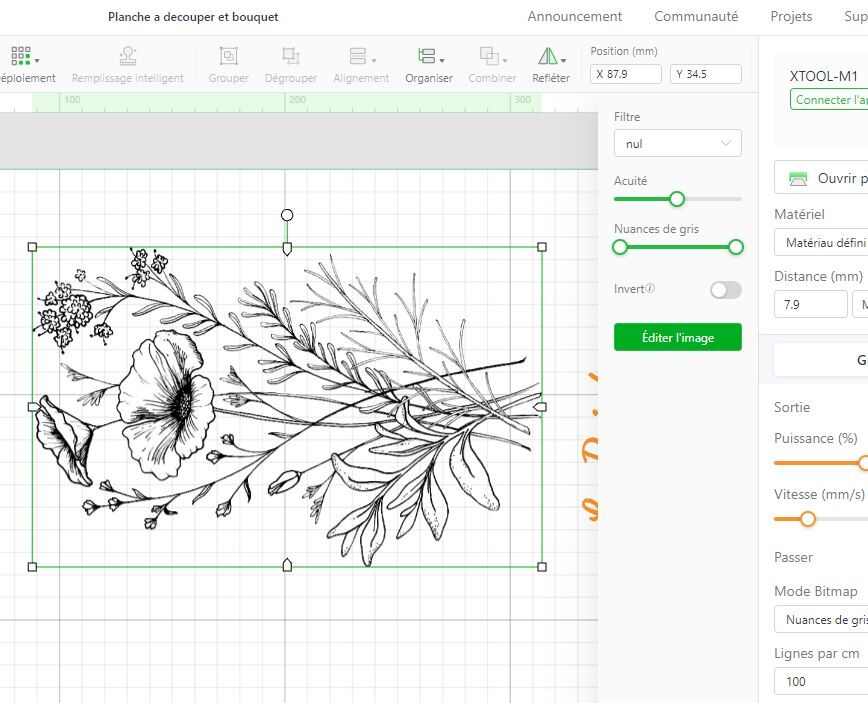
On the right side, you see the cut settings.
The menu has many preloaded settings so it makes it easy to choose.
I chose the laser flat and 3 mm basswood material and it auto entered the settings. You can easily adjust the settings but this makes it easy to quick start if you’re using a material that’s already identified on the menu.
Then I hit the button that says framing so that the engraver can check everything out.

It only takes a few minutes for the framing to work and then you can see the layout on your material. That’s definitely one of the fun things about this.
Then we hit start and the project really gets going.
The other thing is being able to actually watch the laser work through the lid of the machine! You can actually see your design coming to life!
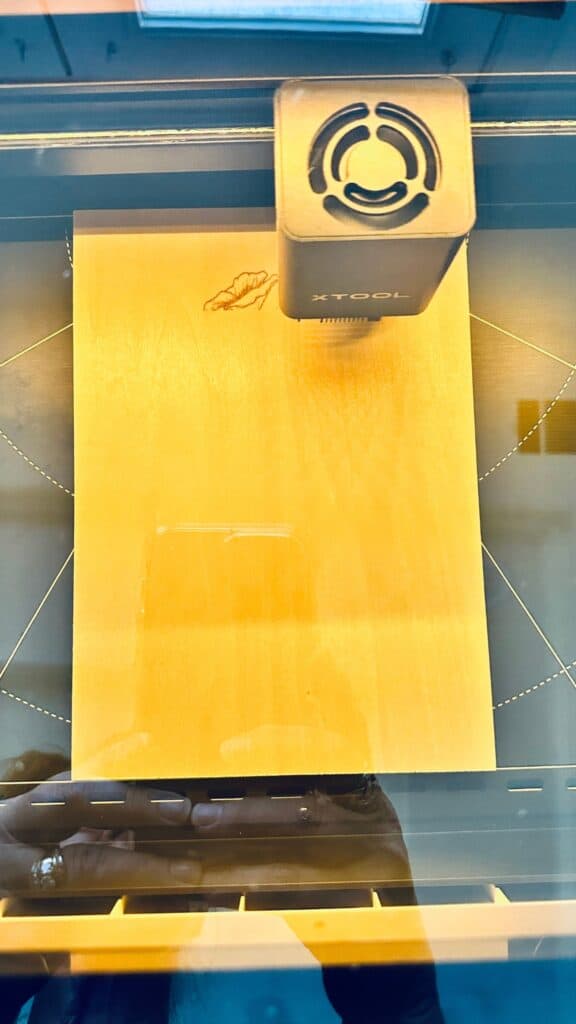
The laser system doesn’t necessarily cut in the order of the pattern like a printer would. It kind of skips around according to how it will best use it’s strength so it’s interesting to watch it move to different areas of the project.
There’s a project timer and I was a little concerned when it initially said this project would take 47 minutes! Really? Too engrave?
It did not, in fact, take 47 minutes.
I’ll definitely pay attention on our next project to see what the timer says and how long it does actually take to make something but in the meantime here it is!
A beautiful engraved floral art design!
The Finished Engraved Floral Art Design

Read about our unboxing and early review of the xTool M1.
So far we’re finding it easy to use and a great new addition to our craft room!
Next up we’re going to try a project cutting out wood! Stay tuned!
Follow us on Pinterest and on Instagram for lot’s more ideas and inspiration!
~This post may contain affiliate links. If you click one and make a purchase, I may receive a commission at no additional cost to you. This helps us fund creating great content for you! For more information see our disclosure ~


