How to Make a Cute and Mini Wreath
We’re going to show you how to create a mini wreath because they are so stinkin’ cute and easy to make!
We know you’ll find lot’s of places to use them, and not just at the holiday’s. We’ve seen them used quite a bit for Christmas ornaments and gifts, but we decided to make spring wreaths and use them for Mother’s Day.
Okay, we know that Mother’s Day is a holiday but you’re going to find all kinds of way to use these. And the bonus is that they’re quick and easy to whip up!
We think these mini wreaths look great on a stack of boxes or books, as a little accent ornament or use them along with a tag on a gift.
~This post may contain affiliate links. If you click one and make a purchase, I may receive a commission at no additional cost to you. This helps us fund creating great content for you! For more information see our disclosure ~
Materials for a Mini Wreath
You don’t need a ton of materials to make these little wreaths and you can start with pre-made forms or get creative.
You can even use some old bangle bracelets as your base. If they’re a solid color just go with it. If you don’t love the color you can wrap them with material, paper, yarn or macrame cord.
But your basic materials are:
- Grapevine- available at most craft stores and online.
I bought 4″ pre-made wreaths but you can easily make your own. - Embellishments of your choice
We’ve got several ideas for the different types of embellishments that you can use but let us know in the comments if we’ve missed any so we can add them to the list.
We used faux succulents and moss for our first round of mini wreaths. We also had some tiny rose buds and leaves but I can’t find my photo’s from that one!
Embellishment Ideas:
- Yarn or macrame cord to wrap the wreaths
- Ribbon
- Feathers – natural or brightly dyed
- Dried Flowers
- Faux Flowers or succulents
- Boxwood – you can use this one fresh, dried or faux
- Crystals
- Moss
- Beads
- Lace
- Glitter
- Paper – for wrapping or making tiny origami
- Pretty much anything that you’d use on a regular size wreath in a miniature size!
Tools to Make a Mini Wreath
This is a super short list but you may need other tools according to the embellishments that you use. You may also want to add cord or ribbon to make a loop for hanging your wreaths.
- Hot Glue Gun and Glue Sticks
- Scissors or Wire Cutters
- Pliers or Tweezers (for placing items)
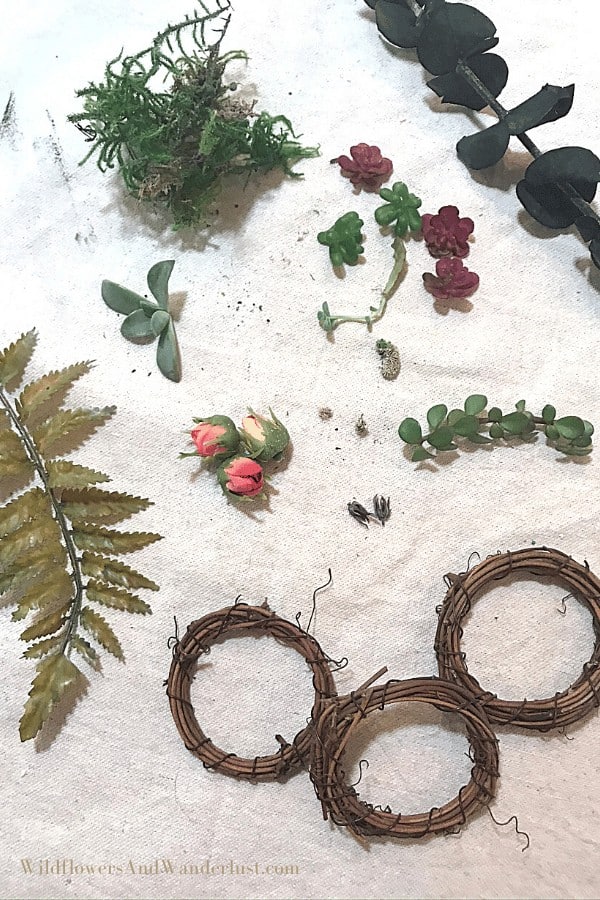
Start by deciding which materials you want to use and where you want to place them. If you’re making several wreaths you might want to lay out your materials next to each wreath as you get started.
We like to hold a variety of objects together to see how they look before we get started.
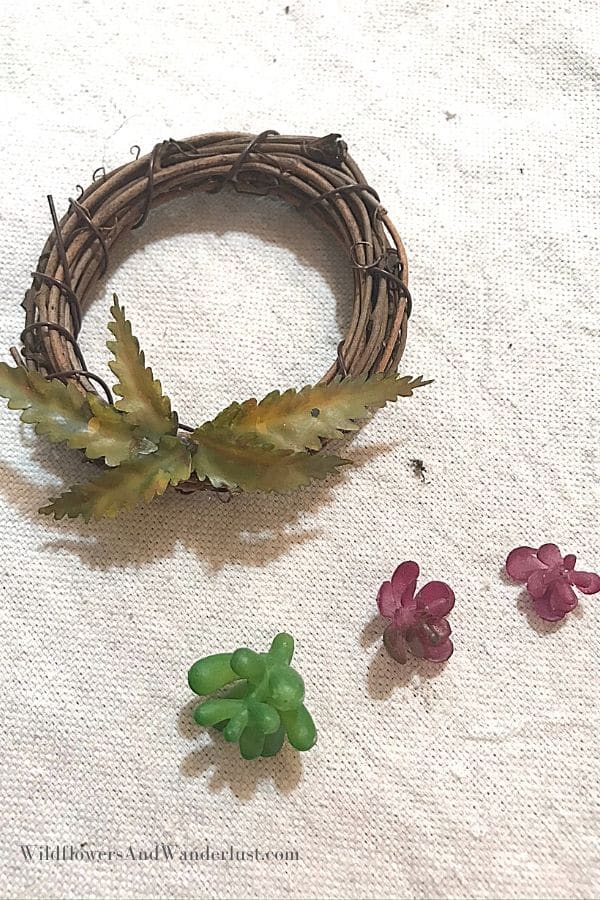
Once you’ve decided which items you’re going to use you’ll attach them with the hot glue gun.
We glued our leaf down first on one wreath so we could layer over it.
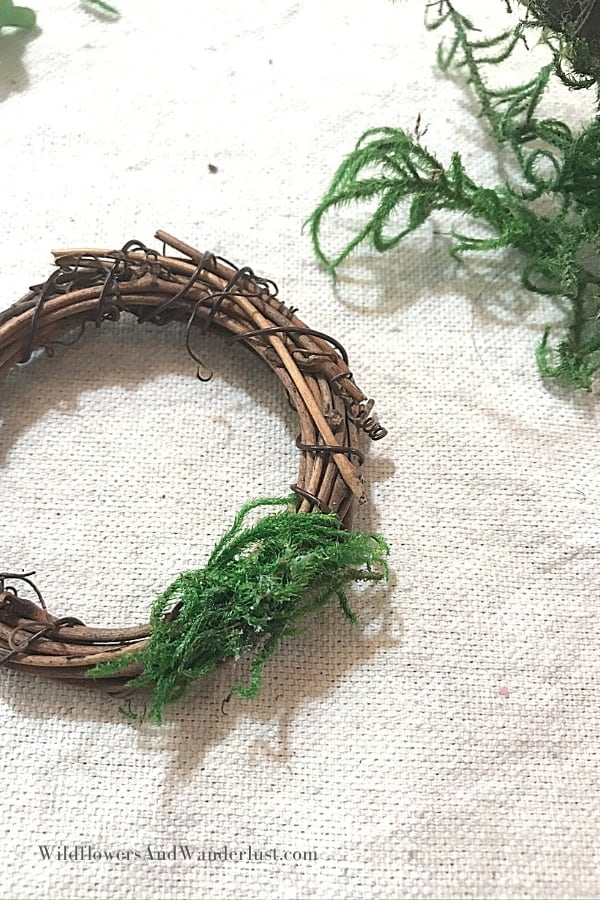
On one of our other wreaths we glued moss down as the base.
Once the base is glued on it’s time to start layering on the fun items. We added tiny succulent flowers on one of our wreaths.
The pliers are an easy way to add items without getting hot glue on your hands. If you’ve ever been burned with hot glue you know it can really get you. If you haven’t been burned then you should definitely use the pliers to keep your record perfect!
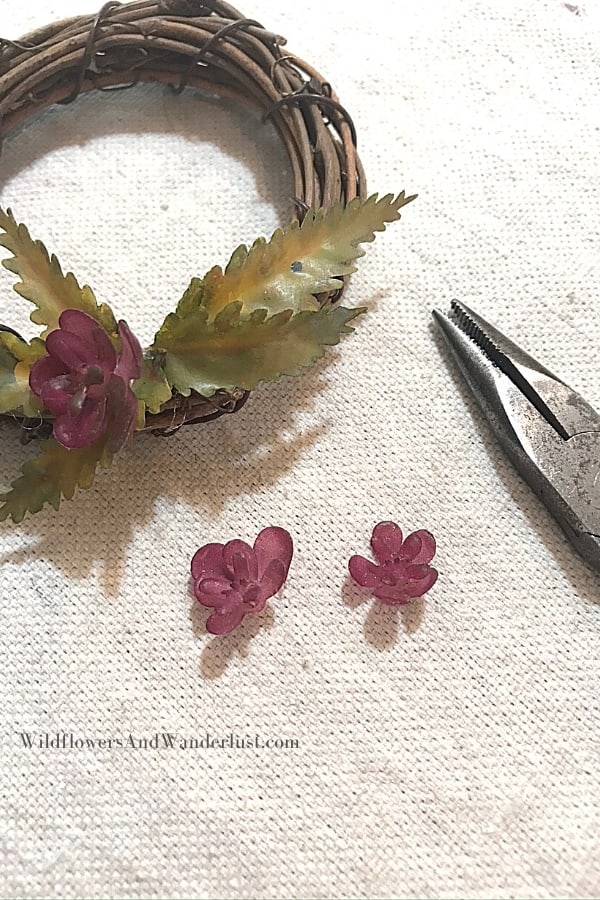
On the other wreath we added mini succulents and little tiny cactus.
Aren’t these little tiny cactus just the cutest things? Or is it just that all tiny things are cuter?
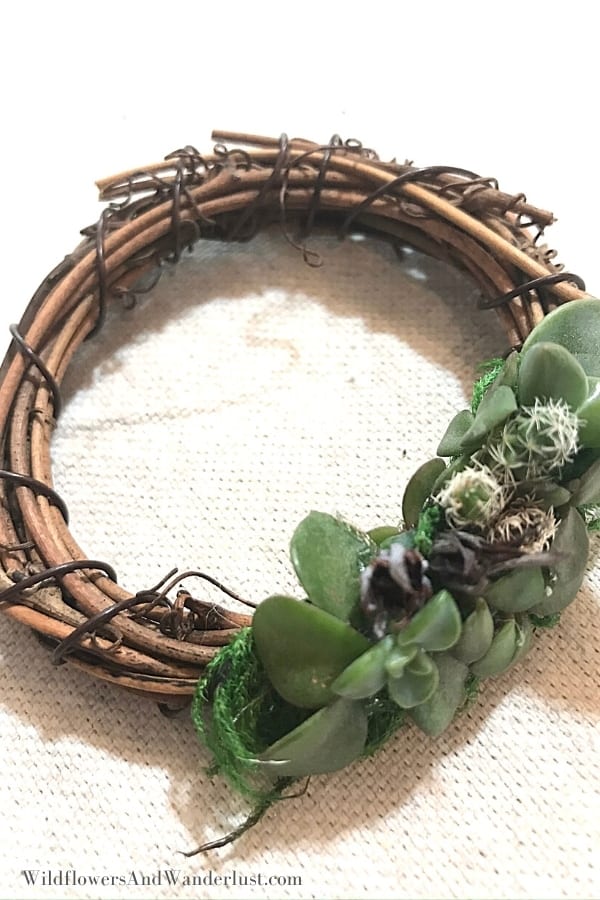
Hot glue should work just fine to attach just about any material. On some of the faux succulents you may need to apply a little pressure and hold them in place to give the glue time to set. Those shiny surfaces just need a little extra help.
Have fun choosing your materials for your mini wreath. I know you’re creative and you’re going to find the perfect items to create a unique and amazing mini wreath.
Follow us on Pinterest and on Instagram for lot’s more ideas and inspiration!
Do you need more great Mother’s Day gift ideas? Check these out:
And be sure to save this idea to your favorite Pinterest board for later!
